I have created a new blog that I will be using to provide additional photos and information for my auction items, it is called jbf auctions.
Please bear with me while I make the transition from using this blog for that info.
For those who are looking for auction info you can still find it by selecting "Auctions" from the menu above or going to my new blog at jbf auctions
30 September 2011
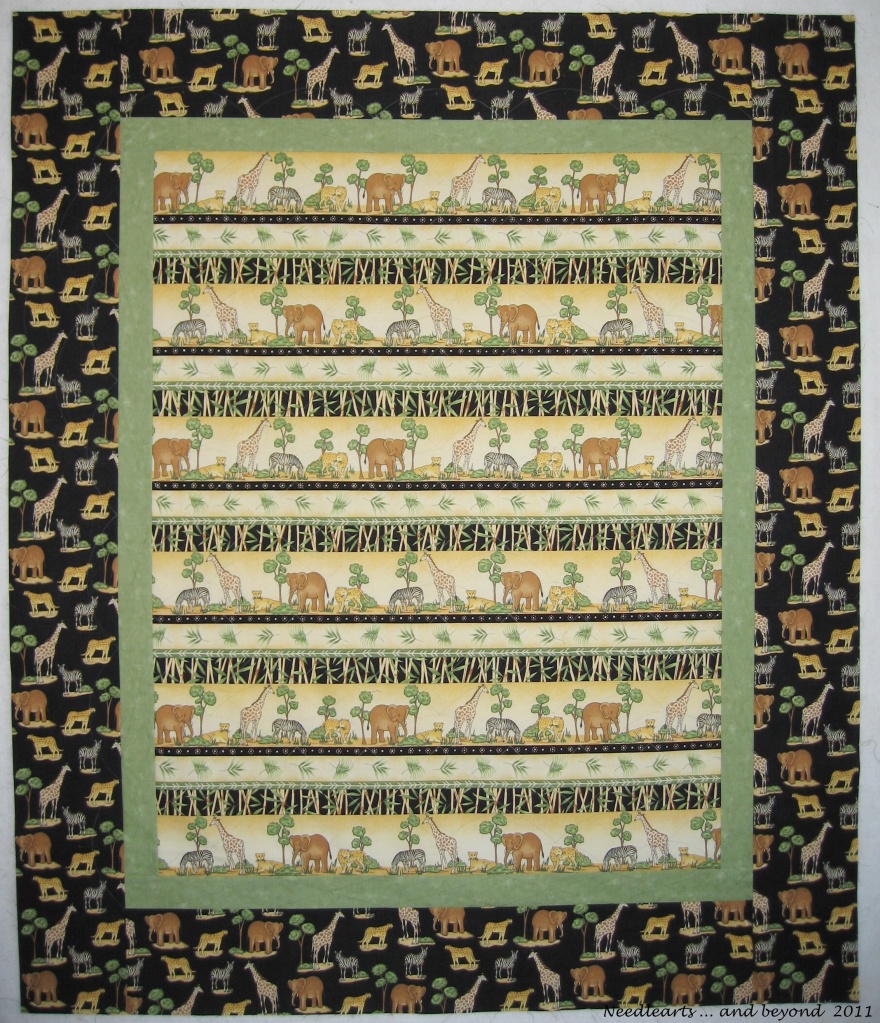
Safari Nap Quilt
 Safari Nap Quilt - In Progress
The latest project is another super simple quilt. This is from a kit called "Safari Nap Quilt" from back in the day when Fabric Expressions of Littleton, CO was owned by Toni and Juanita.
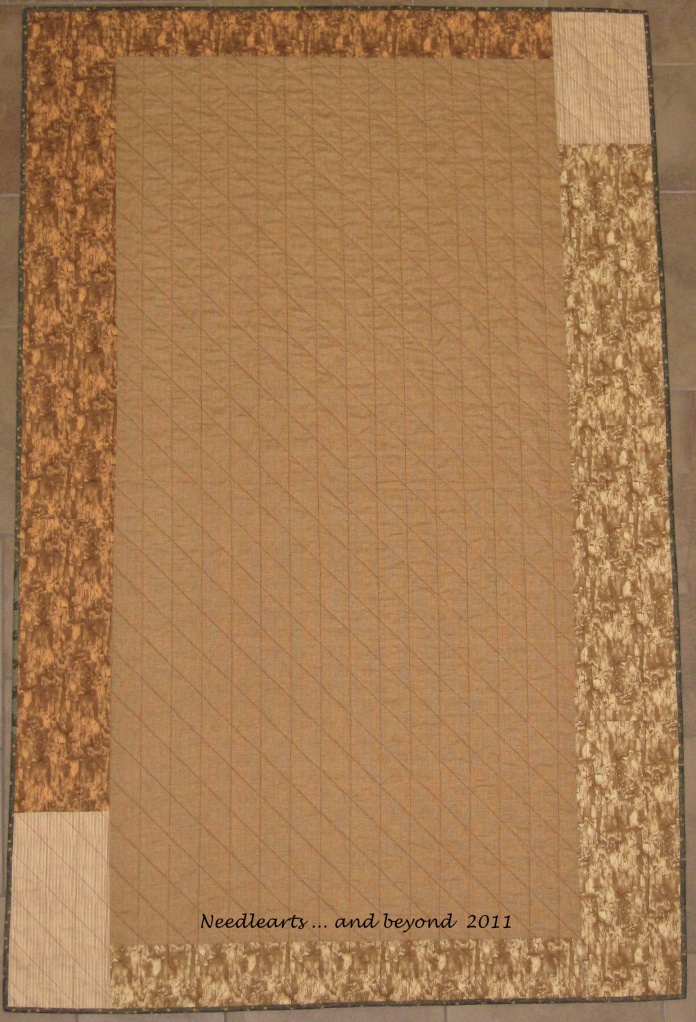
I'm still drawing the quilting lines and am trying to expand my machine quilt skills from straight lines - portions are marked with scallops. As I was looking online for some ideas of how to deal with the corners, I watched a YouTube on using basting spray rather than pins. I definitely want to give that a try!
29 September 2011
Downsizing via eBay Continues
 Items to be added September 30 and/or October 1
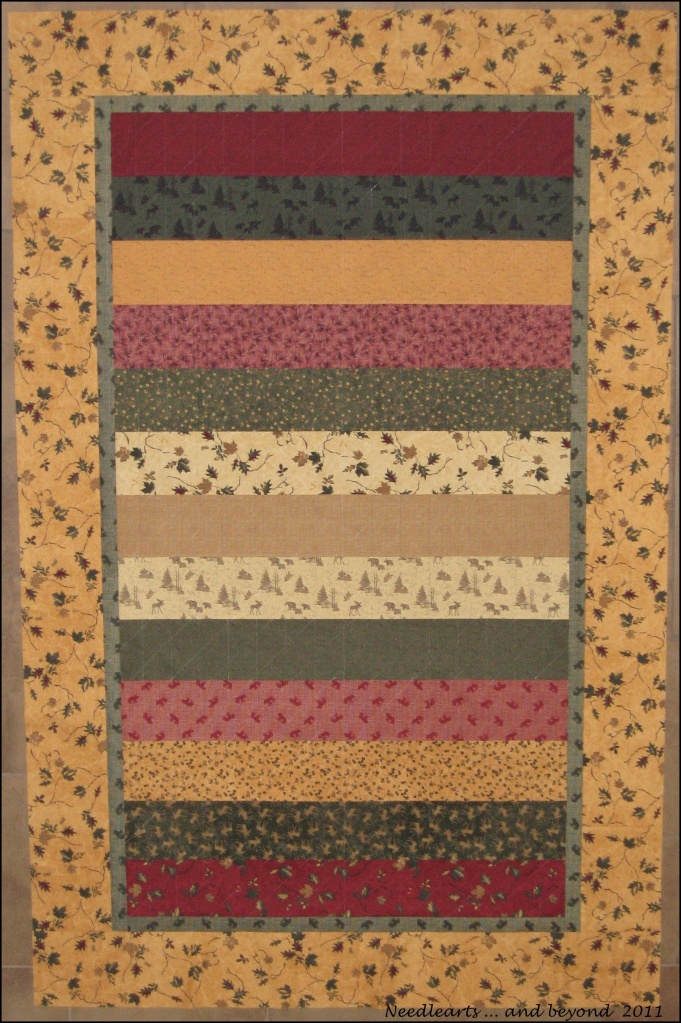
There will be new items on eBay this week including a handpainted needlepoint canvas by Ann, namaste buddy case, quilt kit called "Strips for all Seasons" and a pair of Earth shoes.
 Cub Lake Quilt Kit to be added September 30
Since the Cub Lake quilt kit did not sell, I plan to re-list and offer free shipping for the high bidder on this fabulous kit!
Select "Auctions" on the top menu to learn more about these great items.
You can find my auctions at:
jbf auctions at eBay
24 September 2011
Downsizing continues -- a couple more items
Later today, I will be adding a couple more items to my eBay auctions.
You can find my auctions at:
jbf auctions at eBay
 Alto's Original QuiltCut Fabric Cutting System
 Nantucket Harbor Needlepoint Kit designed by Erica Wilson
Click on "Auctions" on the top menu on this page to learn more about these items!
You can find my auctions at:
jbf auctions at eBay
23 September 2011
Downsizing my Resource Center - eBay Auctions
It has been a few months since I have listed anything on eBay and I will be working on downsizing my "resource center" as part of my semi-annual organizing effort. This will include various quilting and needlework related items -- and other items that are yearning for a new home. This evening (23 September 2011) I will be listing the Gleneagle pattern book as well as an absolutely fabulous quilt kit called "Cub Lake" if you missed the Moda fabrics "Winter at the Lodge" you will have an opportunity to work with those wonderful fabrics by bidding on this kit!
You can find my auctions at:
jbf auctions at eBay
21 September 2011
Quilting and Marking Tools -- removing, erasing and washing them out -- Fels-Naptha to the rescue
In my last post I stated that I had marked my row quilt top using different products. I used the Clover White Marking Pen and Sewline pencils in white and black. After I quilted my quilt, there were two lines running the full length of the quilt top I decided not to stitch. Those lines were made with a Sewline black pencil.
I really should have taken a photo of the quilt when I took it out of the washing machine. Sadly, I did not. Perhaps my expectations were too high... but...
I really thought that all of the marks (and extra lines) would disappear in the wash. I used Quilt Wash in a front loading machine, ran the delicate cycle with a medium spin. The white marks were gone, yeah!! The black marks were not, so sad.
According to the literature, Sewline marks should come off by erasing, washing or dabbing with a damp cloth.
1) Erasing removed most of the mark but not all -- while I was marking the top, I made a few marking errors. I "erased" but it did leave a significant shadow. The residual lines did come out in the wash.
2) Washing removed the white lines -- both from the Clover White Marking pen and the Sewline white pencil. All of the black lines from the Sewline pencil remained.
3) Dabbing with a damp cloth is a method that I not try. After taking the quilt out of the washer I did try wetting the lingering lines thoroughly and rubbing - no impact.
With all laundry stains, my go-to product is Fels-Naptha. I ran the bar over the lines gave them a little rub and they were gone. I tossed the quilt back into the washer and it came out great.
Will I use Sewline again? Absolutely! I just need to know the product limitations and how to deal with them.
Row by Row Quilt - It's Done!
I finished stitching the binding on Row by Row quilt this morning! I am always surprised at how much easier (and faster) it is to quilt and bind a lap-sized quilt versus a queen or king. Row by Row has a finished size of about 58" by 88".
The quilting was done on a Elna Quilting Queen Pro using Signature cotton thread (40wt) and a stitch length of 3.0. The longer arm makes it much easier to maneuver the quilt bulk than when quilting with a traditional machine!
The marking lines I drew on for the quilting were done with a combination of Sewline Fabric Pencils in black and white and the Clover White Marking Pen. I am anxious to see if the markings come out in a gentle wash in my machine.
14 September 2011
A Row by Row Quilt
This is a
The center was already stitched and last week I added the two borders. I found some Holly Taylor fabrics in my resource center to piece the back. The quilt top is marked with a large hanging diamonds pattern -- lines are spaced every 2.5 inches. Today's plan is to get the quilt sandwich pinned and start quilting.
04 September 2011
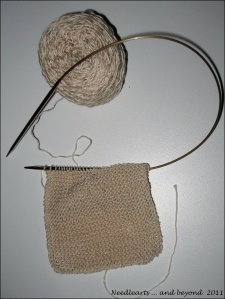
Knitting Bandages & Slipping That First Stitch

The current bandage that I am knitting was about half completed when the edges started really bothering me. They looked messy and I didn't know why. At some point yesterday, I realized that my sloppy edges were a result of slipping the first stitch purlwise rather than knitwise. Needless to say, I felt a little silly -- the bandage was ripped and started again. Looks much better!
Subscribe to:
Comments (Atom)


