Showing posts with label needlepoint. Show all posts

09 February 2012

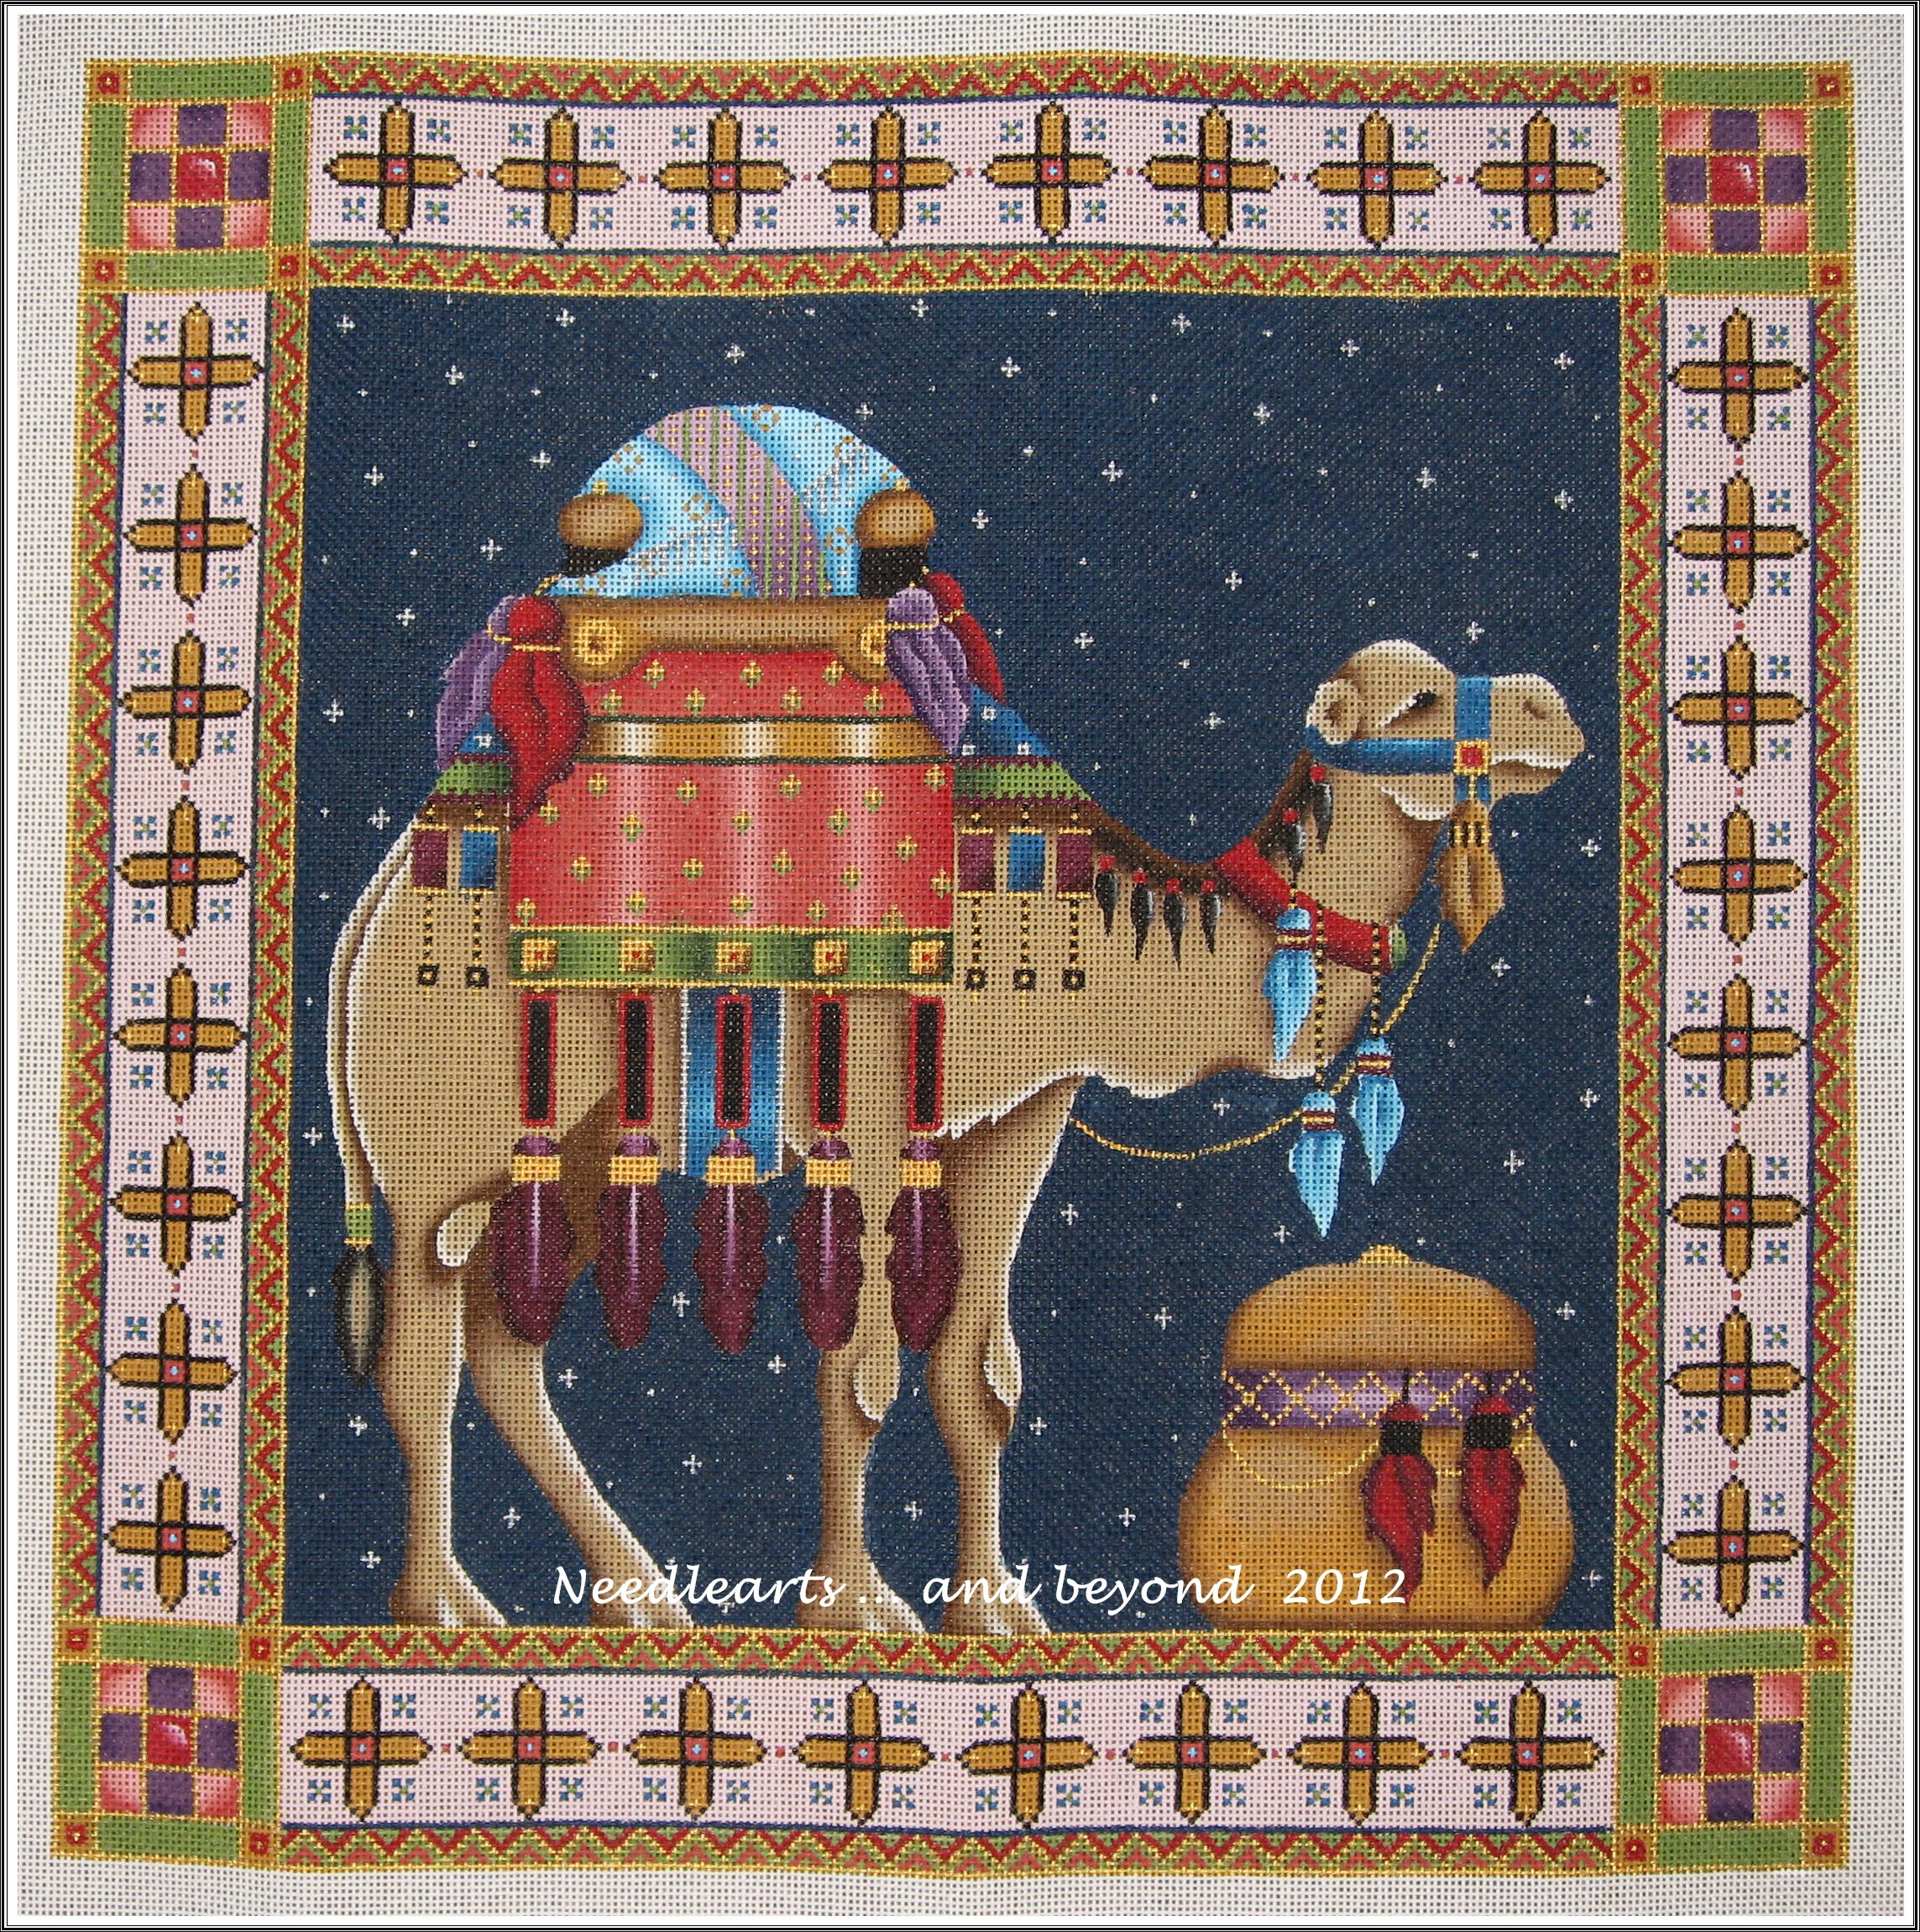
Needlepoint Camel by Melissa Shirley

 
Melissa Shirley Needlepoint Camel Item #227

When a Melissa Shirley canvas is added to eBay, I get a notice via email.  This beauty popped up last week and was delivered on Monday -- thanks, Michele!   Goodness knows when or how this handsome camel will be stitched but he has found a good home.

The canvas doesn't appear on the Melissa Shirley website so it's possible that it's no longer available.  The overall design size is about 21 x 21 and is painted on 13 count mono.  There are some "companion" pieces to the camel including an elephant, moose, peacock....

13 January 2012

Staying on task -- not exactly!! A new HAED start

Staying on task is really hard for me -- so many fabulous projects call my name.  I made my list for 2012 and almost immediately added a new start (ok, two)....

I was wandering through the HAED (Heaven and Earth Designs) works in progress and saw someone working on storykeep - a cute name for a bookmark.  I really like the artist and bought the chart.  As luck would have it, there was a SAL (stitch a long)  for the smaller HAED charts .  I jumped on board on Sunday and assembled supplies -- happily, I had almost everything.

Here is the finished artwork:
Storykeep Seasons Winter by Strelkina
photo from HAED (heavenandearthdesigns.com)

I am, and always have been a slow stitcher.  This is my start:

The stitch count is  75 by 312 - on 18 count the finished size will be about 3 1/8 inches by 17 1/3.  I am using ivory 18 count aida with 2 strands of dmc.  I have never been a huge fan of aida but the variation of the thread width of linen was not something I wanted for a HAED project.

Before I started Seasons Winter I did most of the grid work on my two other HAEDs.  While I was stitching away I had a epiphany about the St. Basil's needlepoint project.  I have not put in a single stitch in St Basi'ls since the class and I decided it was because I wasn't happy with the shape of the domes.  I have been doing a bit of dome adjustment and hope to get a decent outline on the canvas this week.

07 December 2011

New Year / New Goals - Stitching 2012

Last year was the first time I set stitching goals for myself. All in all, it worked out pretty well so I am going to try it again. The most important thing was that the goals could be changed at any time.  Having something to remind me of what I would like to accomplish was great since I am easily distracted with new projects.

2012 Stitching Goals

Projects in progress:
St Basil's needlepoint
TS Bear needlepoint stocking
Tish Celebration needlepoint (any progress counts!)
Christmas Potpourri BOM quilt
Knit bandages - on going (and very portable)

New projects:
Heaven & Earth Designs cross stitch On the Stove (nope, I don't expect to finish it)
Christmas ornaments - 3 each - needlepoint, cross stitch, bead/sequin & felt/sequin
HeartStrings needlepoint The Carolers - complete 3 of the set
Lap Quilt - using only kit or fabrics already owned
Two full size quilts - using only kits or fabrics already owned

This is a very do-able list! The trick will be to stitch in the evening rather than spend all night surfing the internet or playing games!

06 November 2011

St. Basil's Needlepoint by Carole Lake


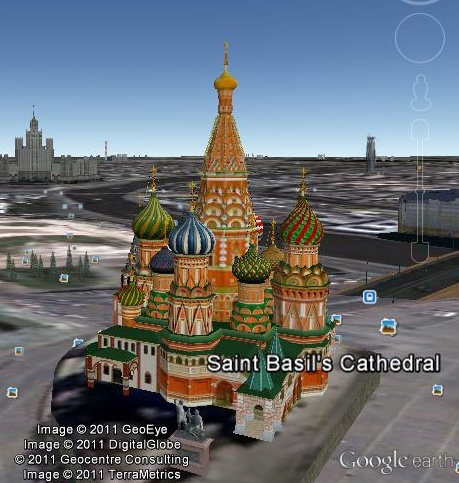
St. Basil's Cathedral - from Google earth


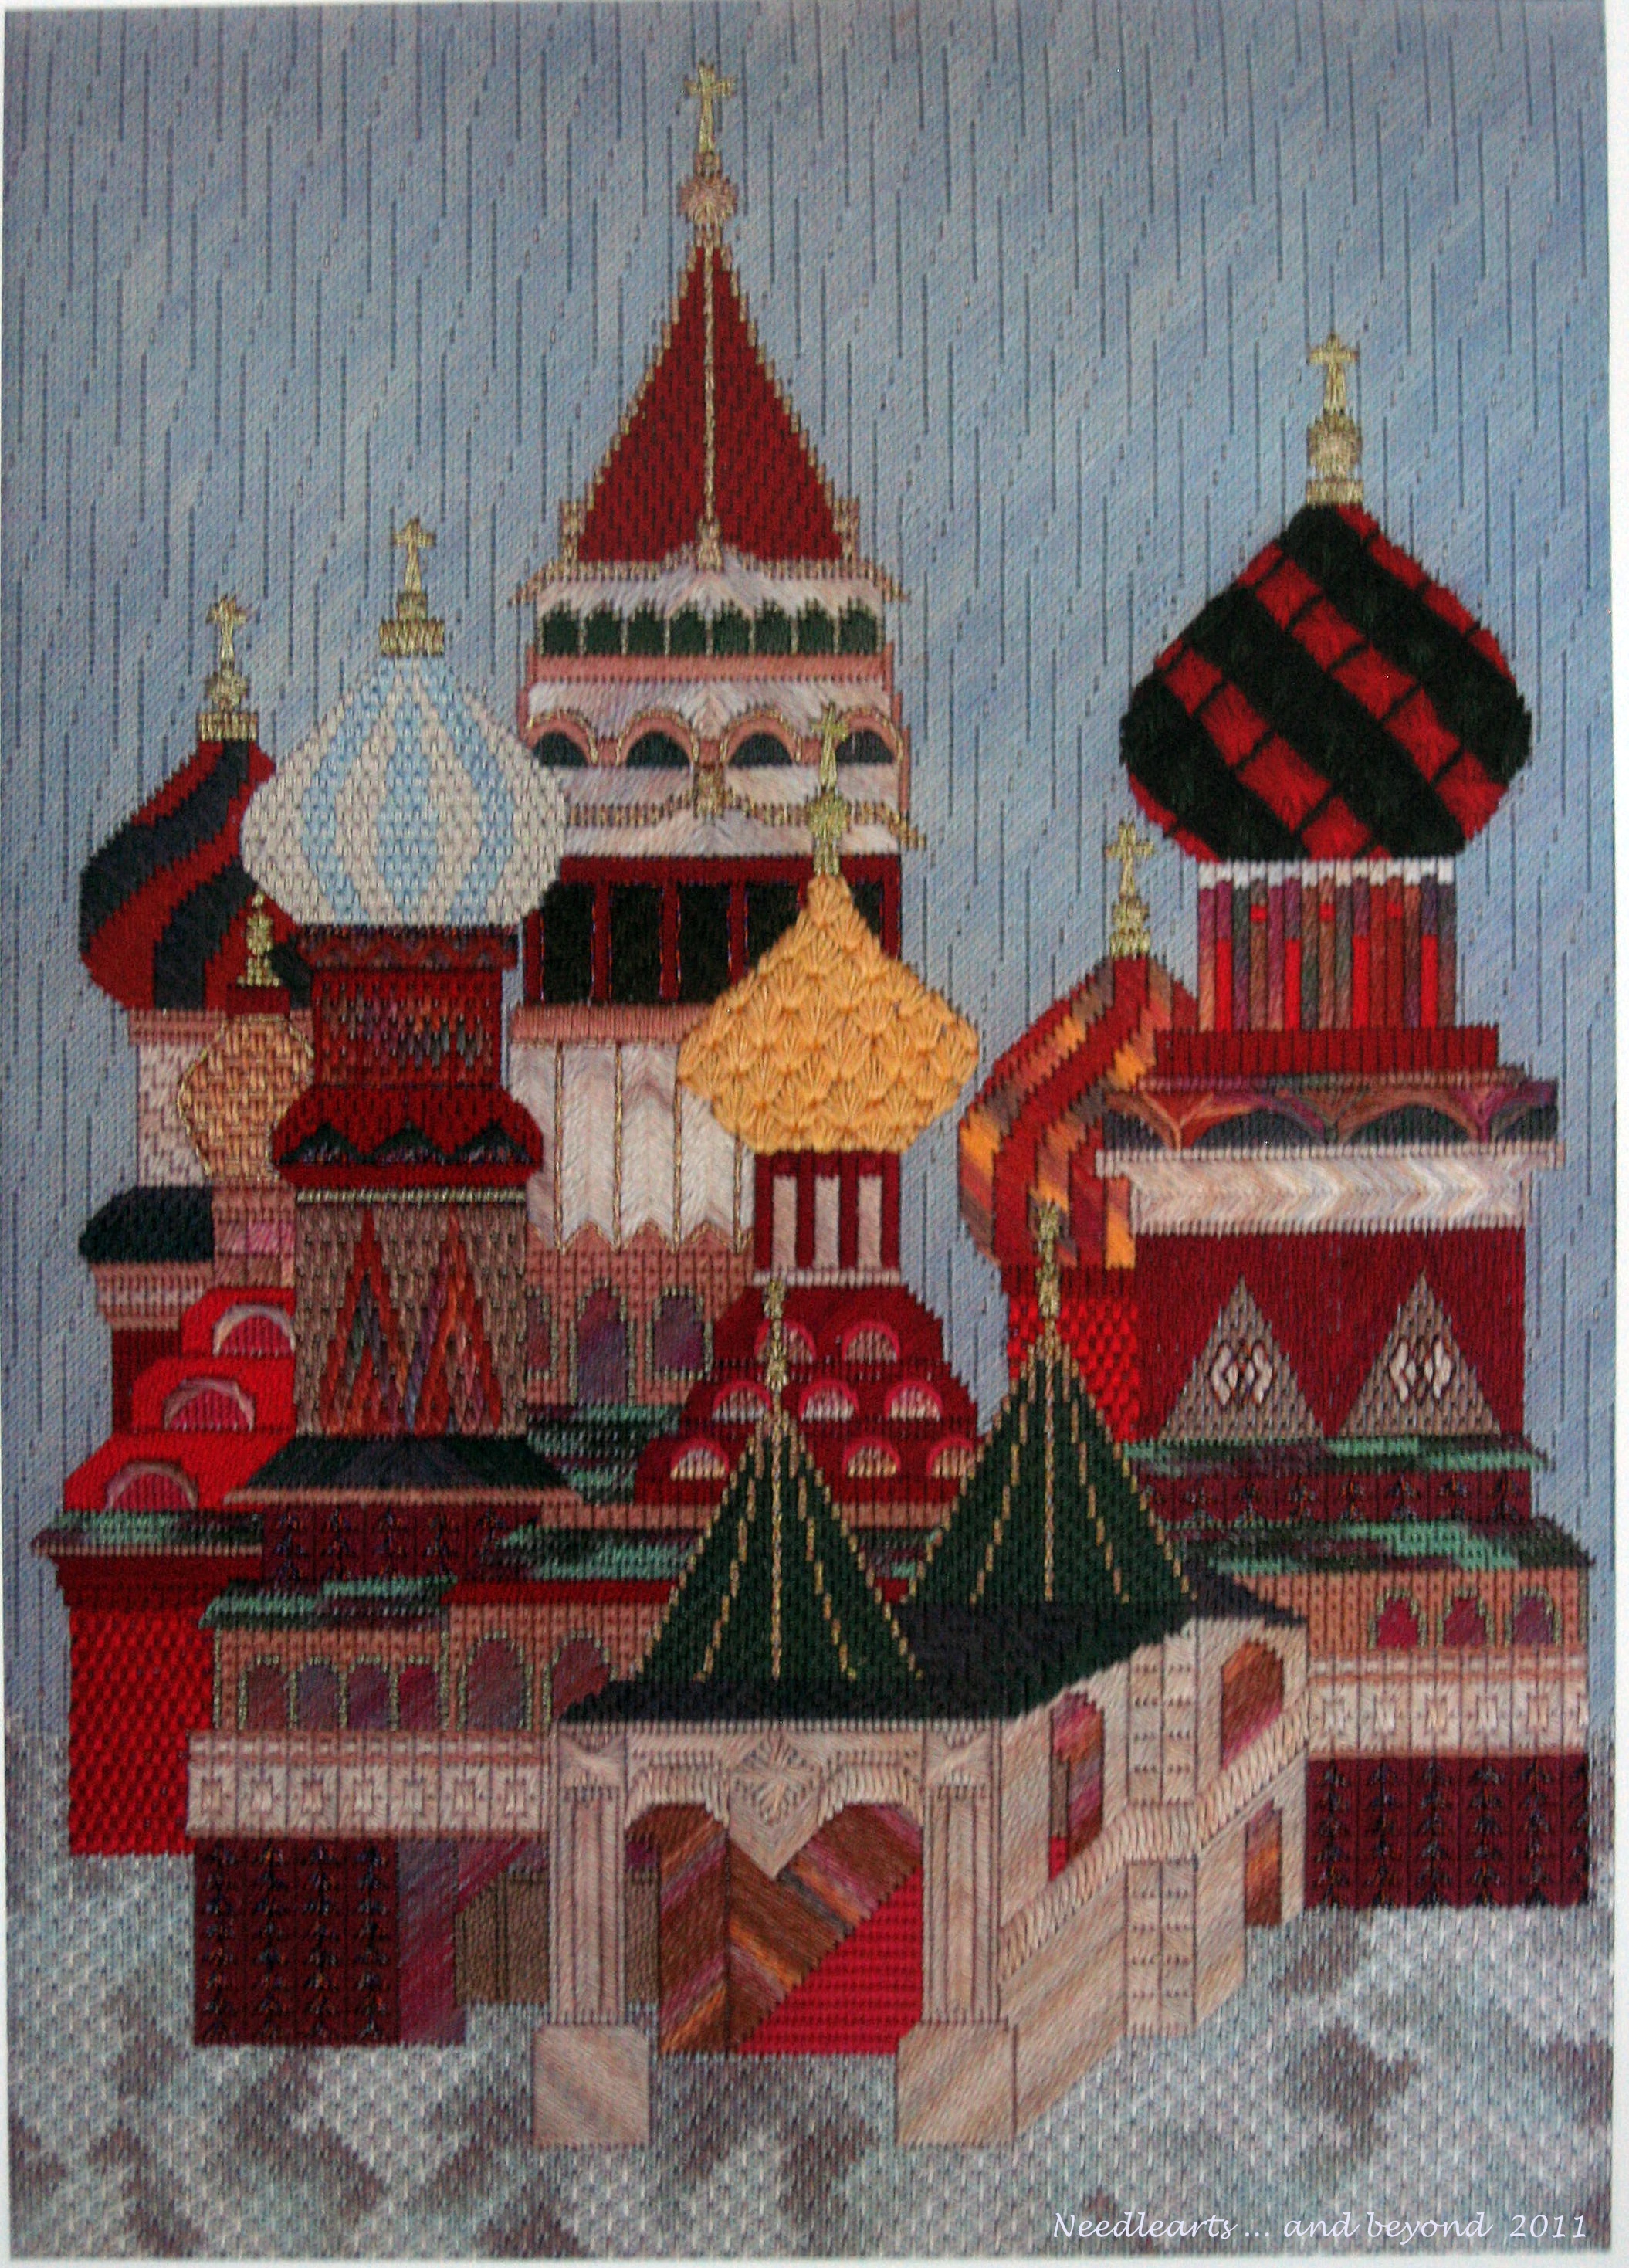
This past week I attended a three day class for the fabulous "St. Basil's Cathedral" needlepoint project by Carole Lake.  The photo above is fairly close to the view of the Cathedral in Carole's needlepoint piece.  You can see her piece on her website at:  Carole Lake's St. Basil's.

Completed Project - image provided as part of class


As part of the kit, we were provided with a copy of the completed project.  The image above is actually a photo of that copy.


This was my first Carole Lake class.  It was all that a stitcher hopes for in a class -- a great piece, an interesting instructor and a fun group of students.  Ms. Lake's stitch instructions are superb -- they are extremely well organized and detailed.  She provided a nice balance of instruction time and stitching time and her sense of humor is contagious.


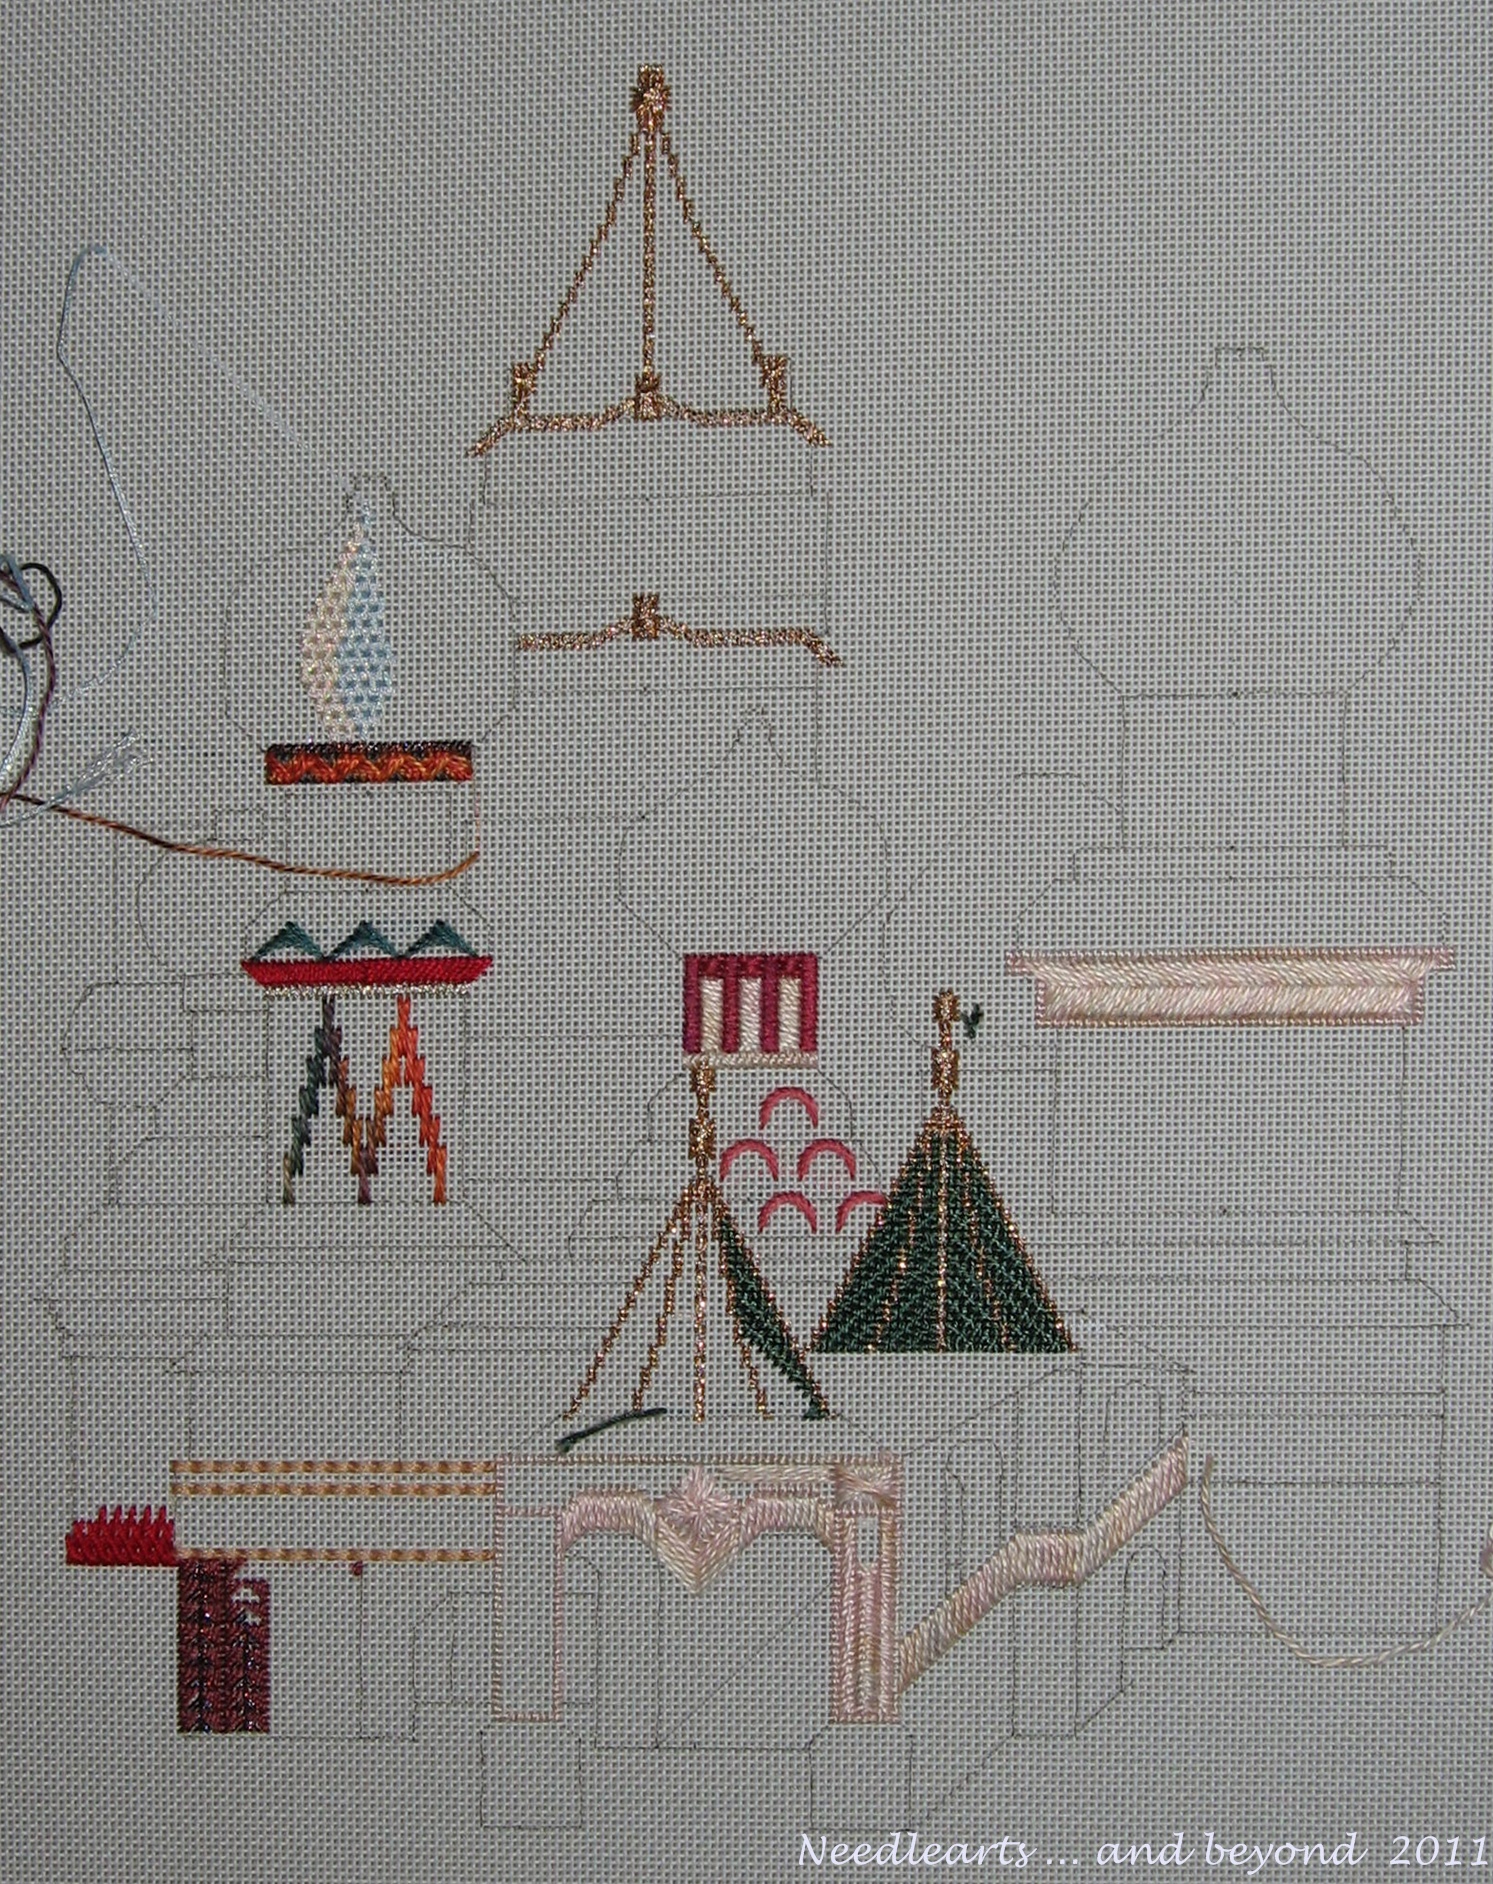
St. Basil's on 6.November.11


At present, I have no major changes planned for this piece.  The shape of some of the onion domes will likely be altered to be a bit more onion-like and I'm not sure what I want to do with the ground.  I do expect to use the colors and threads provided in the kit.


Needless to say, I have not made any progress on other projects.


24 September 2011

Downsizing continues -- a couple more items

Later today, I will be adding a couple more items to my eBay auctions.

Alto's Original QuiltCut Fabric Cutting System


Nantucket Harbor Needlepoint Kit designed by Erica Wilson


Click on "Auctions" on the top menu on this page to learn more about these items!


You can find my auctions at:

jbf auctions at eBay

31 August 2011

A Tish Celebration Needlepoint - Week 1

A Tish Celebration


Some of my favorite needlepoint pieces were designed by Tish Holland.  I like the stylized southwestern look that is uniquely hers -- as well as her stitch and thread selections.

Several years ago I bought "A Tish Celebration", the design size is approximately 20 inches by 40 inches, it is painted on 14 count canvas, and came with a stitch guide (not by Tish).  I have most of the supplies and am just about ready to begin the stitching!

I'm not really sure if this is still available, the canvas is listed on the Sundance Designs online catalog, but no image is available.  Many of the individual elements in the piece are available as smaller, modified canvases -- Bread Making, Chili Harvest, Little Potter, Prickly Pear Harvest, and Three Sisters.

This link will take you to the Tish page of the Sundance Catalog ... Tish needlepoint designs.

21 August 2011

Rhapsody Needlepoint - Completed!

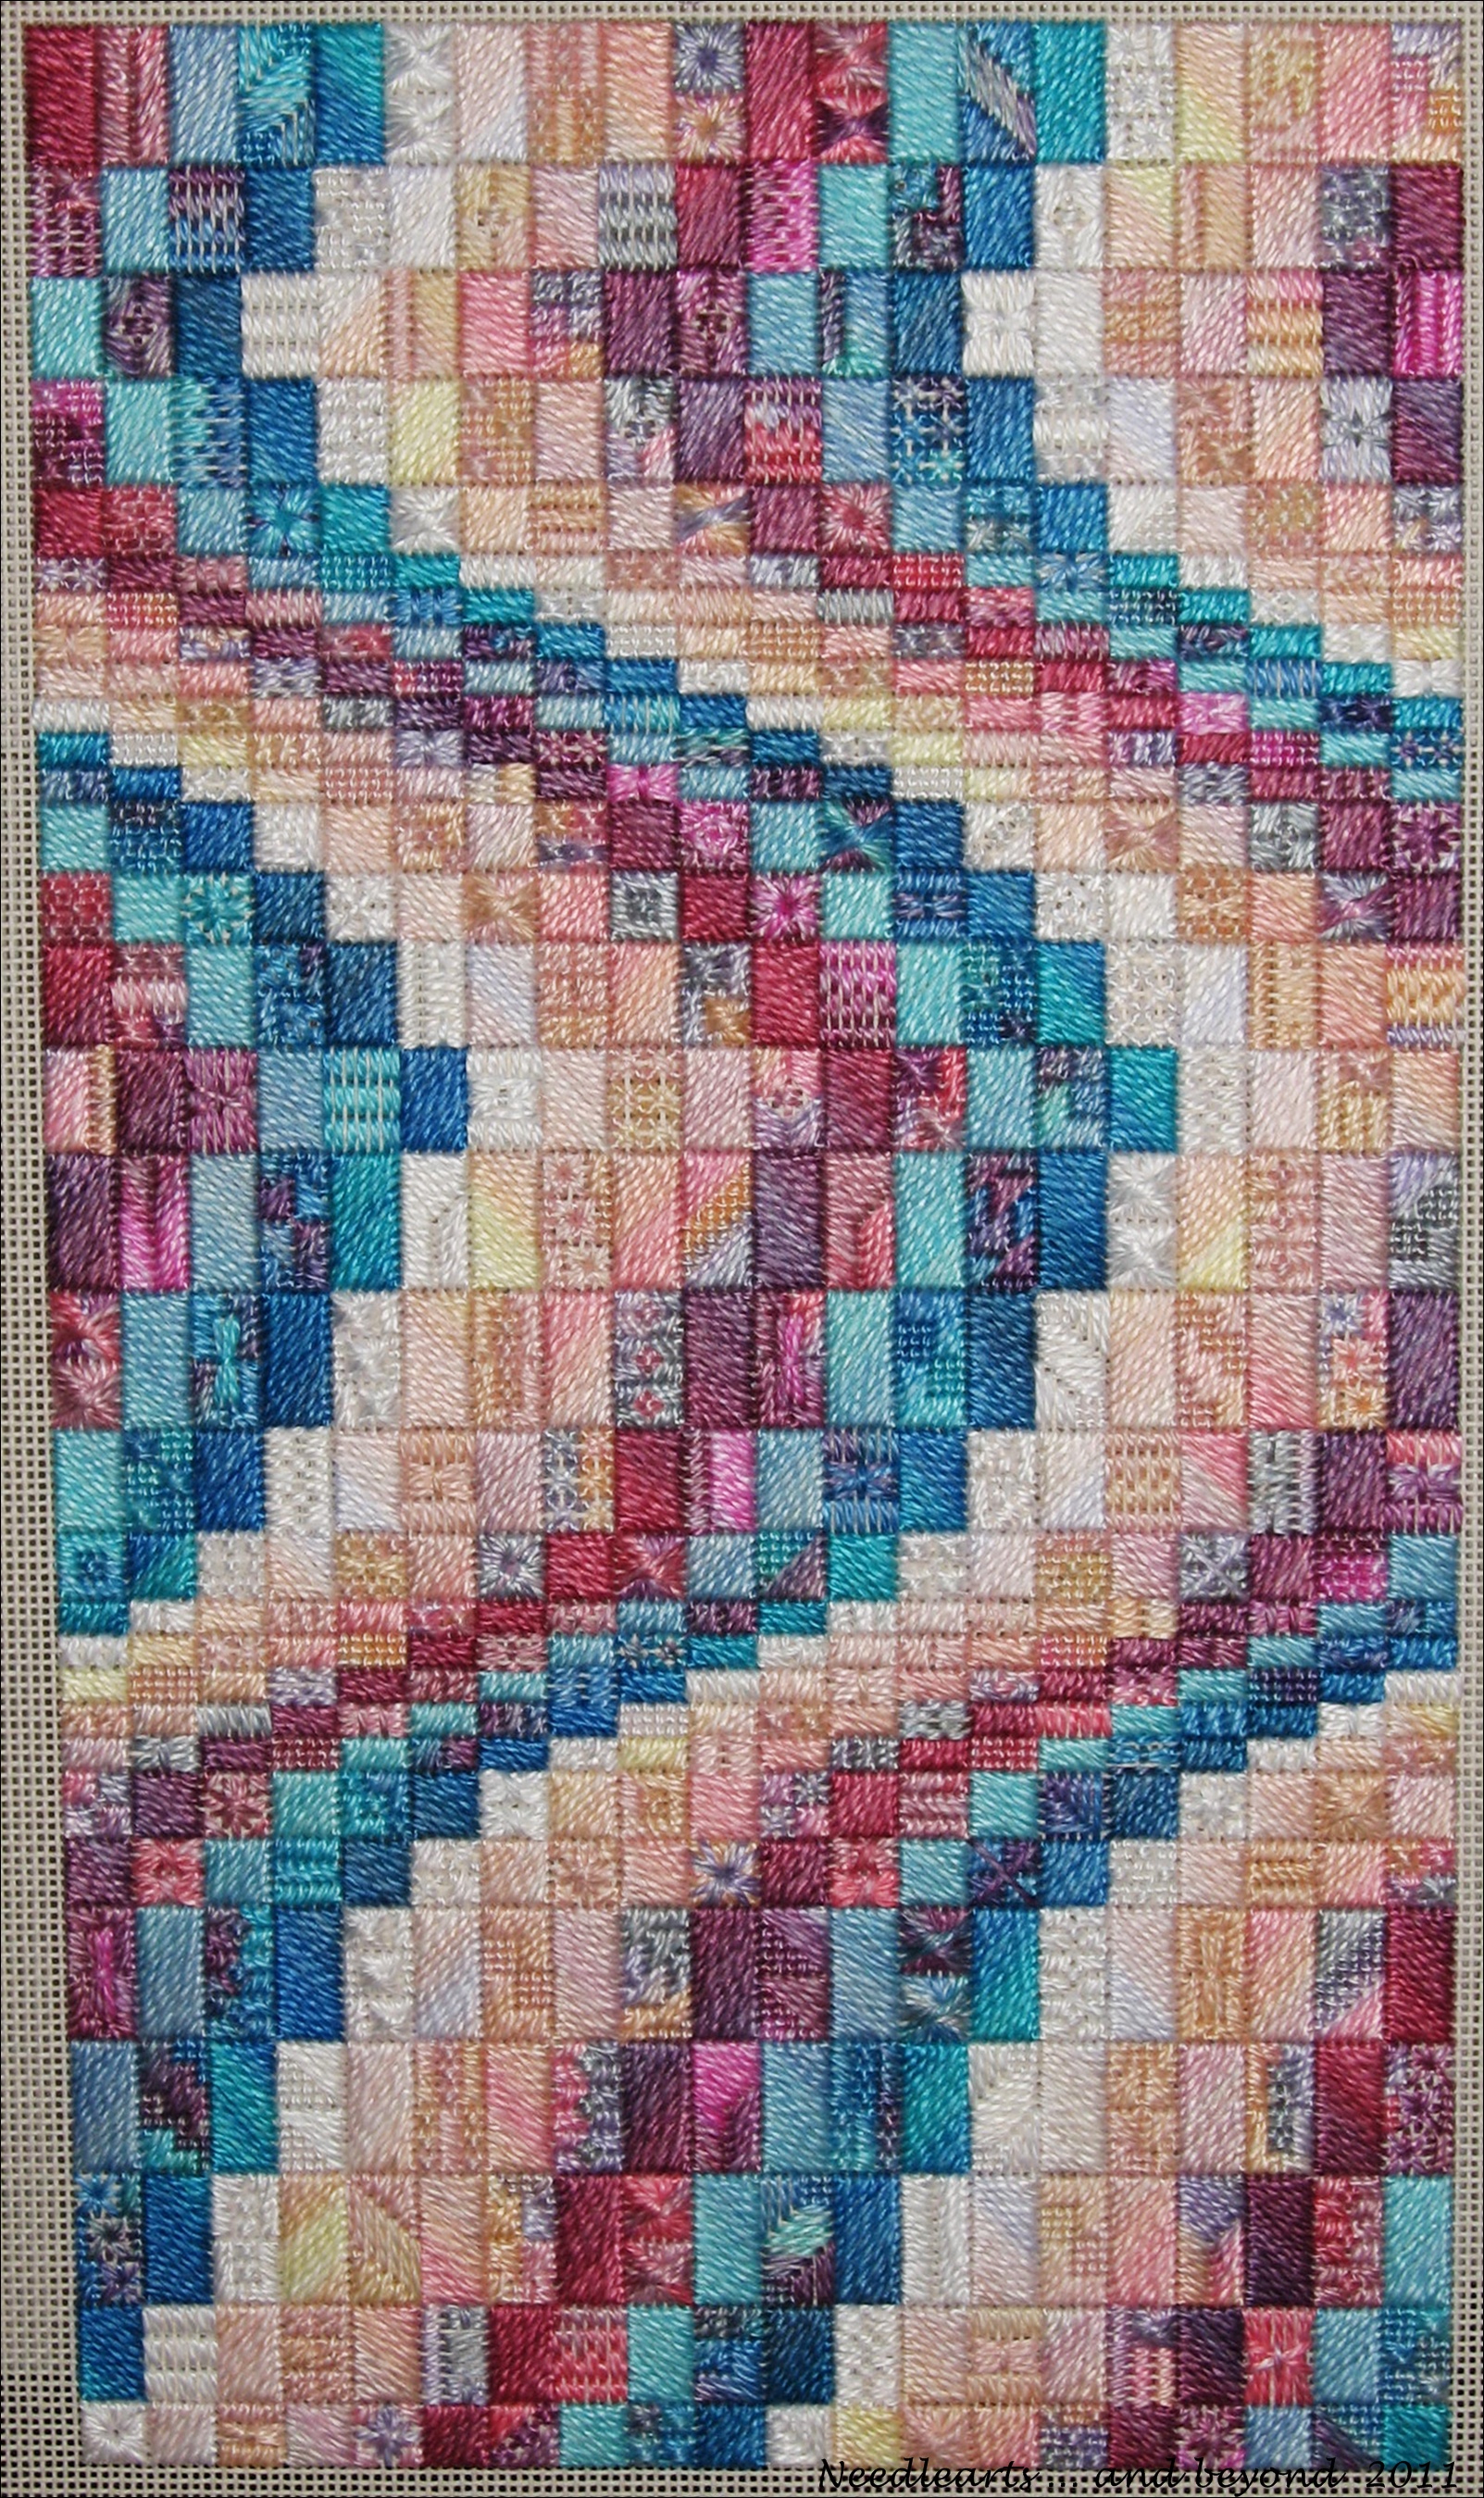
Rhapsody Completed on August 20, 2011


The stitching on Rhapsody was finished yesterday -- I haven't added a row of goeblin around the piece since I don't know how it will be finished.


Wow!! A fun piece to stitch.  I found a few more errors in the graphs but they are minor and a confident stitcher should see the errors before stitching.


Additional tips for your stitching enjoyment:


The suggested size to cut the canvas is too small -- I didn't realize that until I was well into the stitching.  Cut your canvas 11" by 16" (or larger if you can't find 11" bars).   I staple my canvas to the top of the stretcher bars and there was barely enough room to start and stop along the side edges.  If you staple to the bottom you won't have a problem.


Some of the stitch sequences are somewhat unusual.  Try to bring your needle up into an empty space and down in a full space - this is not always possible.  Also, your stitches will be more defined and lovely if you are able to "wrap" the canvas threads.


The companion piece - Romance - is already in my stack -- I might use the same colors as I used for Rhapsody.

13 August 2011

Rhapsody Needlepoint - Week 2

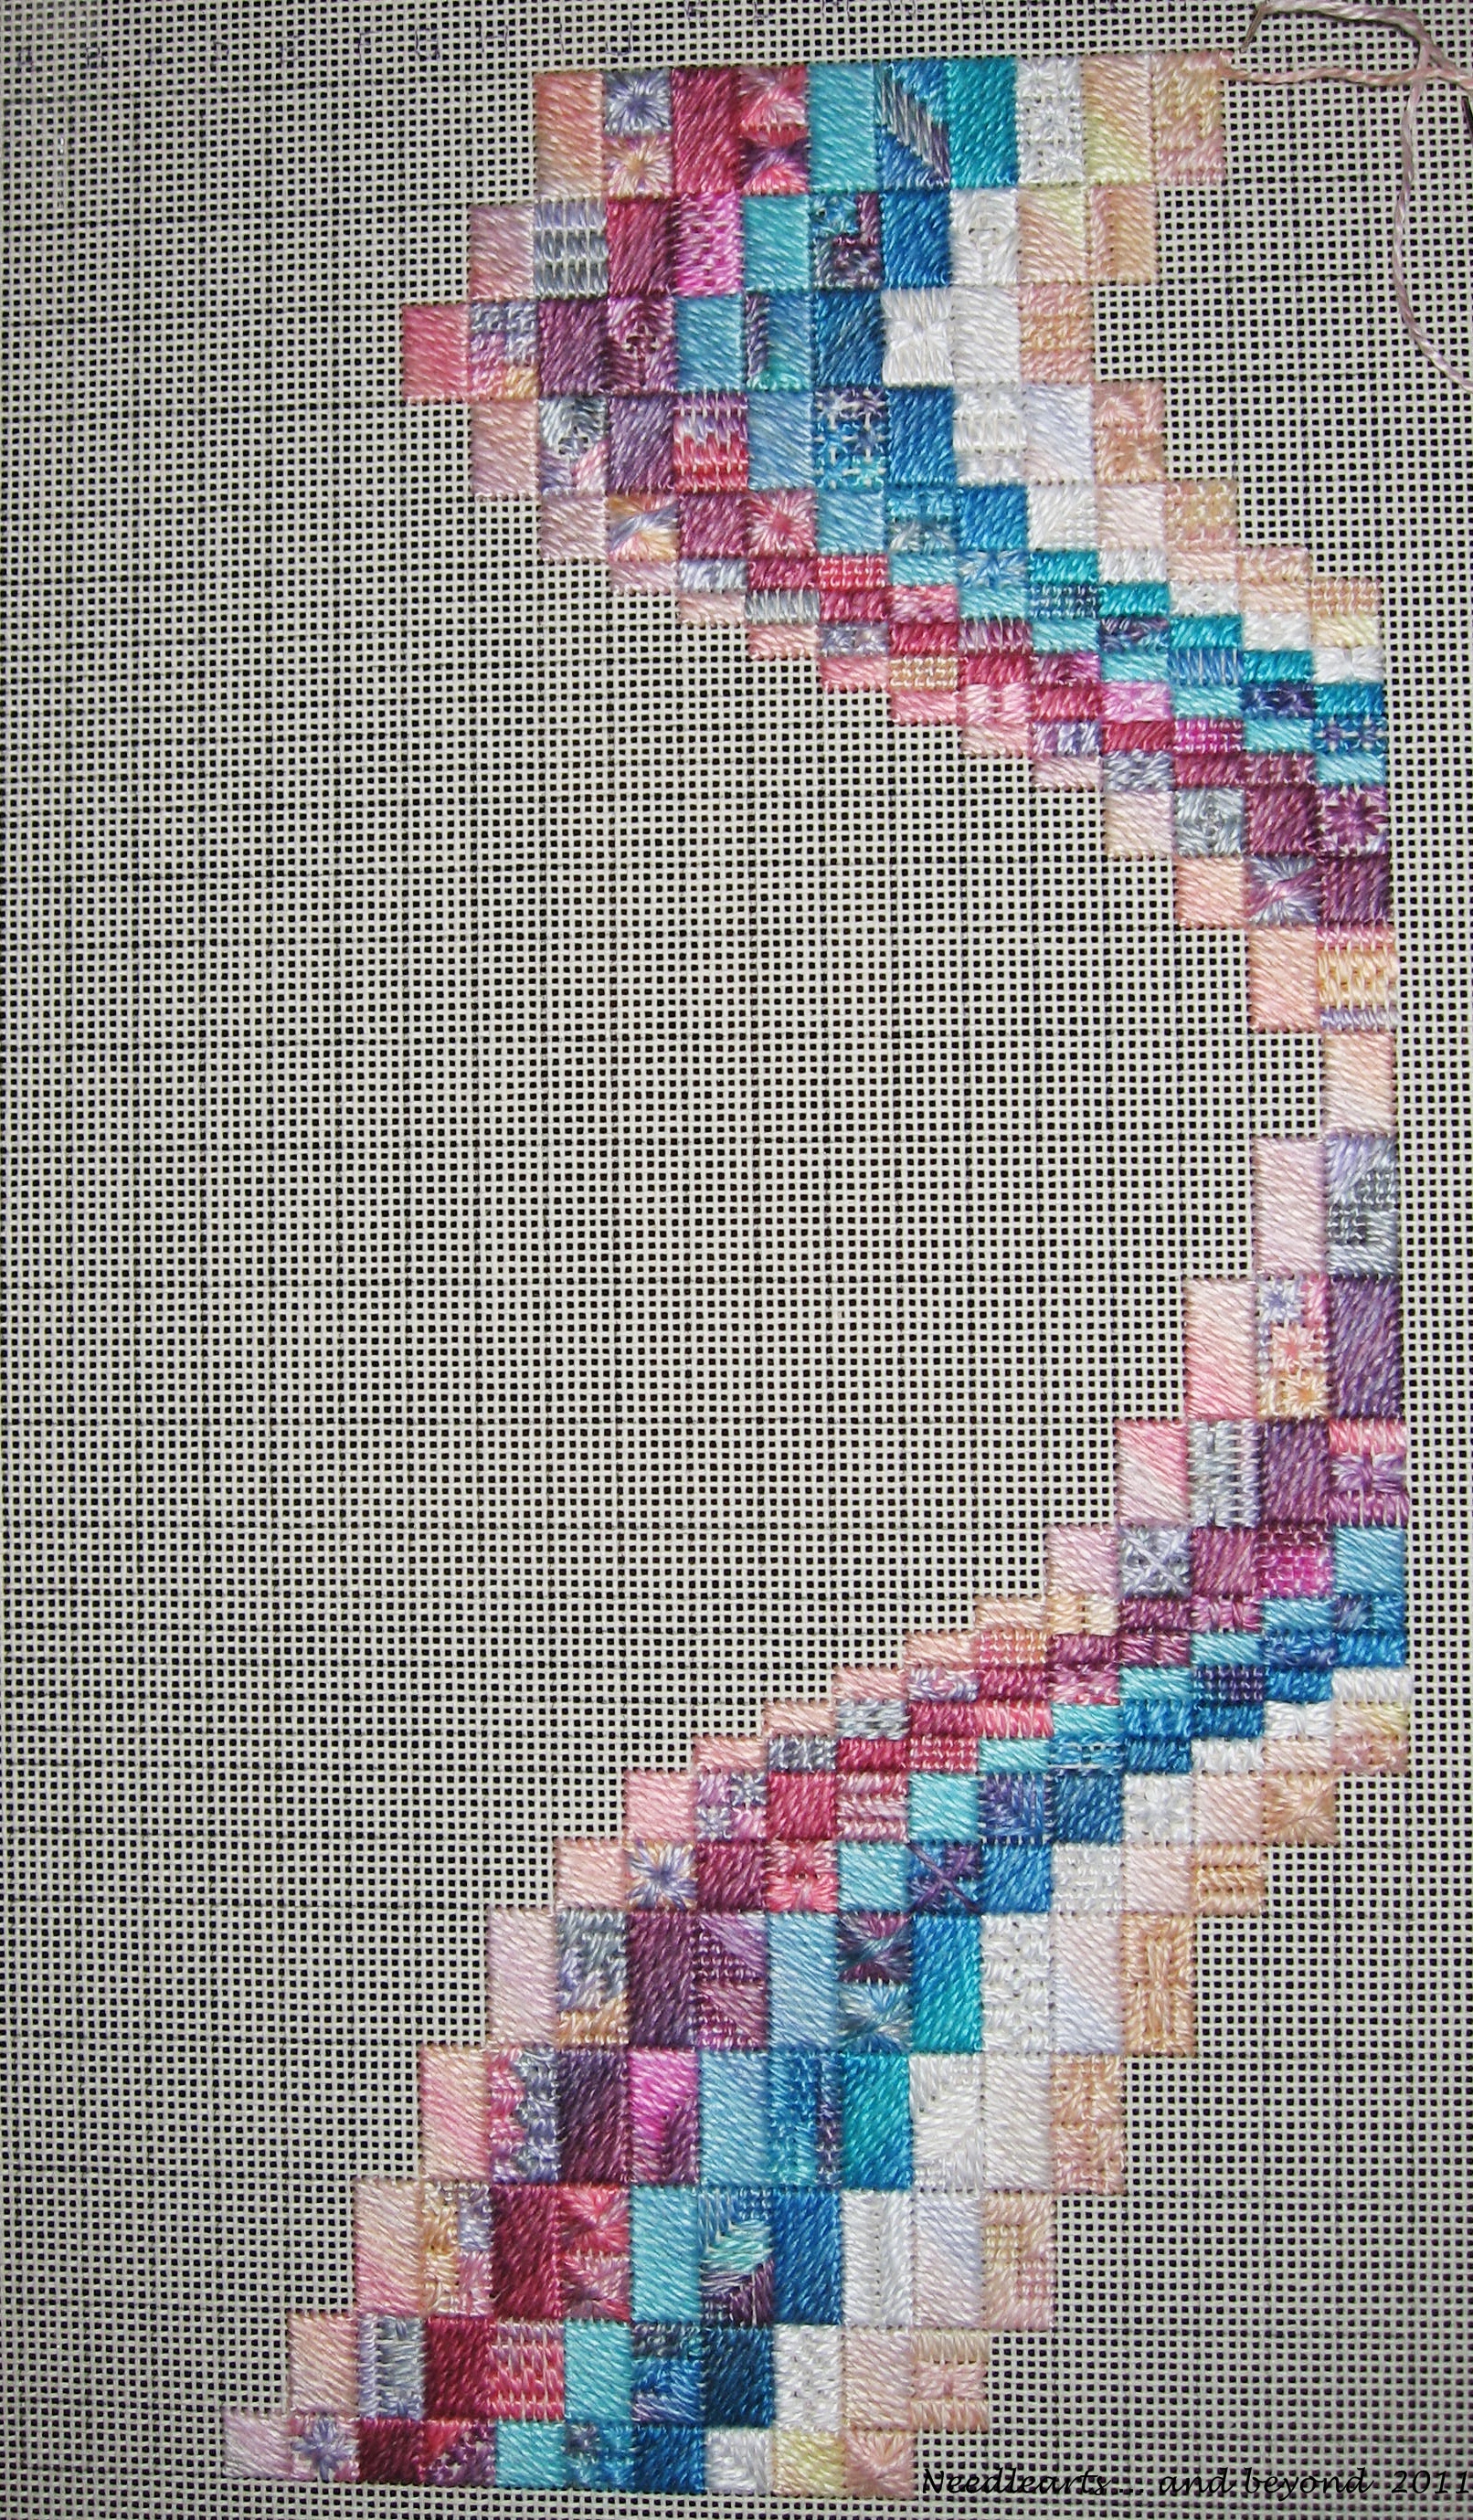
Rhapsody - Week 2


The Rhapsody project continues!  There are a total of ten different Watercolours that are used in the piece -- all have been stitched.  I can't wait to see how they look as they are repeated.  So far, so good!

This is a fun piece to stitch --- but.... (yes, always a "but") I have found a few errors in the charting.  They will not be a problem for an intermediate/advanced stitcher, however, if you are new to needlepoint you may need a little help.

I started in the center (as suggested) and am working from left to right - one vertical ribbon at a time.  After that is complete I will work from center in the opposite direction.   These are the charting errors I have found so far....

Stitch 8:  has been charted over 7 rather than 6 canvas threads -- there should be an additional straight gobelin at the far right for a total of seven, the slanted gobelin sequence in the bottom left is charted one canvas thread too wide left.

Stitch 10:  stitch 16 should be over two intersections and start directly under stitch 15, stitch 25 should  start in the same position as charted but over one intersection only.

Stitch 14:  stitches 17 through 24 point the wrong stitch direction.

Stitch 42:  the stitch is charted over eight canvas threads rather than nine.  Extend the slanted gobelin on each side by one stitch, dropping the bottom rhodes by one stitch -- add two tent stitches between rhodes stitches.

Stitch 47;  top and bottom straight gobelin -- there should be seven stitches  for each -- add one to each side.

Stitch 65:  doesn't match photo... cross stitch 4/5 should be over 4 laid threads, cross stitch 10/11 should be over 4 laid threads.  Put in stitch 6 and then put in the 4/5 cross over all four threads,  repeat stitch six  and put in the 10/11 cross over all four threads.

Stitch 76:  doesn't match photo... to duplicate the photo, stitch 7 should start one thread lower and end one thread higher  -- it will cover all horizontal threads as well as the giant cross.

04 August 2011

Pillow Shams and Needlepoint

Almost A Log Cabin Pillow Shams


This afternoon I finished pillow shams that go with the Almost a Log Cabin quilt.  The overall finished size of each is 20" x 30".  I bought enough fabric so that I will be able to make about 6 coordinated pillow cases.

Rhapsody - Week 1.5


There were not enough hours in the past week for me to make much progress on the Rhapsody project.  The second ribbon is about 3/4 complete.  I'm anxious to see how the color selection impacts the design.

30 July 2011

Rhapsody by Amybear - Week 1


The supplies for Rhapsody have been on my pressing table for over a month.  As soon as E. Mears was finished, I started getting the Rhapsody project ready for stitching.

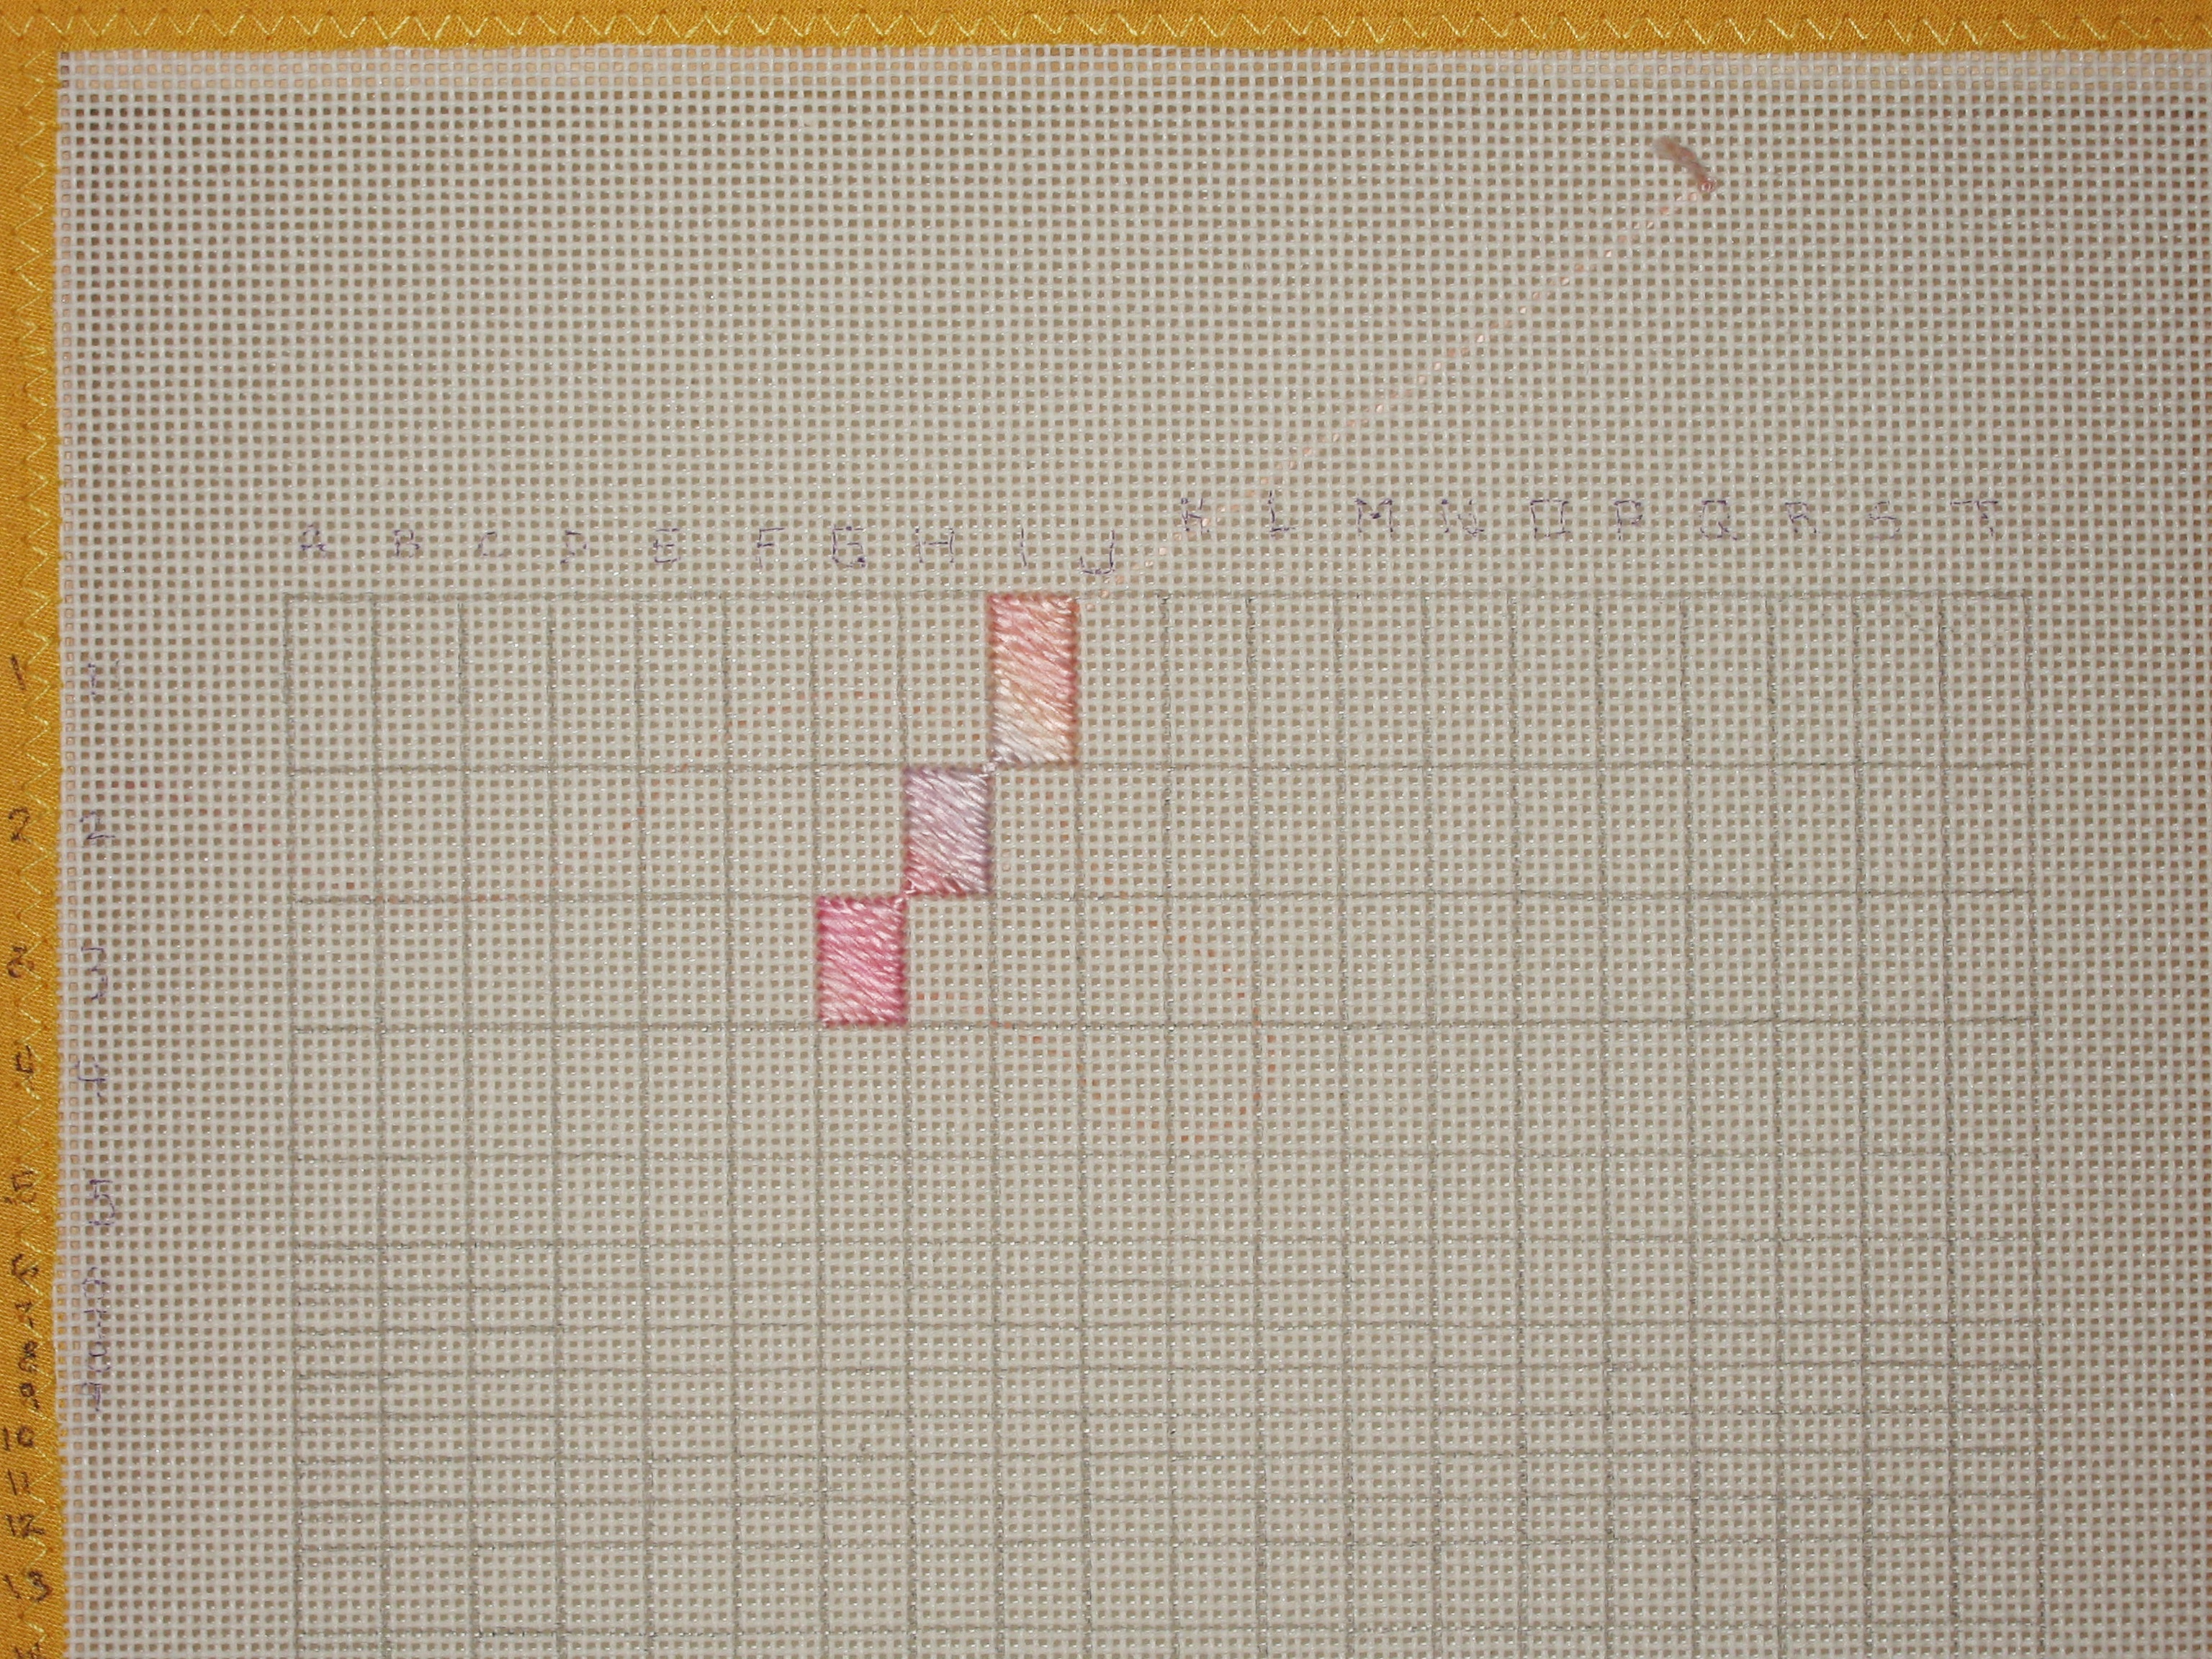
Marking the canvas was easy... with one exception.... the designer suggests putting the letter and number designations onto the canvas.  Well... I put in half of the letters and then decided that I placed them too close to the actual work area.  Not really an issue and but if it really starts to bother me I have Ceramcoat ready.  Then I started putting in the numbers -- with the amount of space available not an easy task, so those numbers went onto the edge fabric.

The stitching has barely been started but I am sure that this will be a fun project with all stitching done with one strand of Watercolours on 18 count canvas.  My color selection is trying for a tropical look - but - with overdyed threads the result isn't always what I expect.

Rhapsody - Week 1

22 June 2011

Stitching With Lizzie - Week 25


Elizabeth Mears Sampler - Week 25


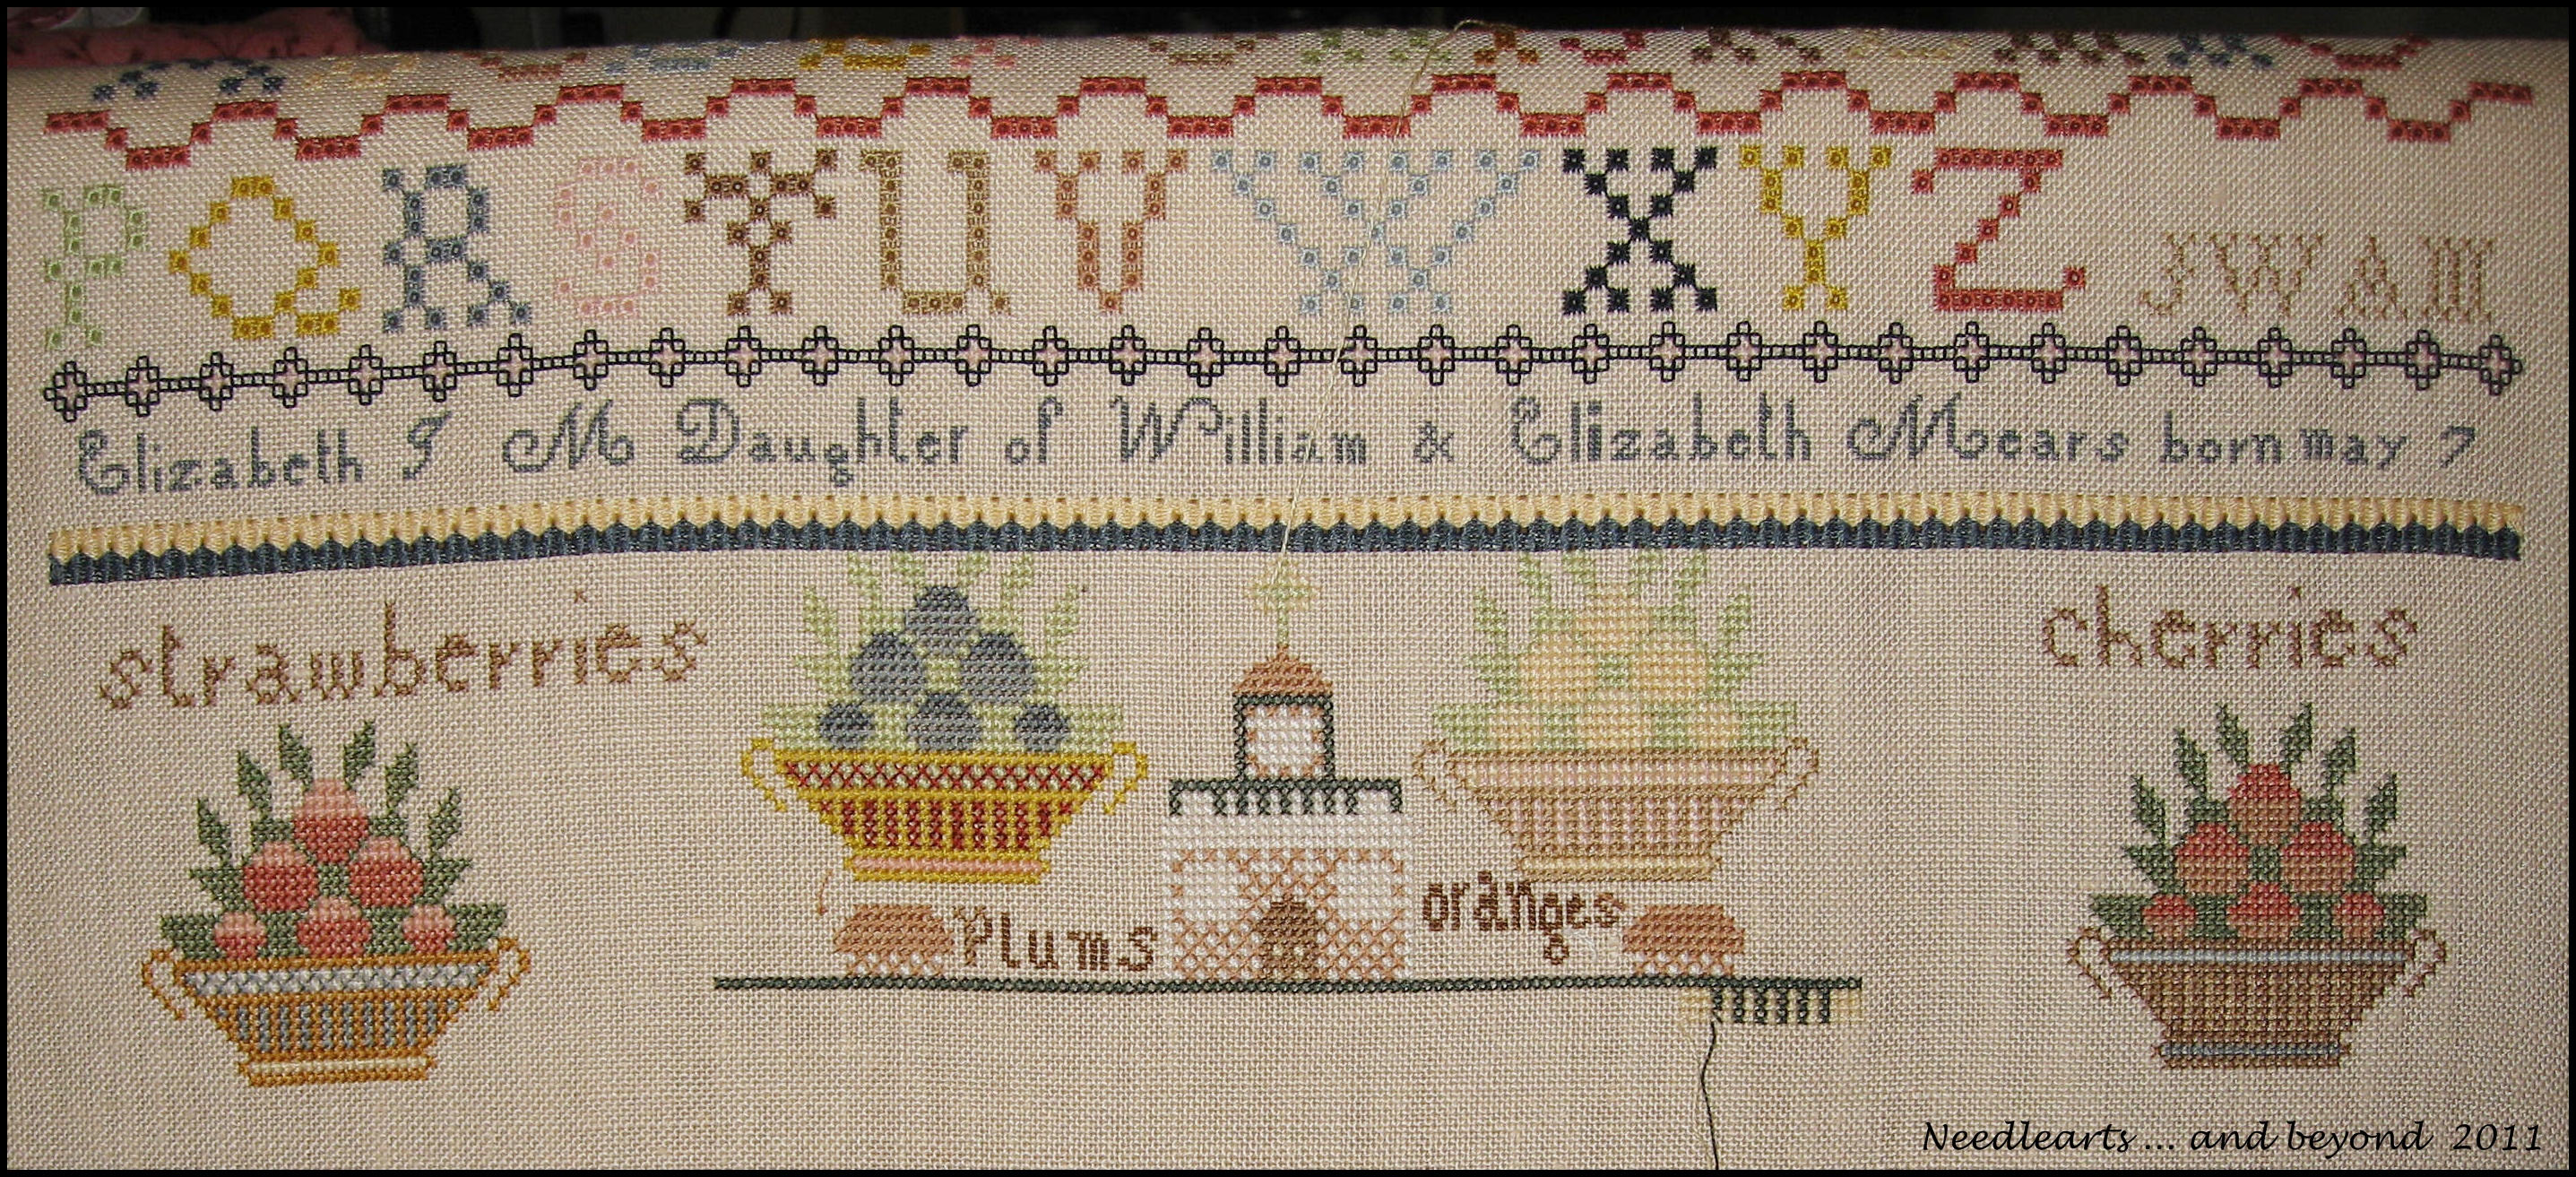
This is Elizabeth Mears  at Week 25.  The baskets came out great and the big house should start taking shape soon. I'm sort of wishing I had selected a darker ground fabric so that the house will stand out a bit more.... but .... I really wanted to use the church linen.


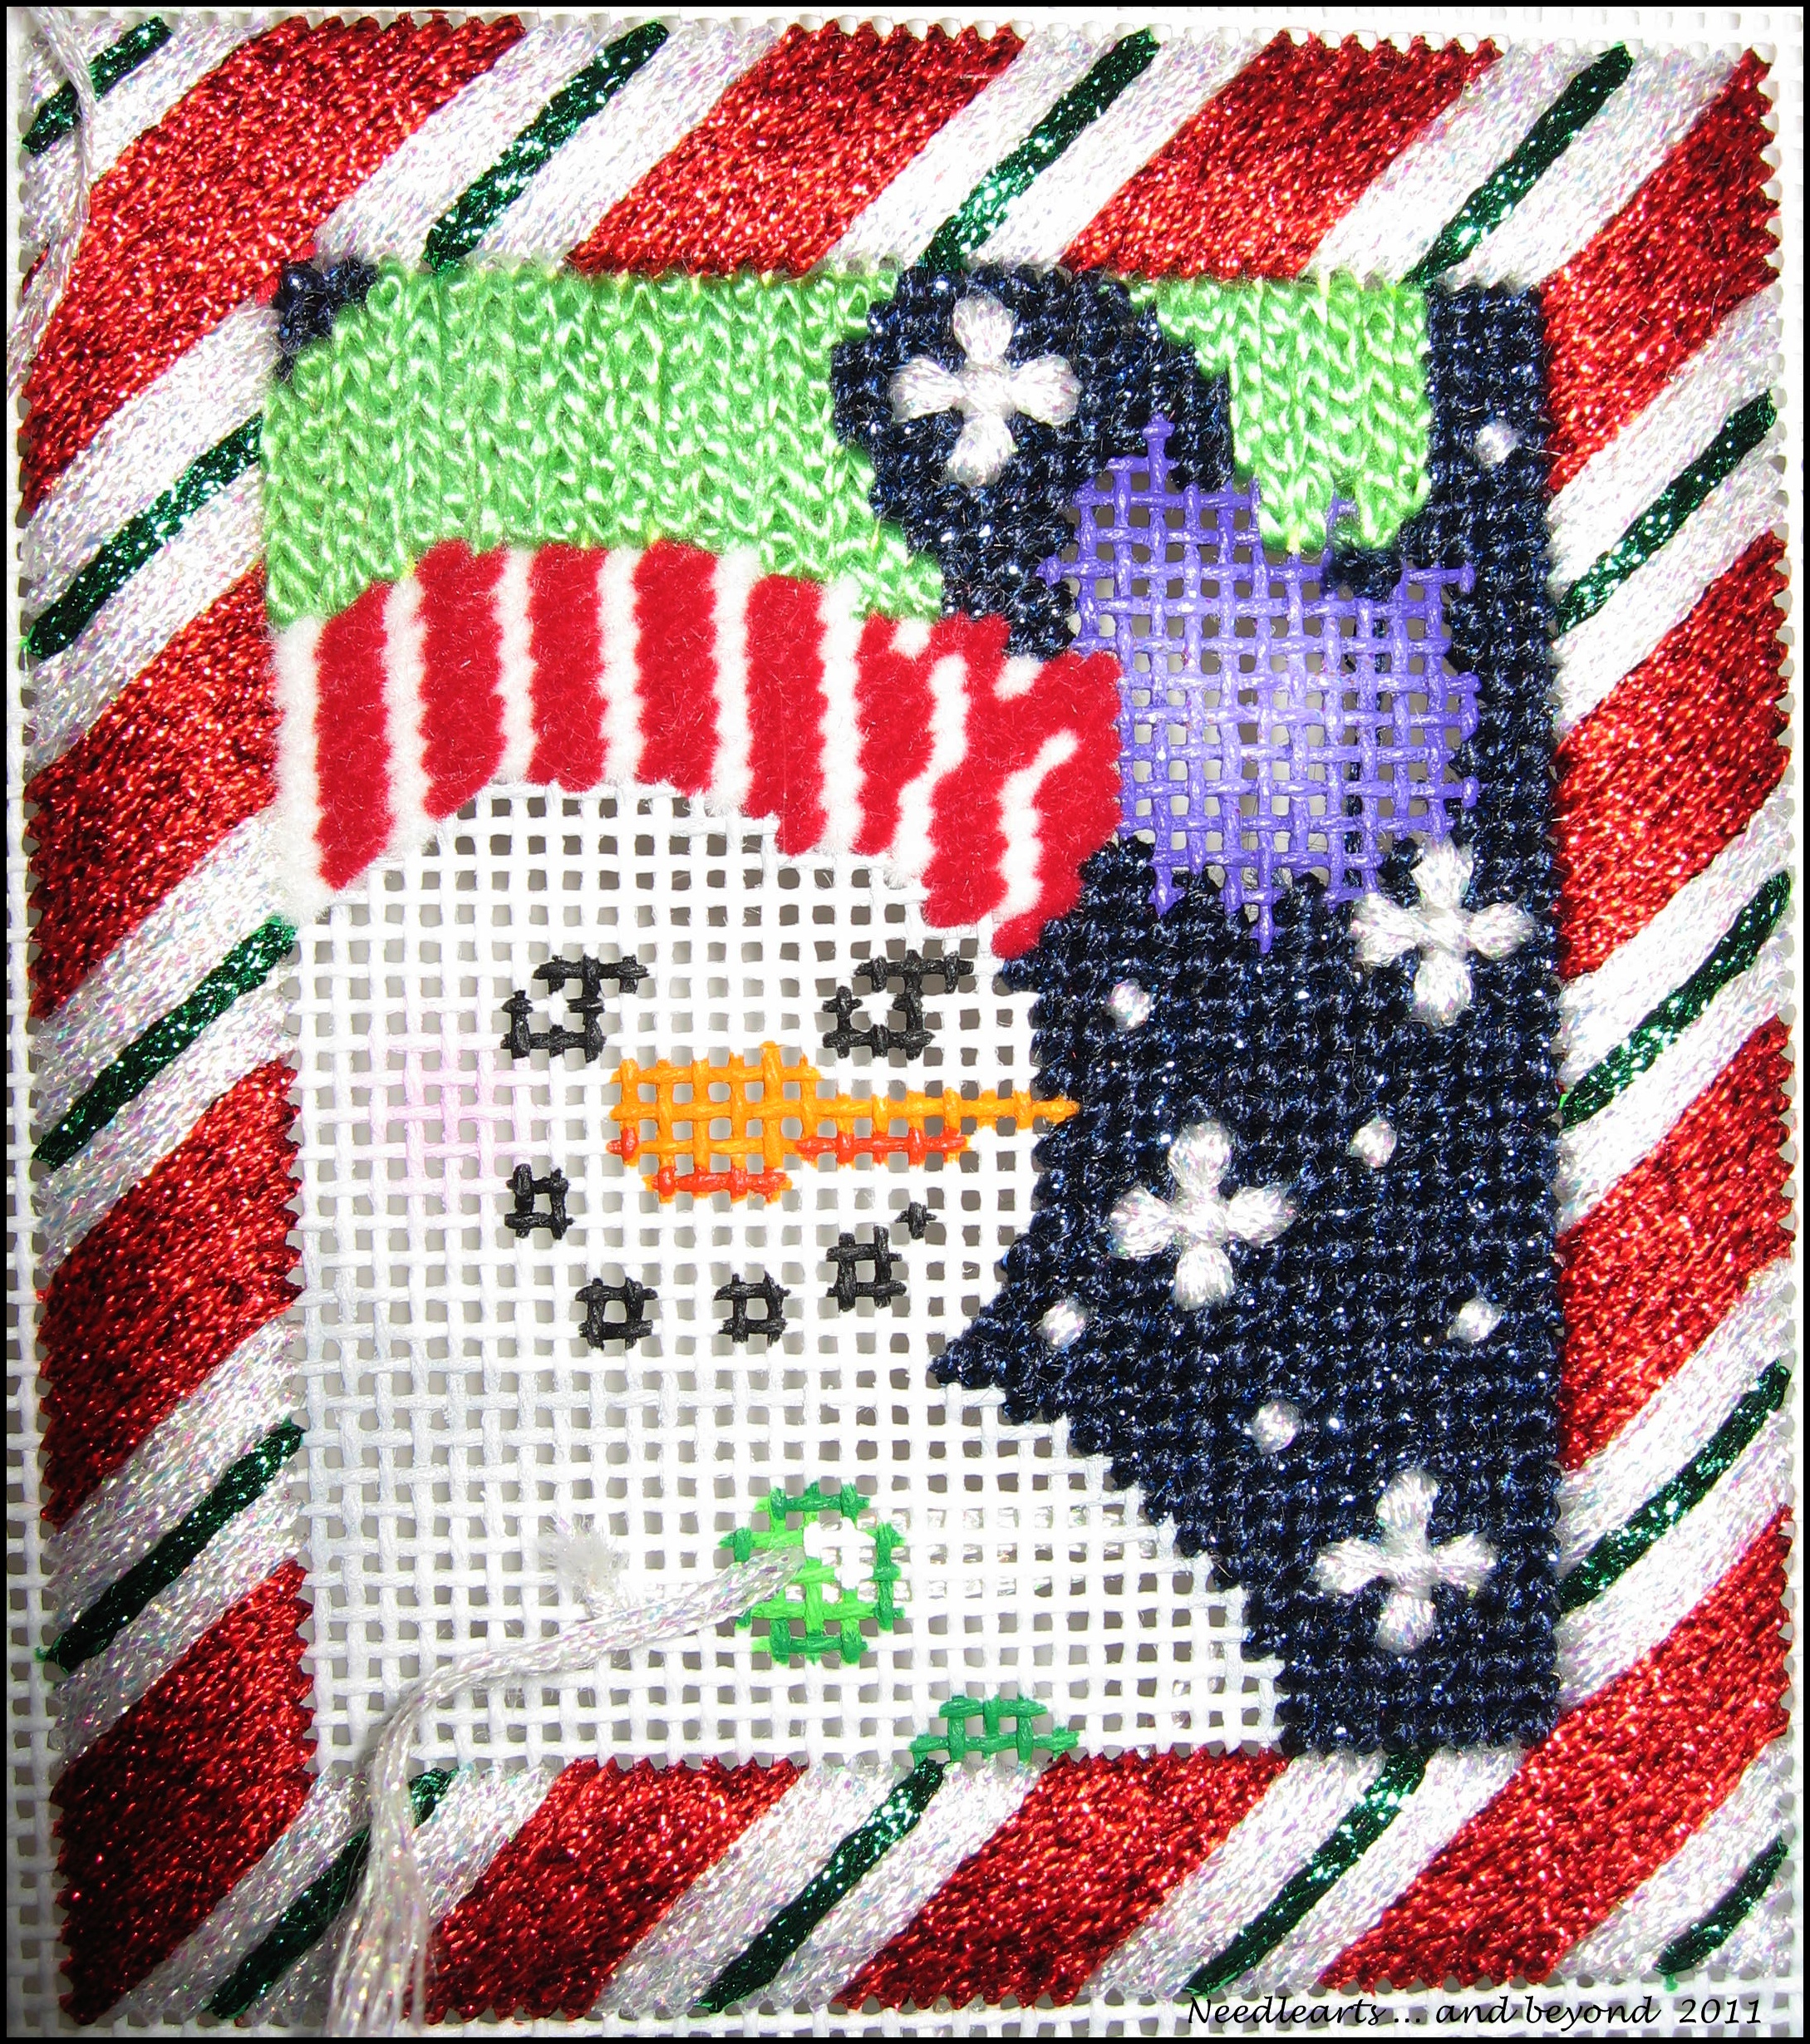
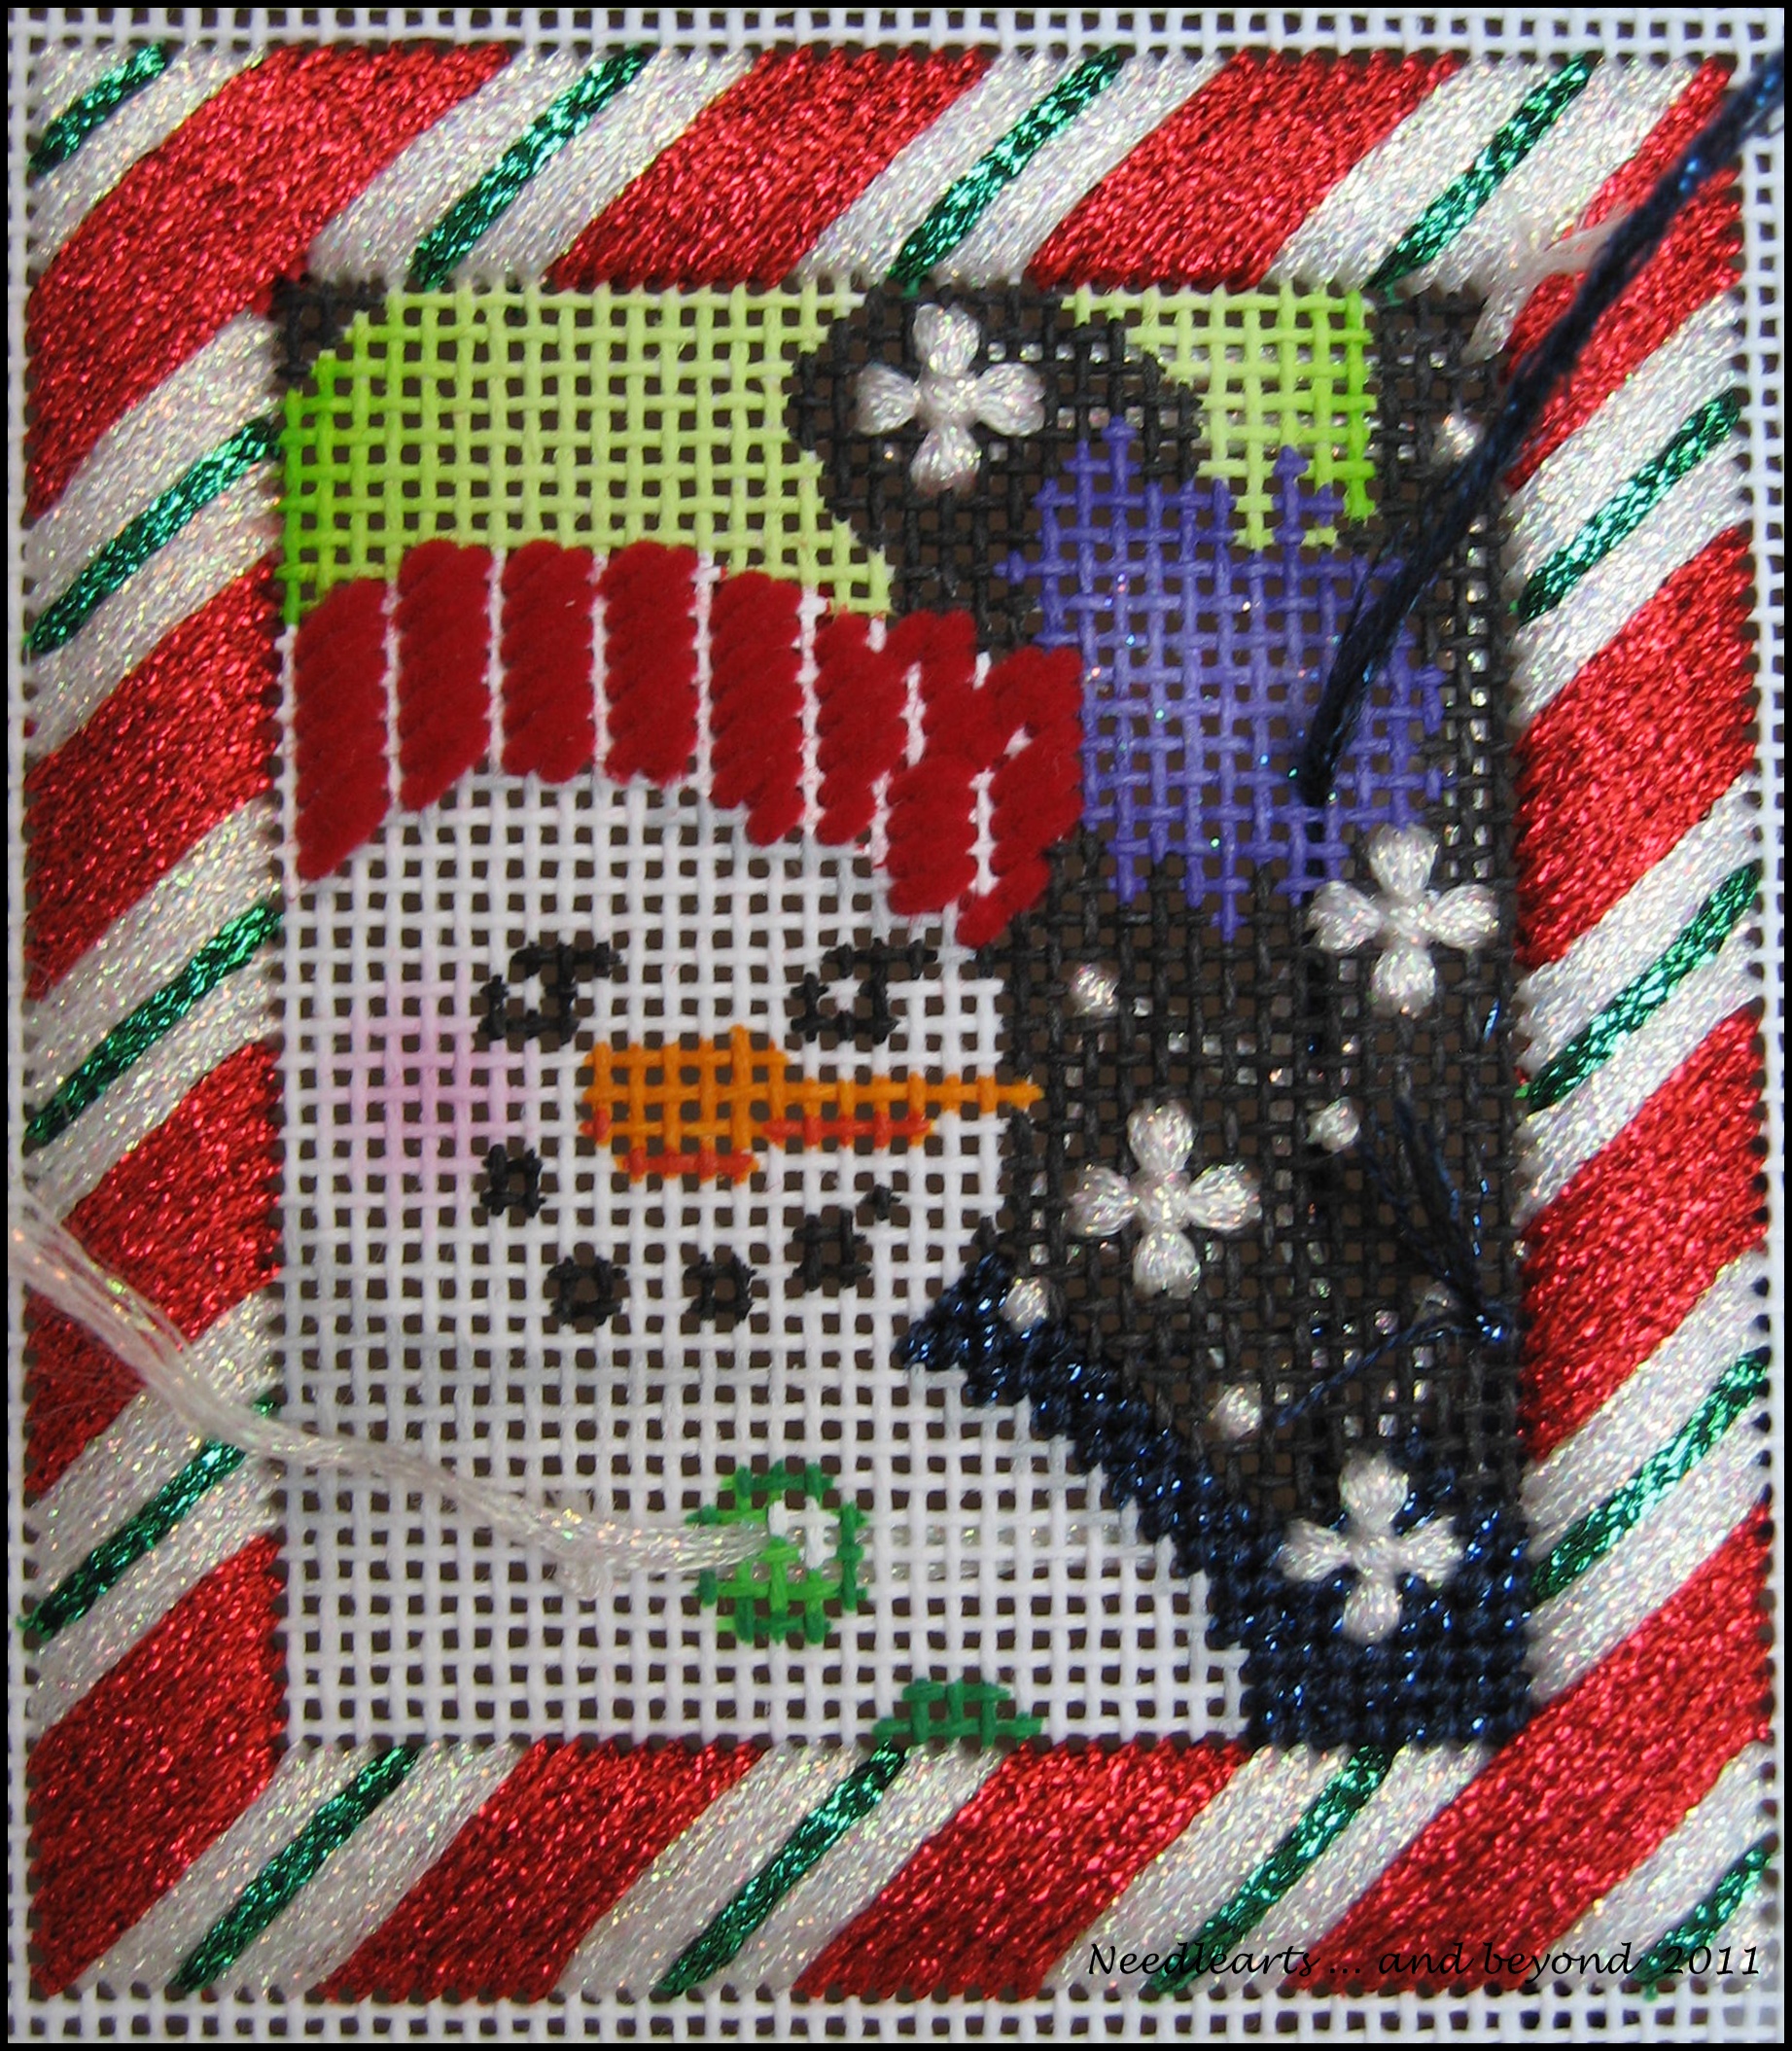
Mr. Snowman - Ornament #5


Ornament #5 is still in progress. I was distracted with the pompom on the hat.  The stitch guide uses modified turkey work that is then cut, but I've never been a fan of that stitch.  I have a few ideas...

18 June 2011

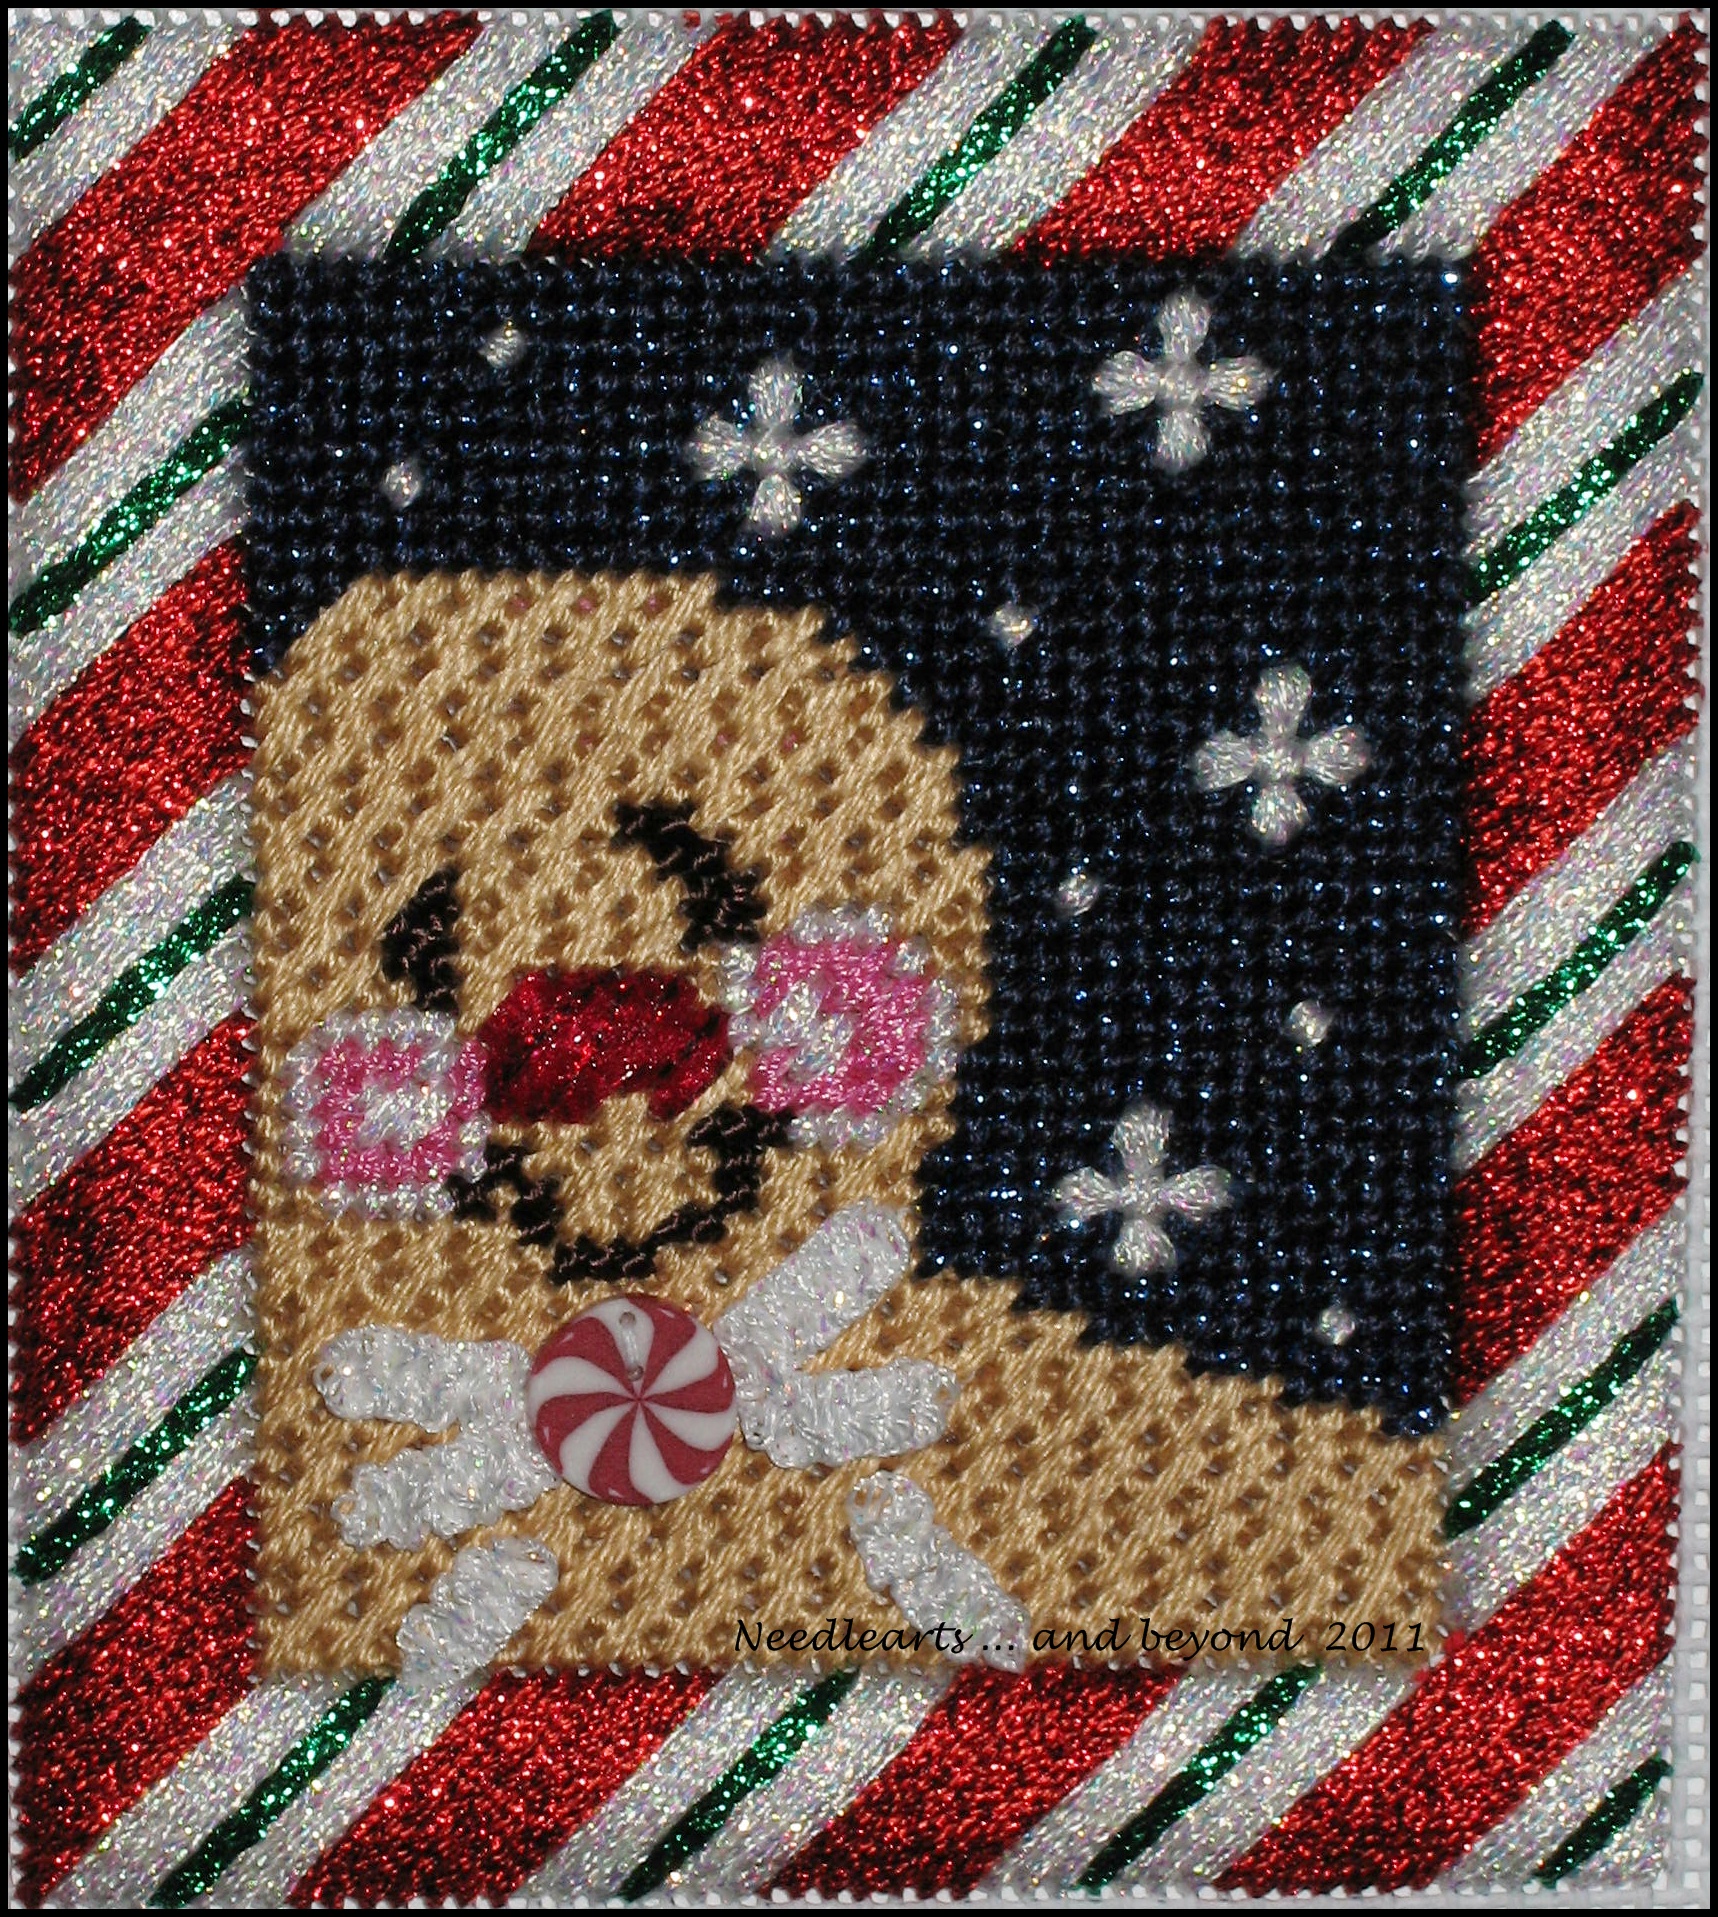
Gingerbread Man Ornament - Update


The poor little gingerbread man looked like the frosting was running out when he got his bow tie.  Much better......

16 June 2011

Ornament Club Numbers 3 & 4

Gingerbread Man Ornament


Mr. Snowman Ornament


This week is the "Joyful Stitchers" meeting so I have been trying to catch up on my monthly ornaments.  The completed Gingerbread Man is ornament #4 and Mr. Snowman is coming along and might be finished before Thursday stitching.

20 April 2011

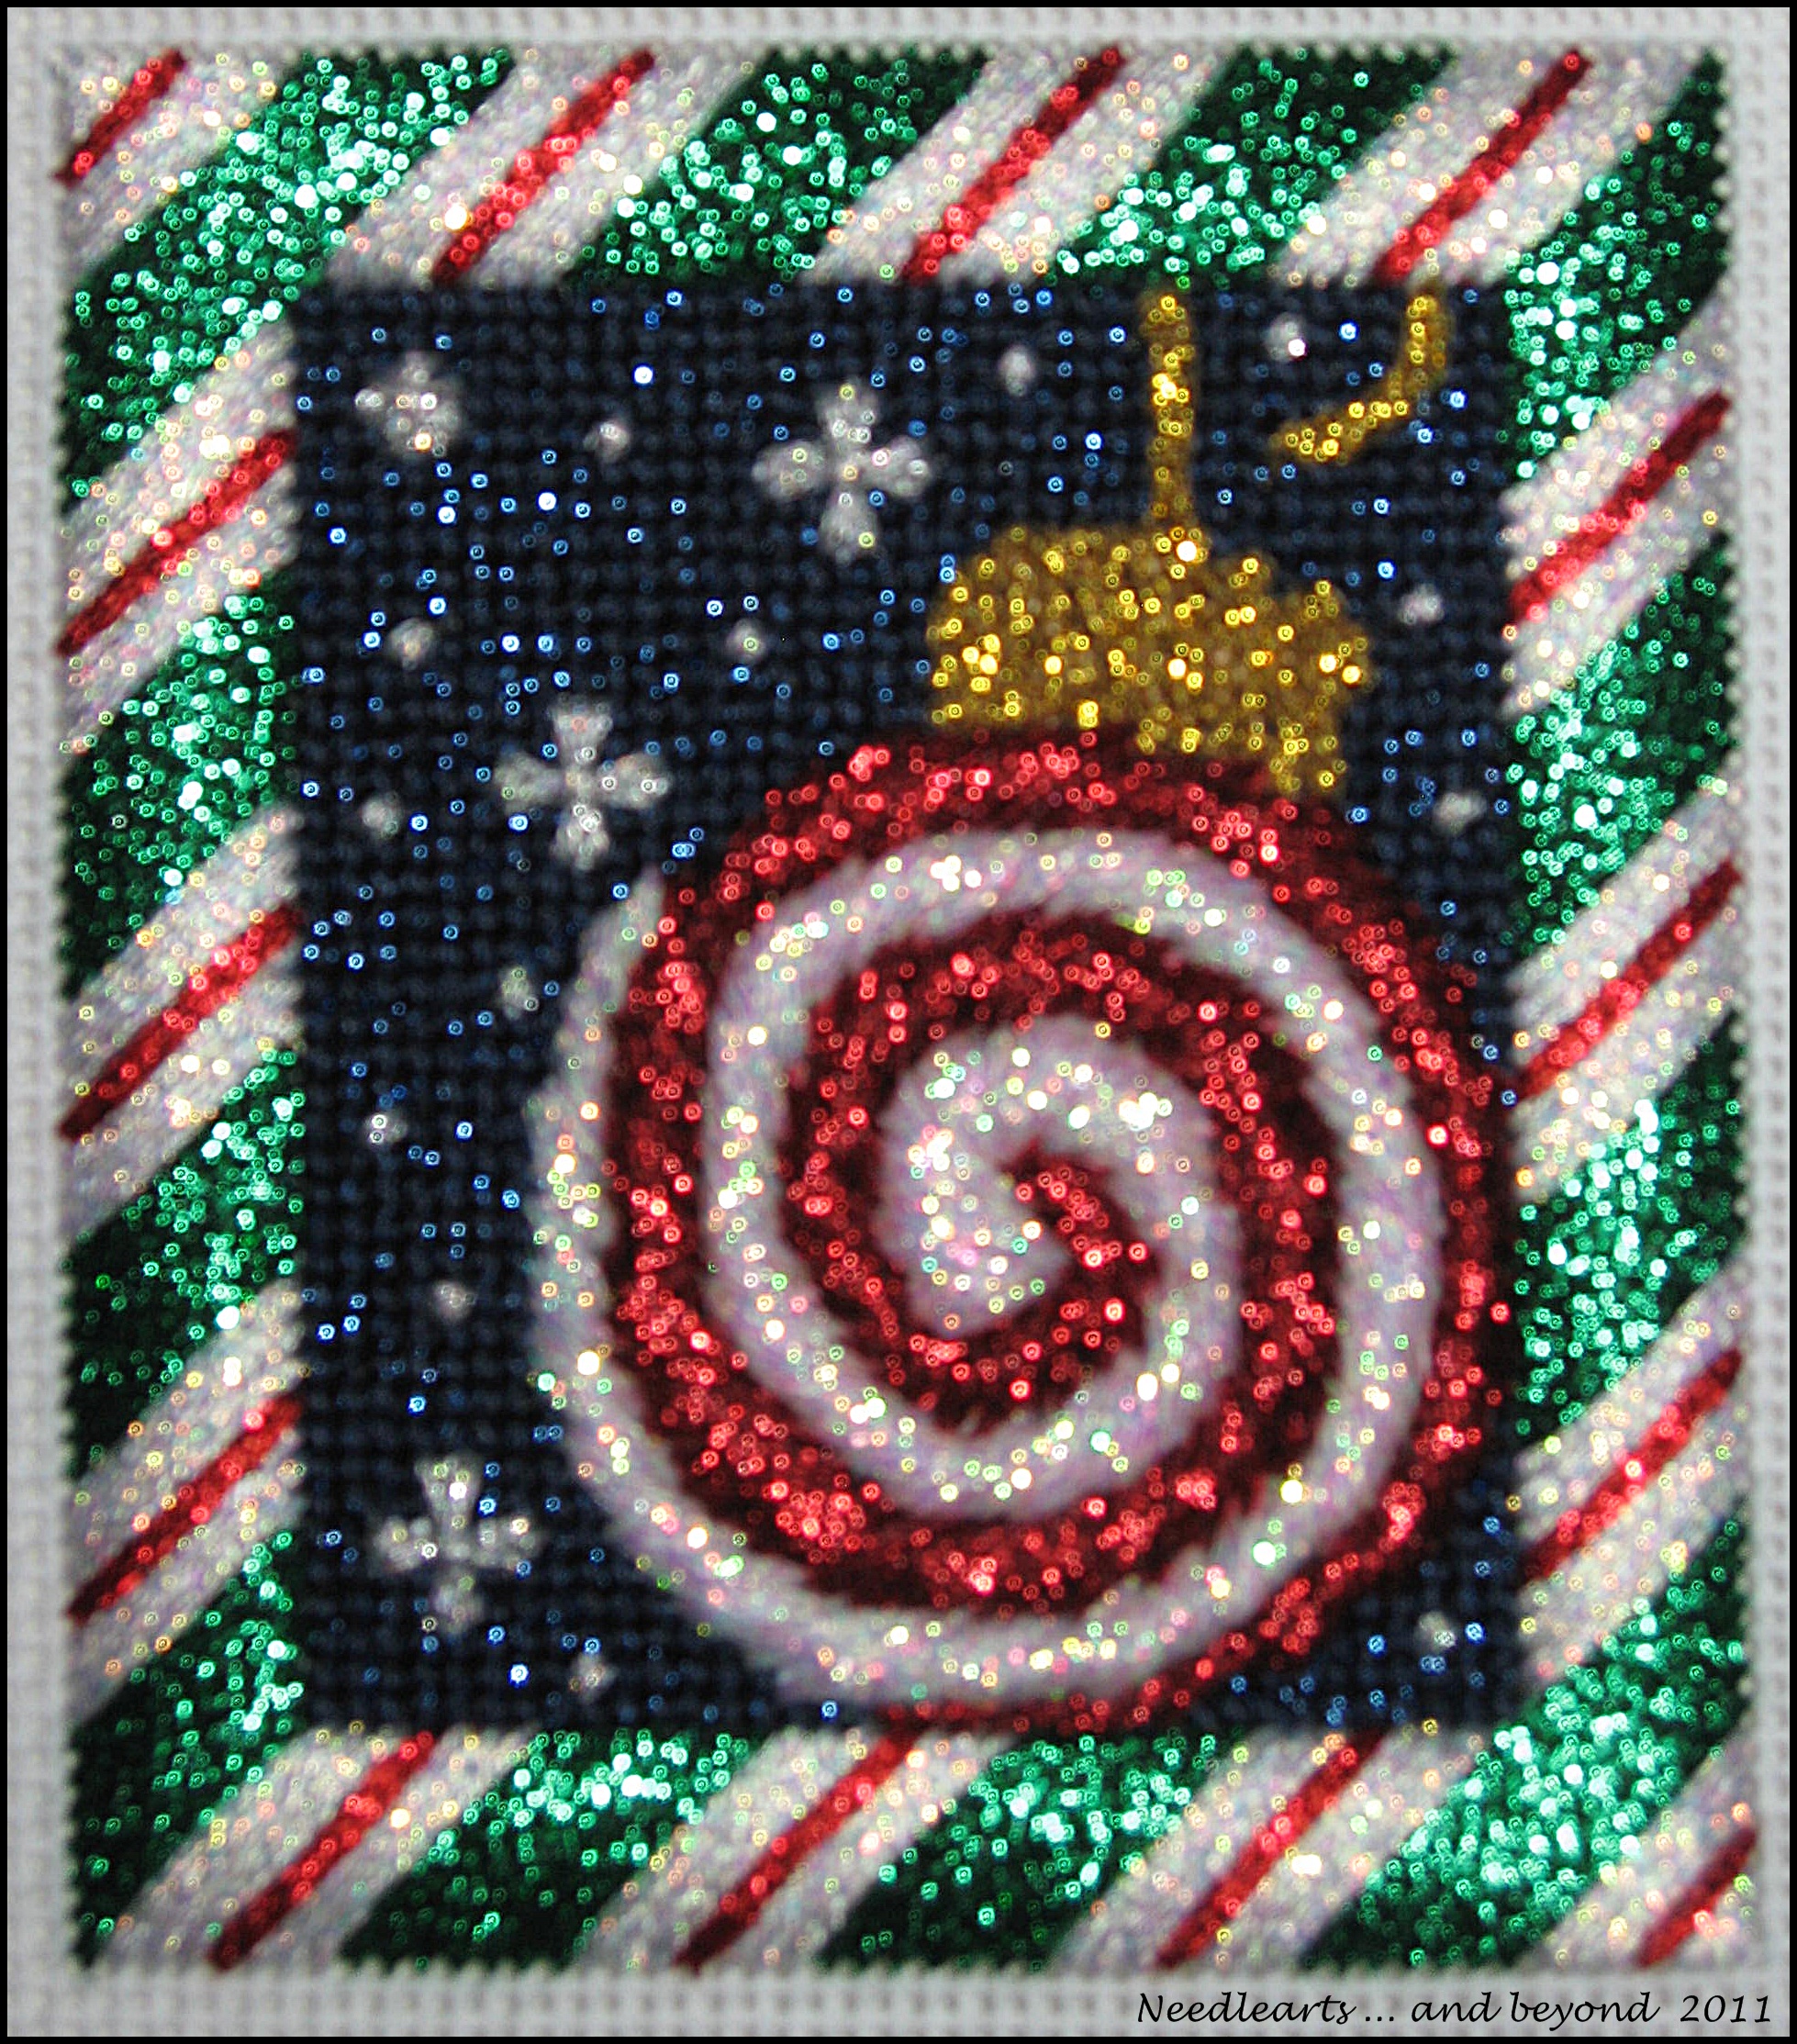
Ornament No. 3 Completed

Ornament Club - March


The third ornament in this fun series is stitched.  I am quite happy with myself for getting this one done... the swirl technique used is well out of my comfort zone.  This one definitely falls into the "finished is better than perfect" category!!

31 March 2011

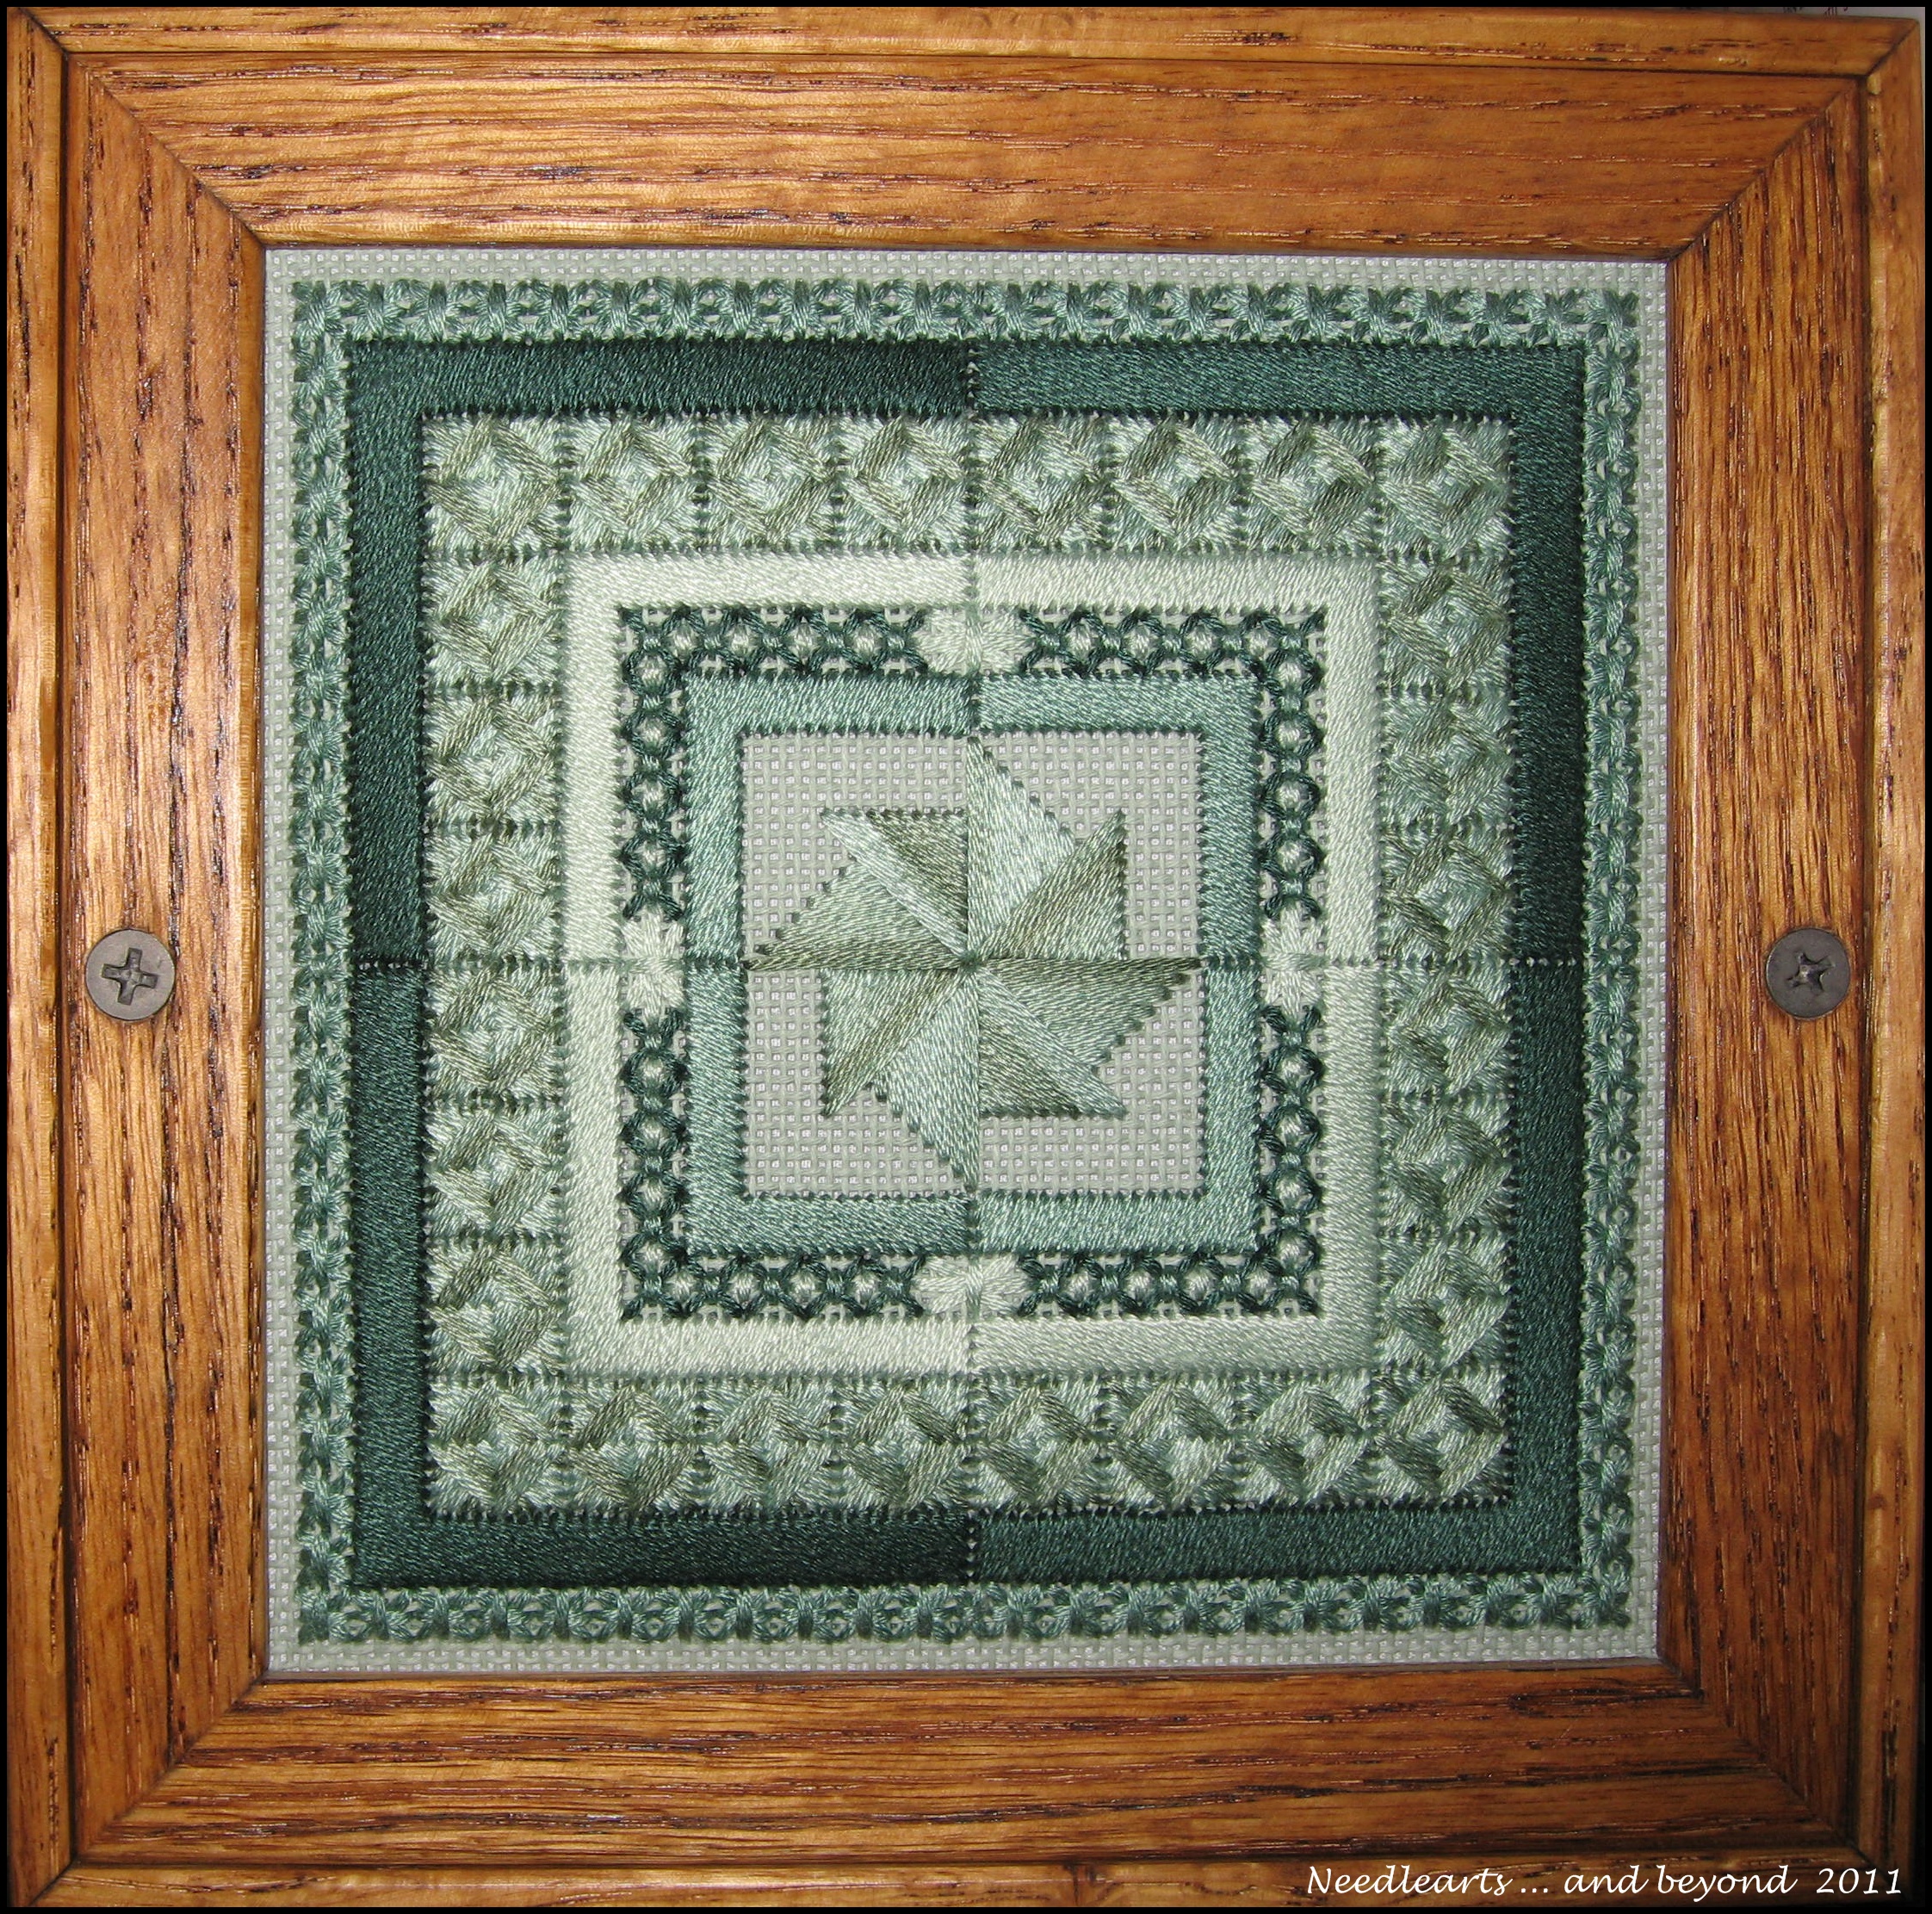
Green Pinwheel - Needlepoint


This sweet piece was a gift for my mom a few years back.  It is stitched using floss on 18 count canvas. I mounted it in an oak bank.

05 March 2011

Needlepoint Ornament - January

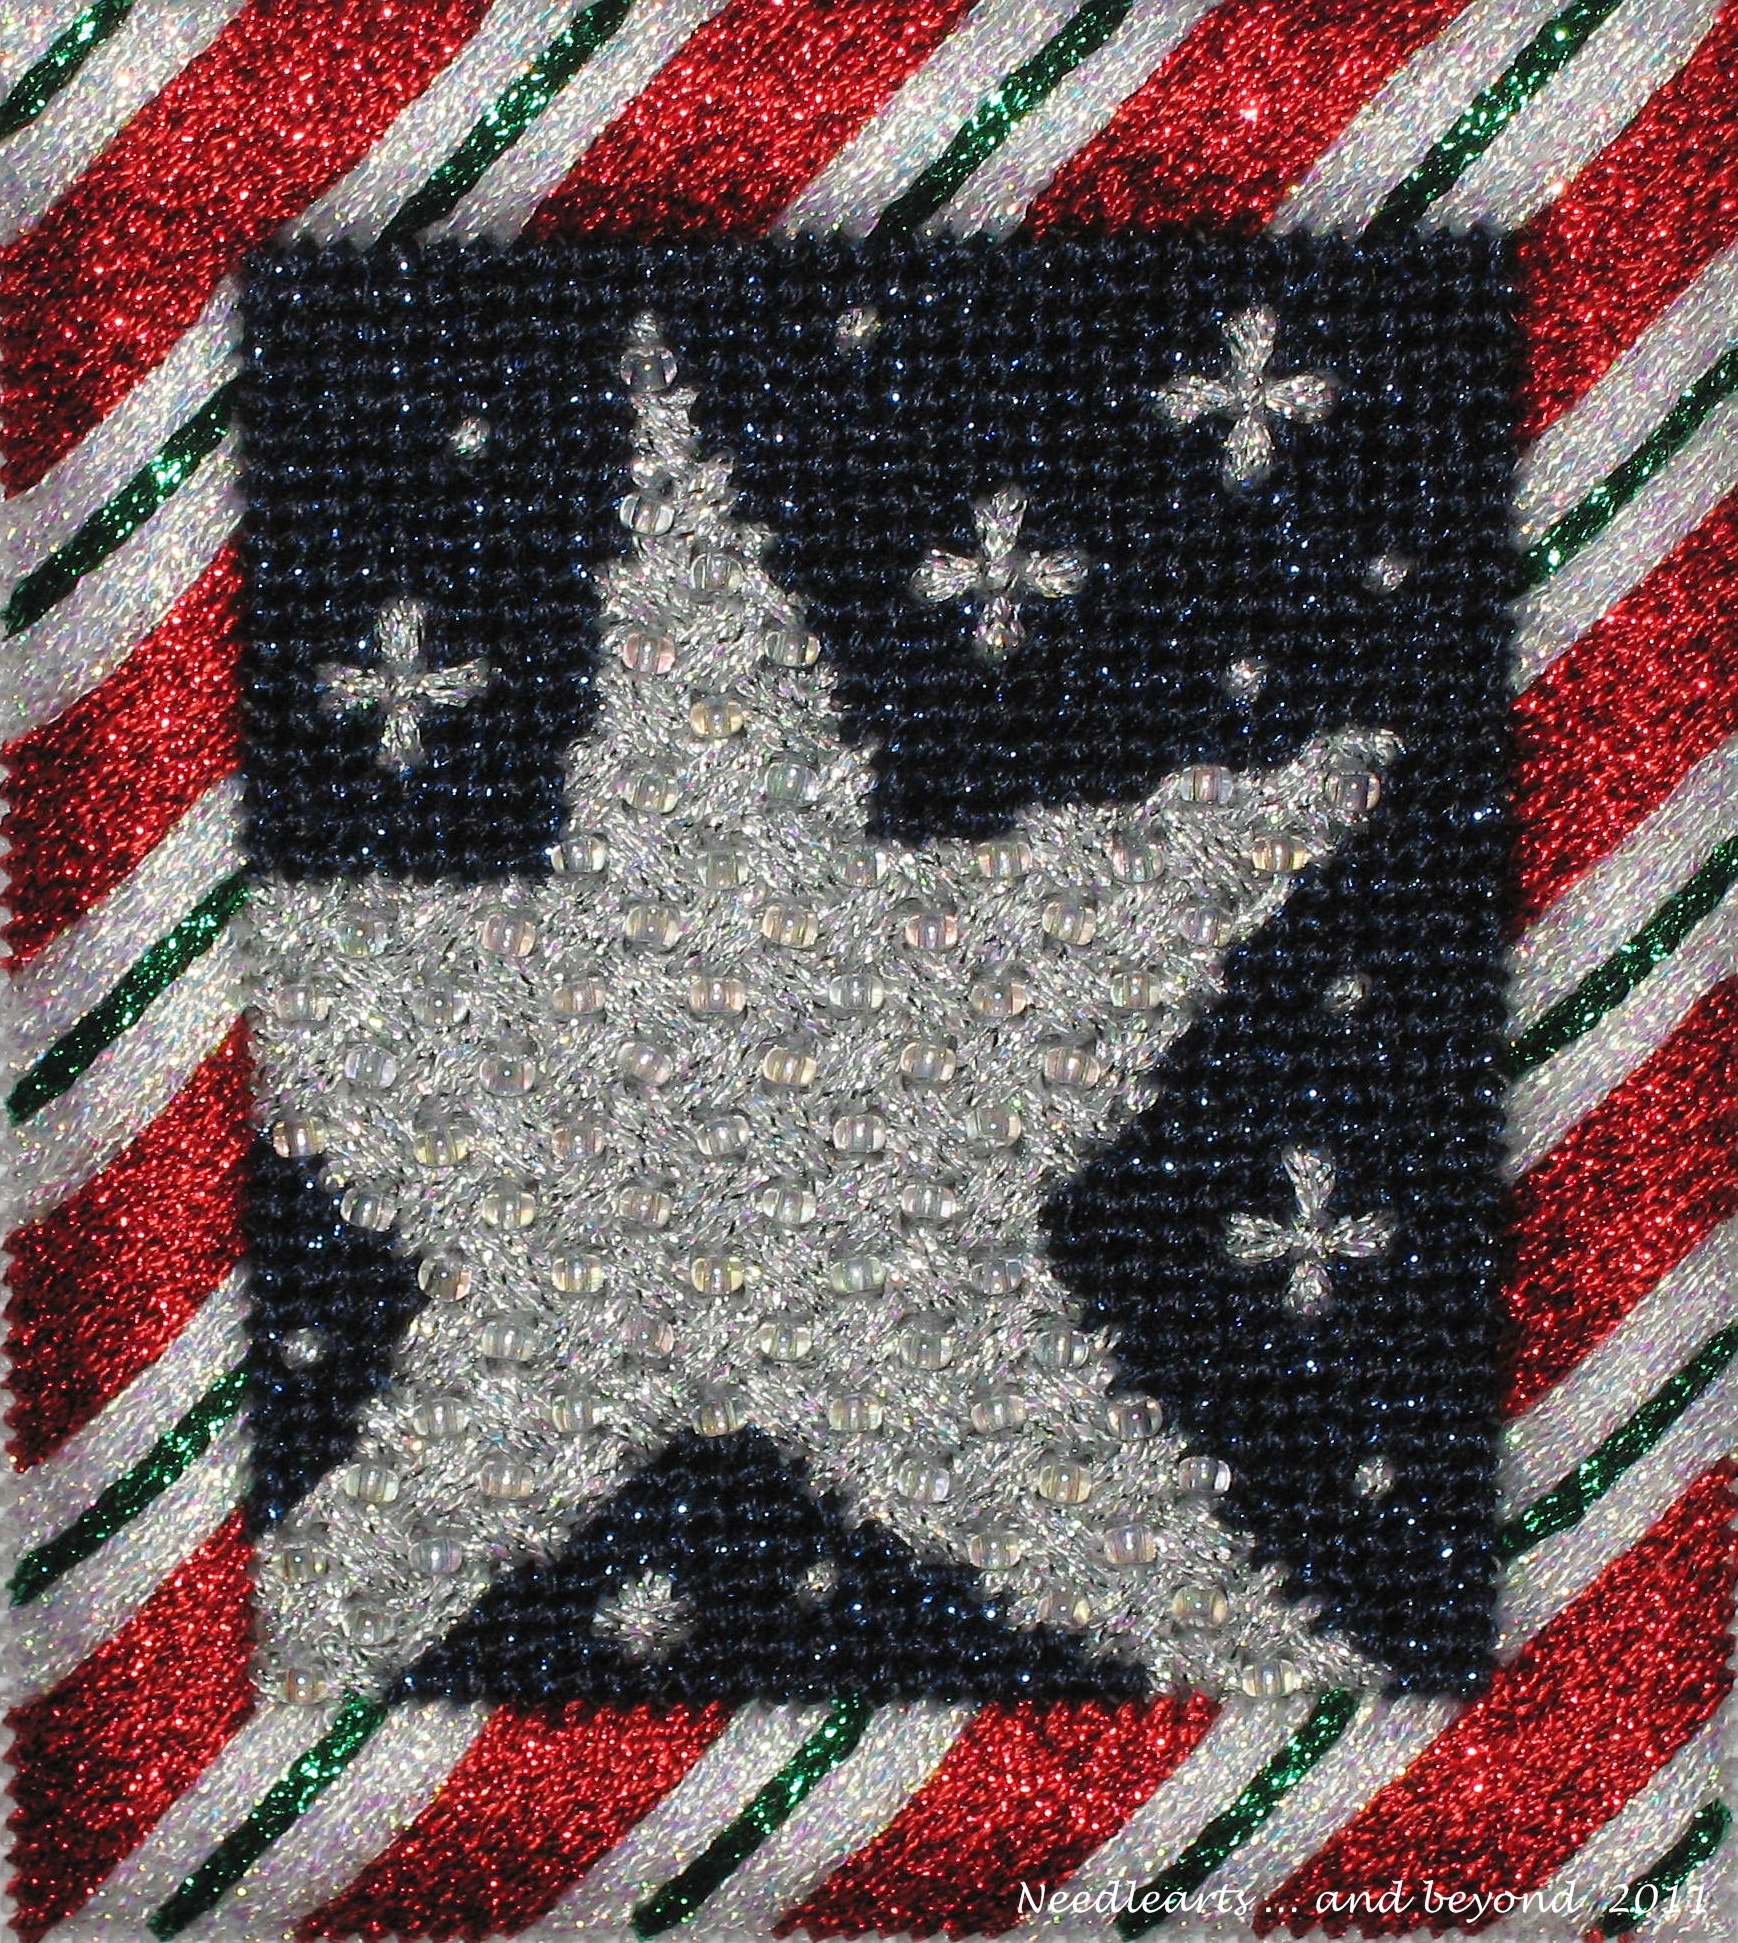
January Ornament


This morning I finished stitching the January ornament from the Christmas Ornament of the Month Club.  This cute ornament came as a kit that included the painted canvas, stitch guide, and threads.  I believe that this series is currently exclusive for Family Arts.
http://www.familyartsneedlework.com/Clubs.html

03 March 2011

Mears Sampler - Chili Needlepoint - eBay Auctions

Elizabeth Mears


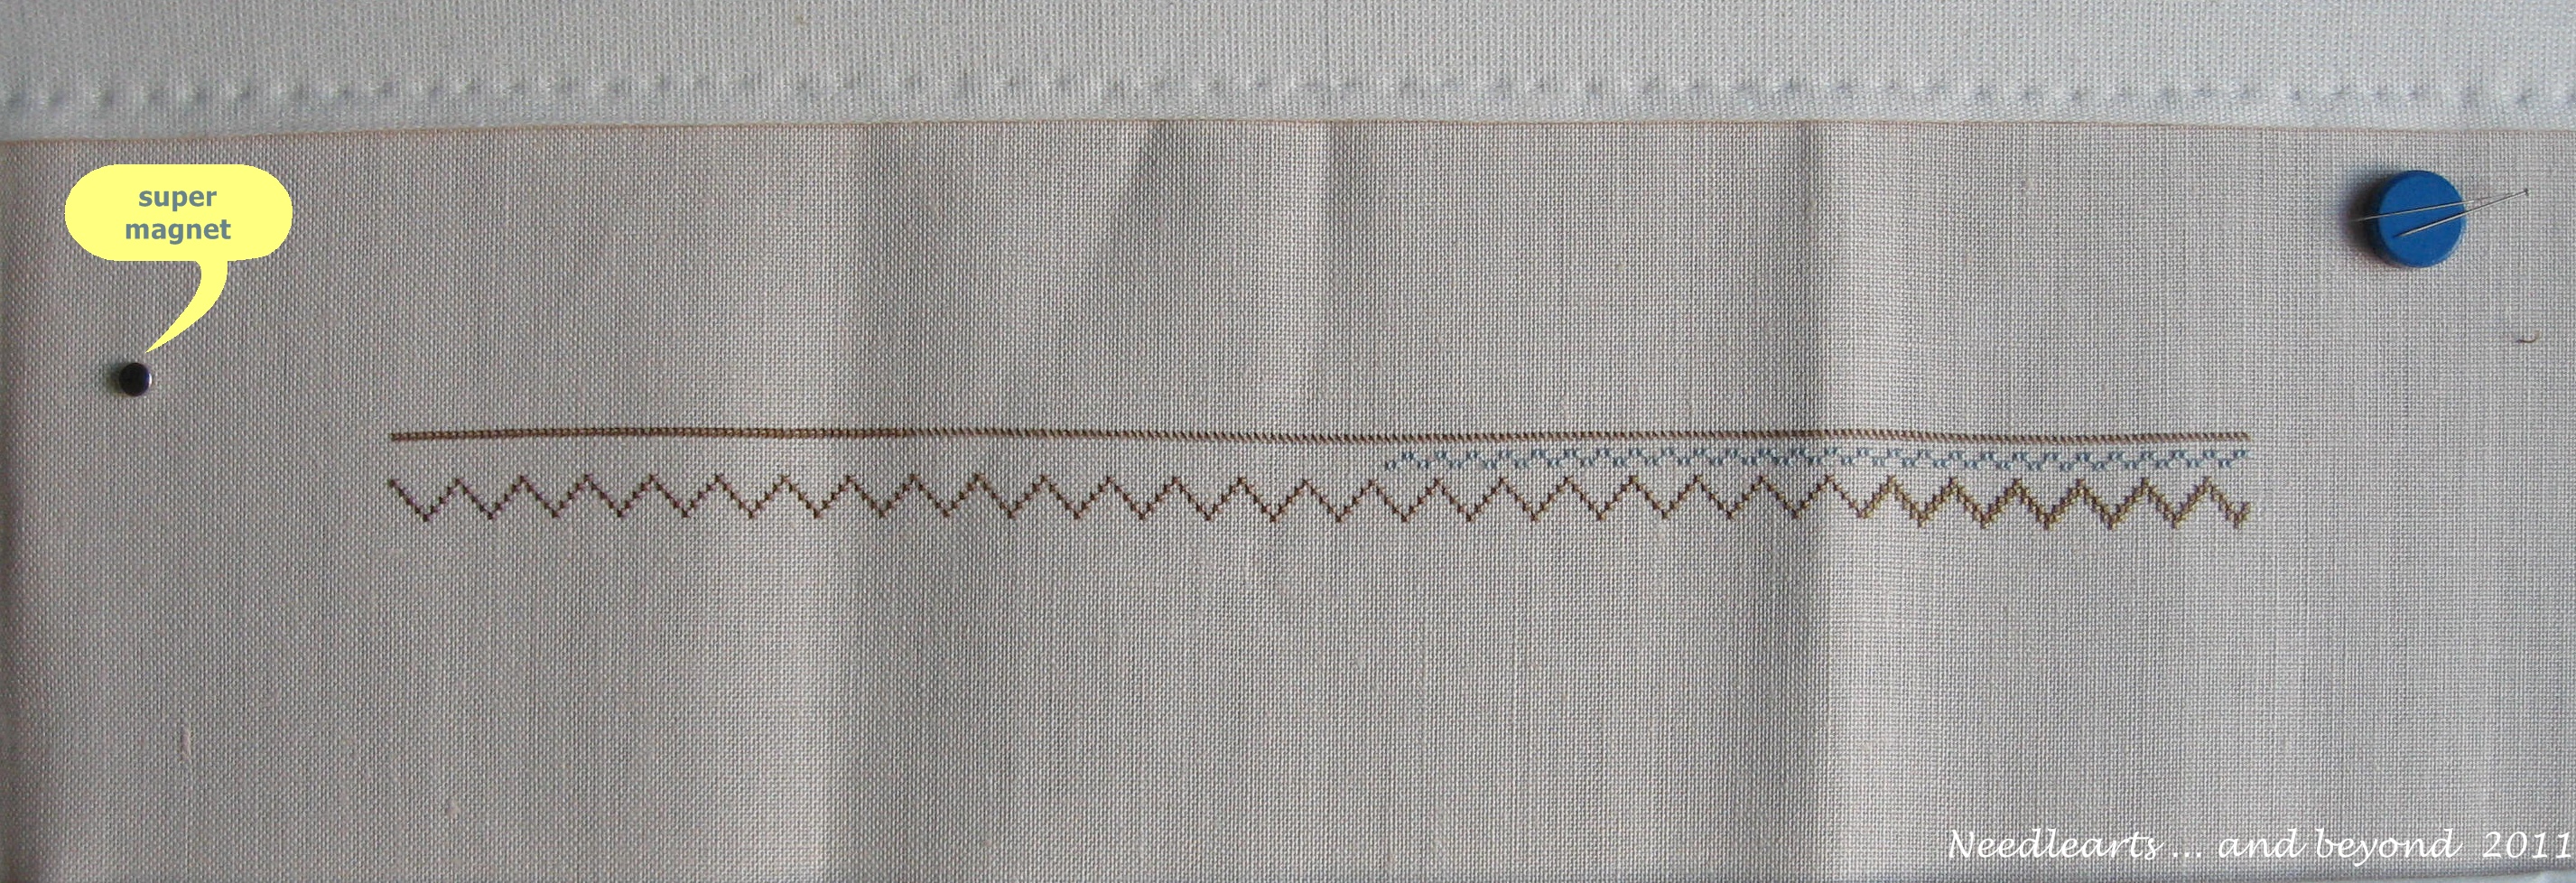
There hasn't been much progress on my version on Elizabeth Mears - but, something is better than nothing.  I did find a set of super strong tiny magnets that I'm quite happy with.  In the photo the little bubble shows the magnet that I found at The Container Store.  There are 16 in a pack for less than $10 (on sale) I can have them on every project!!


Chili Handpaint Needlepoint


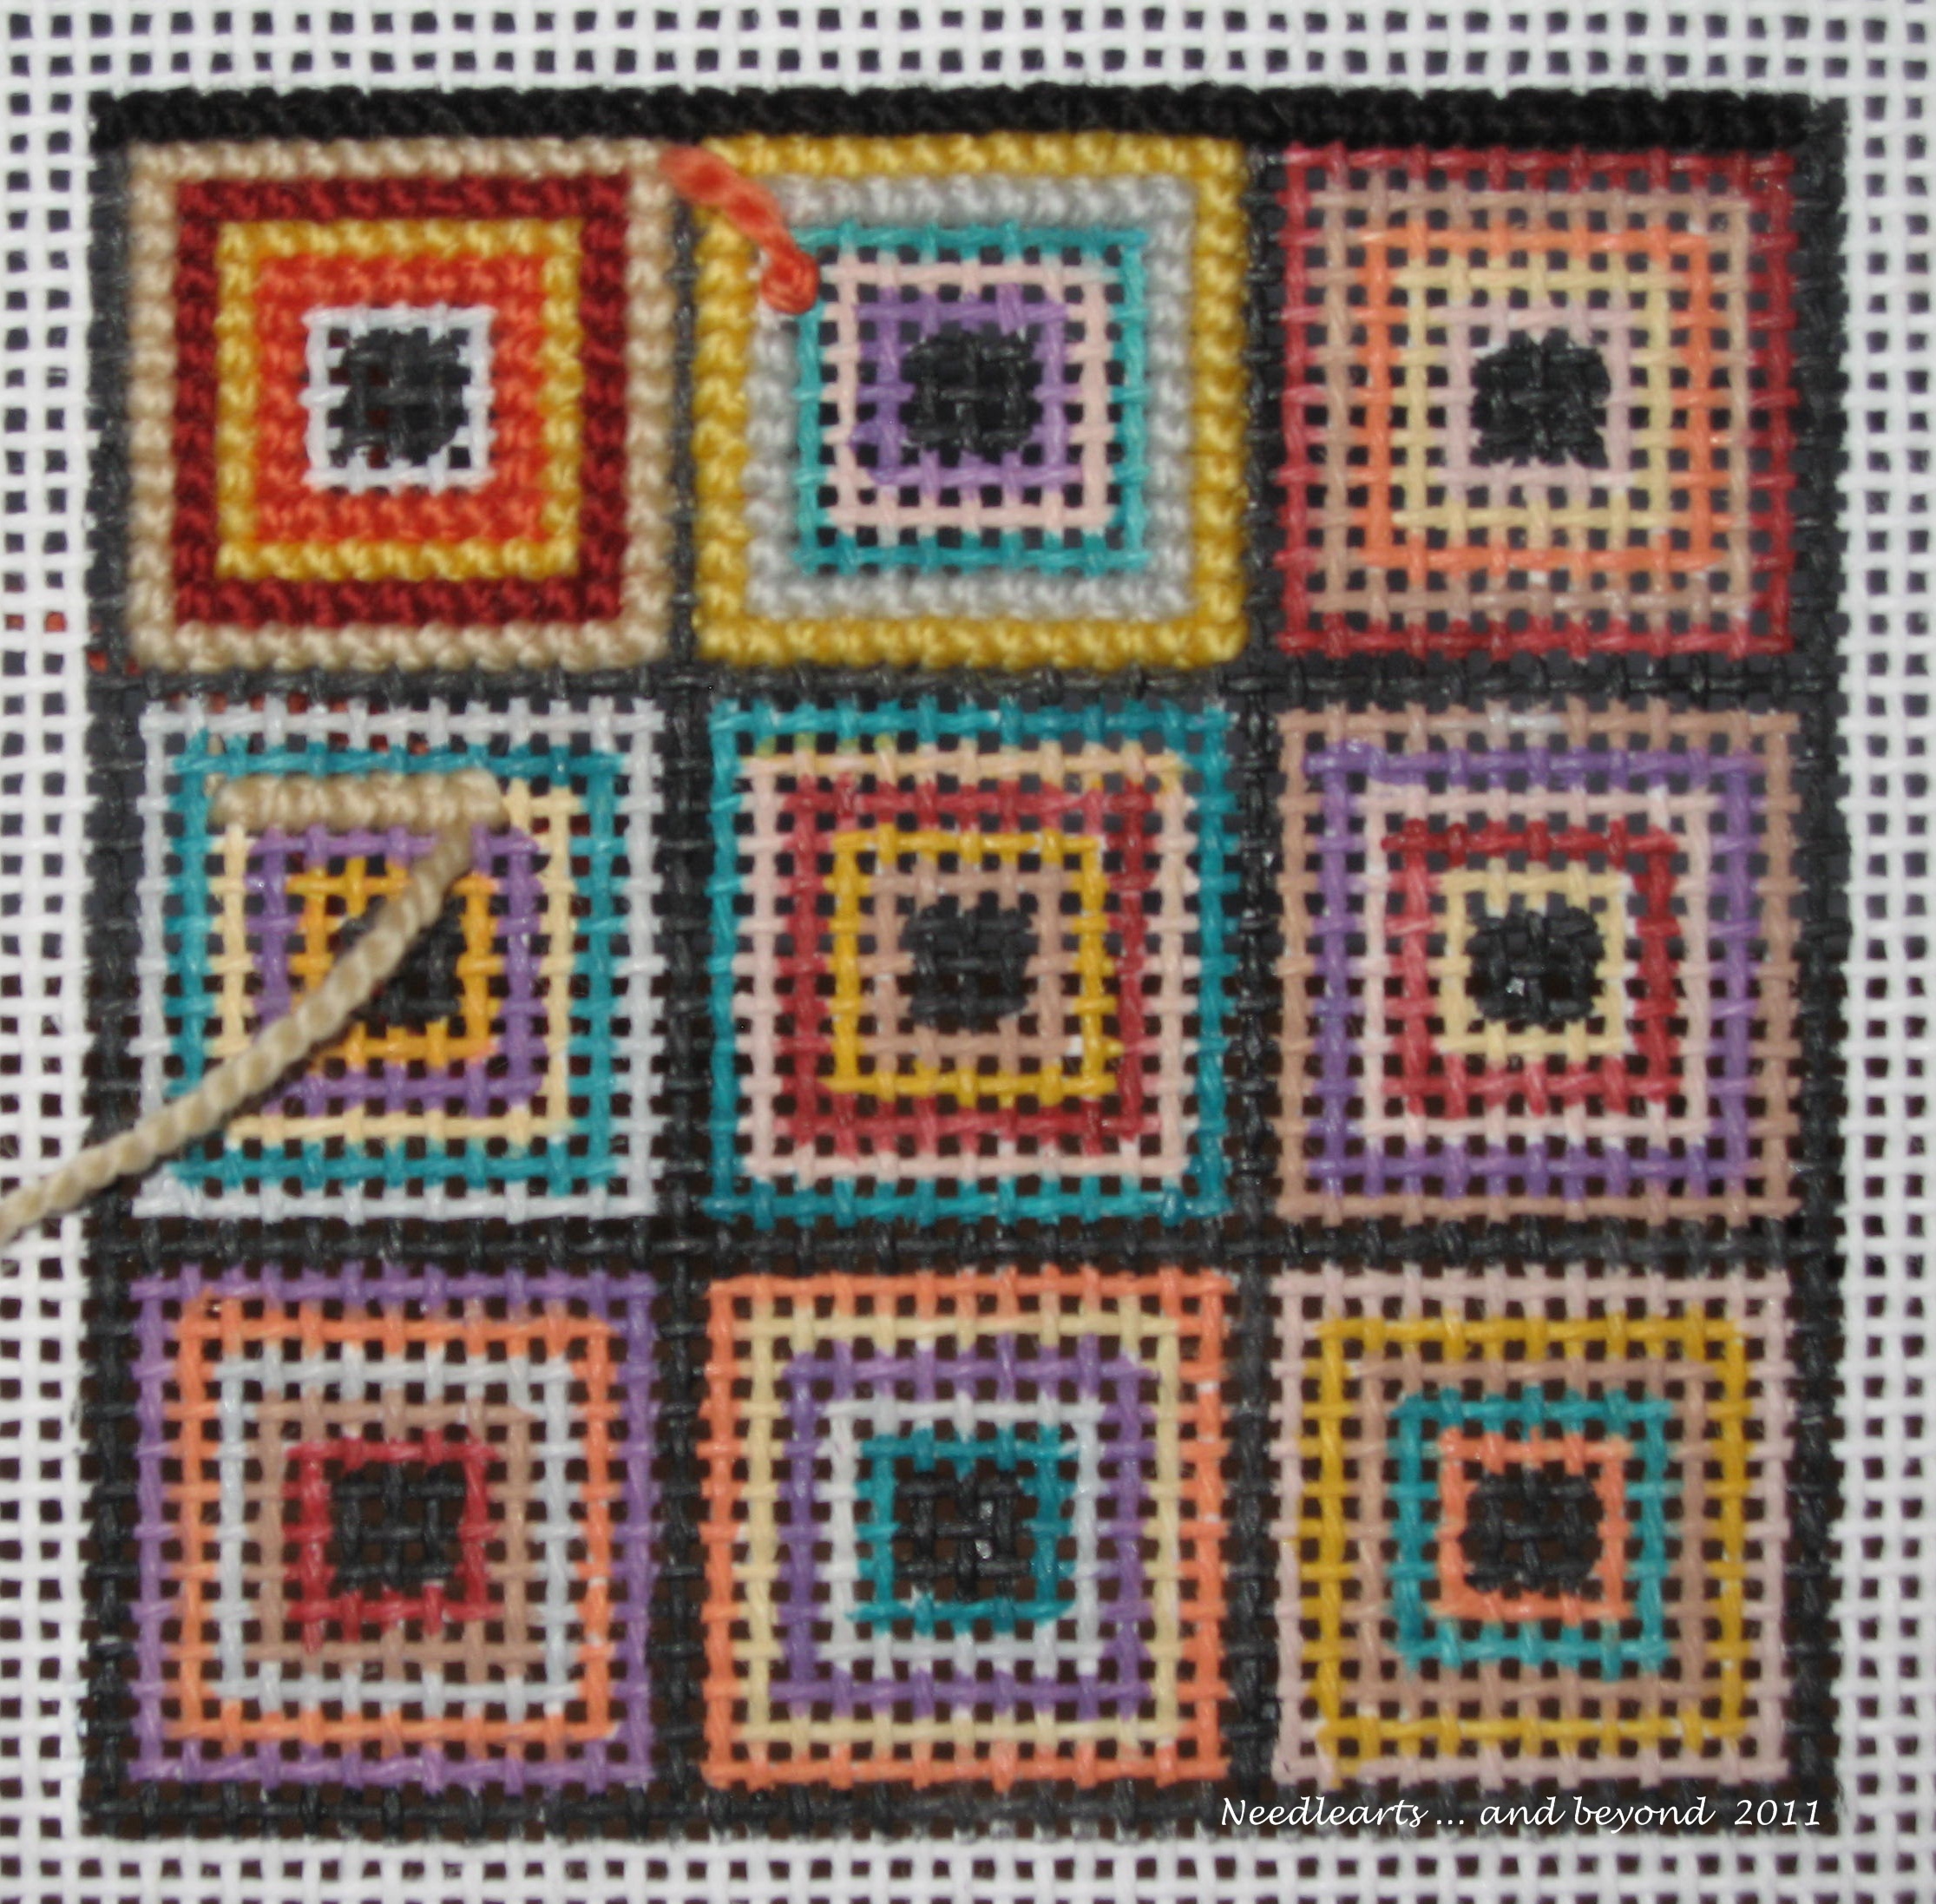
It's always nice to have a project that requires very little thought and no chart -- this little canvas by Chili is perfect.

eBay Auctions!!


I have also been busy getting some of my craft items on auction at eBay.  Check out my Auction page to see what I have listed right now and what will be on eBay soon!

26 February 2011

Needlepoint Ornaments


Ornament Club - February


Despite my great intentions to work on projects that I already have, I couldn't help myself ... I signed up for the monthly ornament club at my local shop - Family Arts.  Each month we receive a needlepoint kit that includes a super cute canvas from Associated Talents.

The canvases are fairy small -- the design size is about 3.25 by 2.75 inches.


24 February 2011

Gleneagle Needlepoint - The End

Gleneagle - Completed 20 February 11


Here is the final photo of Gleneagle.  This was my first Jean Hilton project and it was all that I had expected ... I was challenged and had fun.


What's next??

19 February 2011

Gleneagle Needlepoint Stitching

When I started Gleneagle (19 December 2010) my goal was to be finished by the end of March.  I thought that was optimistic.  As I stitched, I got more than a little obsessed and most of my free time went to working on this project.  I hope to finish the border (and put in a round of slanted gobelin) this weekend.

Here are the photos -- along with my stitching changes and missteps -- for the last six patches:

Spider Patch


Another fun patch -- yes, they are all fun!!  I worked this very much as directed.  The multi-colored Cross & Tuck left a little too much canvas showing on the right edges where it meets the Sprat's Head so I added a row of backstitch to each section.   In the corners I went with a framed scotch in place of French knots or Rhodes, the Milanese is 8 strands of floss and not 10 as suggested. Last, when working the Double Tied outer border I started the gobelin one thread closer to the Sprat's on each side and stitched the basketweave in the same direction in an effort to eliminate exposed canvas.


I have never been a fan of the Spider stitch with the raised spokes  and have always wrapped the opposite direction to make it smooth.  Glad I went with Ms. Hilton's directions.  Love it!


Walento Patch


This patch was stitched without any changes, only some color adjustments.  With only 3 perles for color group A, I used the accent to make up the difference in the shading.  The center did cave in a bit from the basketweave going in different directions, oh well.  Still, it looks great!


Pinwheel Patch


Another fabulous finish!  The only change I made was to mirror image the diagonal cashmere -- all else was as directed.


Eyelet Patch


The Eyelet Patch is very straight forward.  The only change I made was with the Tied Mosaic -- I used 2 strands of floss rather than 3.


Rice Patch


For the Rice Patch, the instructions for the corner triangles include dark A but I didn't want it to be quite that busy so I substituted dark B to quiet it down.  I also lightened up the half scotches from dark A to light A.  The diamond shape surrounding the center waffle was done with one strand of #5 border perle in four way continental.


Beware!! The chart does not have the placement of the center waffle in the center.


Star Patch


I had done a good bit of ripping and re-stitching by the time I started the Star Patch - my last patch.  I changed the colors to use what I had left.  The Jessicas are done in #3 perle... #5 just looked wimpy.  The center is a mistake stitch variation.... or .... actually a variation of the variation.  I put the center stitch in a couple of times and could not make it look like the photo.  The last attempt came out exactly the same as the first two, so I left it in and filled the center with basketweave.  Ditto on the Jessicas.


Thread Summary:


There will be ample #5 border perle to finish the border and include a row of slanted gobelin over two.
I ran out of #3 border perle and needed two additonal skeins.
I ran out of B dark - my fault due to ripping / re-stitching.
Accent perle - one full skein plus remains.
All other perle was sufficient with no full skeins left.
Floss --all A and B floss have between 2 and 4 full skeins unused.