Showing posts with label Gleneagle. Show all posts

23 September 2011

Downsizing my Resource Center - eBay Auctions

Gleneagle


Cub Lake Quilt Kit


It has been a few months since I have listed anything on eBay and I will be working on downsizing my "resource center" as part of my semi-annual organizing effort.  This will include various quilting and needlework related items -- and other items that are yearning for a new home.  This evening (23 September 2011) I will be listing the Gleneagle pattern book as well as an absolutely fabulous quilt kit called "Cub Lake"  if you missed the Moda fabrics "Winter at the Lodge" you will have an opportunity to work with those wonderful fabrics by bidding on this kit!

You can find my auctions at:

jbf auctions at eBay

24 February 2011

Gleneagle Needlepoint - The End

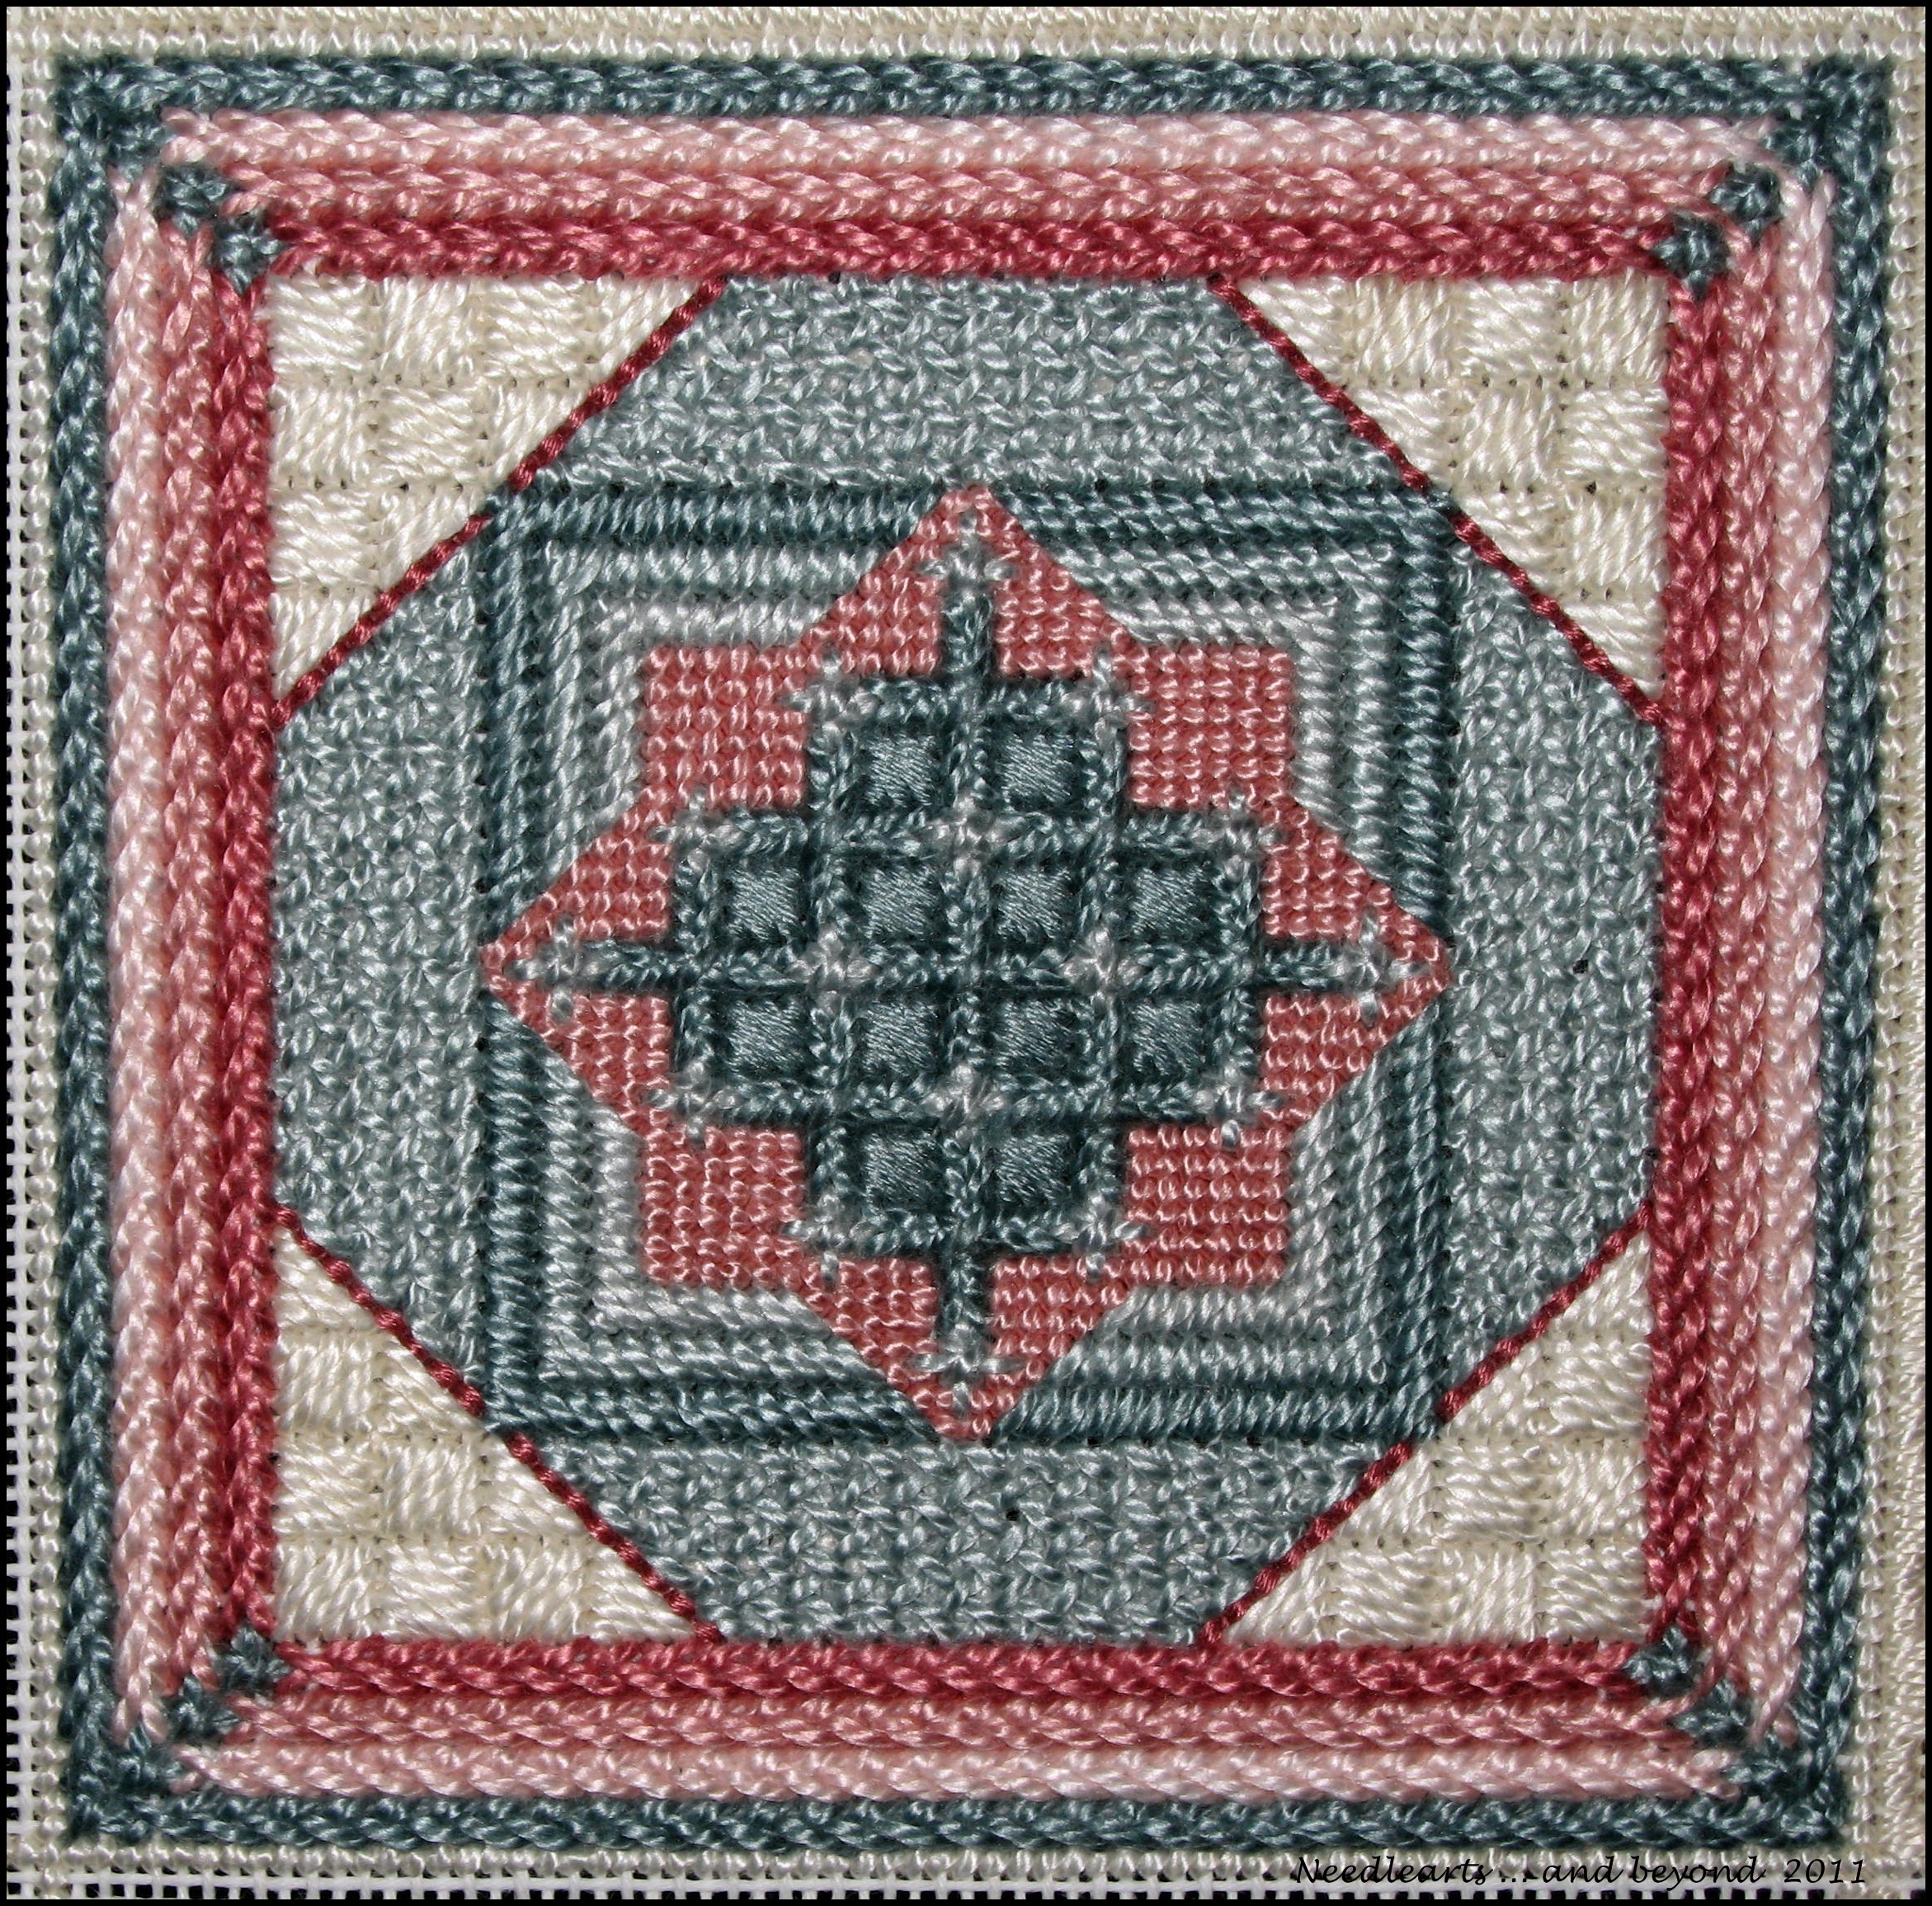
Gleneagle - Completed 20 February 11


Here is the final photo of Gleneagle.  This was my first Jean Hilton project and it was all that I had expected ... I was challenged and had fun.


What's next??

19 February 2011

Gleneagle Needlepoint Stitching

When I started Gleneagle (19 December 2010) my goal was to be finished by the end of March.  I thought that was optimistic.  As I stitched, I got more than a little obsessed and most of my free time went to working on this project.  I hope to finish the border (and put in a round of slanted gobelin) this weekend.

Here are the photos -- along with my stitching changes and missteps -- for the last six patches:

Spider Patch


Another fun patch -- yes, they are all fun!!  I worked this very much as directed.  The multi-colored Cross & Tuck left a little too much canvas showing on the right edges where it meets the Sprat's Head so I added a row of backstitch to each section.   In the corners I went with a framed scotch in place of French knots or Rhodes, the Milanese is 8 strands of floss and not 10 as suggested. Last, when working the Double Tied outer border I started the gobelin one thread closer to the Sprat's on each side and stitched the basketweave in the same direction in an effort to eliminate exposed canvas.


I have never been a fan of the Spider stitch with the raised spokes  and have always wrapped the opposite direction to make it smooth.  Glad I went with Ms. Hilton's directions.  Love it!


Walento Patch


This patch was stitched without any changes, only some color adjustments.  With only 3 perles for color group A, I used the accent to make up the difference in the shading.  The center did cave in a bit from the basketweave going in different directions, oh well.  Still, it looks great!


Pinwheel Patch


Another fabulous finish!  The only change I made was to mirror image the diagonal cashmere -- all else was as directed.


Eyelet Patch


The Eyelet Patch is very straight forward.  The only change I made was with the Tied Mosaic -- I used 2 strands of floss rather than 3.


Rice Patch


For the Rice Patch, the instructions for the corner triangles include dark A but I didn't want it to be quite that busy so I substituted dark B to quiet it down.  I also lightened up the half scotches from dark A to light A.  The diamond shape surrounding the center waffle was done with one strand of #5 border perle in four way continental.


Beware!! The chart does not have the placement of the center waffle in the center.


Star Patch


I had done a good bit of ripping and re-stitching by the time I started the Star Patch - my last patch.  I changed the colors to use what I had left.  The Jessicas are done in #3 perle... #5 just looked wimpy.  The center is a mistake stitch variation.... or .... actually a variation of the variation.  I put the center stitch in a couple of times and could not make it look like the photo.  The last attempt came out exactly the same as the first two, so I left it in and filled the center with basketweave.  Ditto on the Jessicas.


Thread Summary:


There will be ample #5 border perle to finish the border and include a row of slanted gobelin over two.
I ran out of #3 border perle and needed two additonal skeins.
I ran out of B dark - my fault due to ripping / re-stitching.
Accent perle - one full skein plus remains.
All other perle was sufficient with no full skeins left.
Floss --all A and B floss have between 2 and 4 full skeins unused.

29 January 2011

Two More Patches for Gleneagle

Half of the patches are completed on my version of Gleneagle.  I made a few changes and am very pleased with the way they look.  Here are the latest two.


Plus Patch - Gleneagle


There were only a couple of changes that I made to the Plus Patch.  The color suggestions  for the corner smyrnas were changed from A medium to A very light and the basketweave between the corner smyrnas I changed from B dark to A light.


Star Waffle Patch - Gleneagle


On the Star Waffle patch I did not put in any of the suggested backstitches.  The hesitation stitch in the corners is a great stitch but I charted it so that it frames the center diamond rather than having it appear as lines radiating out from the center.


Next up is the Pinwheel Patch.

26 January 2011

Gleneagle - Leaf Patch Complete


Gleneagle - Leaf Patch


Yippie!! It's done!!  I finished the leaf patch on Friday.

This patch was quite a process. I ripped as much as I  left in -- not "perfect" but complete.

The border was another challenge for me. The chart does not show the border as a mirror image -- minor adjustment and easy enough to do. But I had to rip and re-stitch. There are compensating stitches at the bottom of the chart, but not the top. I tried it without any compensating stitches to keep it balanced but it just didn't look right. Ripped it out again.

Bottom line -- my leaf patch border has compensating stitches top and bottom...left is a mirror image of the right.

Colors changes: basketweave next to leaf is the accent (746). Jessicas are A light (224), inside Jessicas is the accent, and border is A Medium (223).

Note: My color selection does not have a perle for A dark (3722) - when the instruction calls for A dark perle I have been changing the colors to be able to keep the texture that the perle provides.

16 January 2011

Gleneagle - Leaf Patch

Gleneagle - Leaf Patch


The Leaf Patch has been a challenge for me. The instructions have you start with the chevrons - I chose to start with the leaf in the center. Starting with the chevrons seemed to leave an opportunity for counting errors.

The leaf and chevrons went in beautifully but the diagonal weaving was not familiar to me. I tried a couple of ideas -- ripped them out. After searching my reference books, I found the correct stitch sequence in More Stitches For Effect.

I continue to stitch.....!


14 January 2011

Gleneagle Needlepoint - Mini Mistake Patch


Another patch is complete!

This is really a fun piece to stitch -- even with all of the ripping.  I stitched the Mini Mistake with a couple of color changes.  Instead of using the dark, medium and light of family A, I used the medium, light and very light of family A - all of the other colors were as suggested.

There are a couple of things I would change (of course)...

First: I would use smyrnas and not spatula stitches in the corners and then add compensating stitches to the knitted plait stitch - by the time I decided this I had much more stitching in than I was willing to rip.

Second: Stitch the basketweave around the center motif before putting in the double straight crosses.  I stitched the crosses first and then had about 1/4 of the basketweave in before I ripped out both and changed the order.

Also: be careful with the chart when getting ready for the scotch stitches.  My piece matches the use of the scotch / basketweave as shown on the Gleneagle cover photo.  The chart shows an extra set of scotch stitches around the perimeter of the center motif for a total of 24 rather than 12.

Next will be the Leaf Patch... I will probably stitch the remaining patches in clockwise order.

10 January 2011

Gleneagle Needlepoint - House Patch


Gleneagle - House Patch


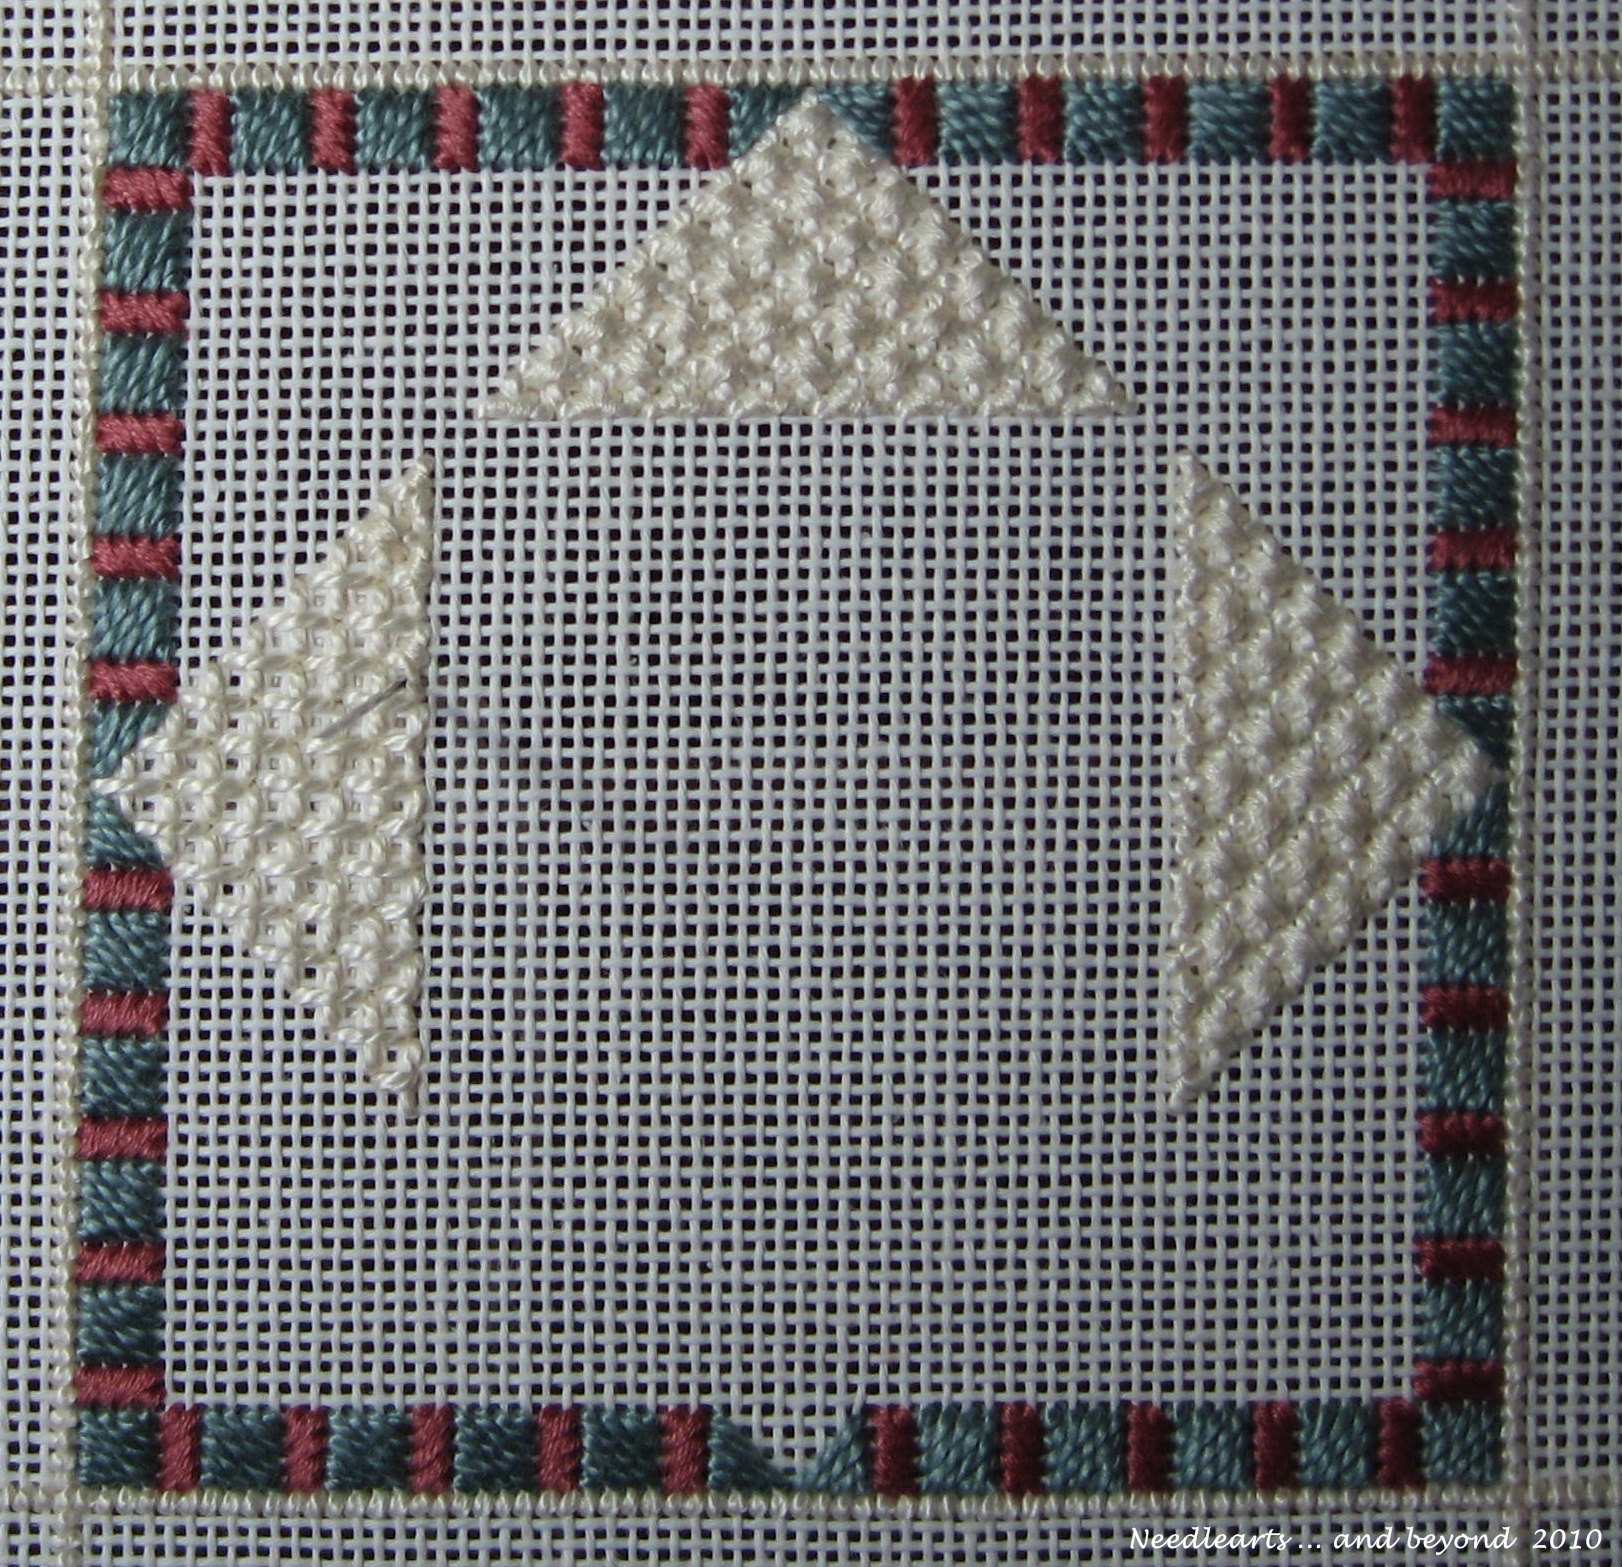
I'm not sure what I was thinking when I started this project -- it would have been more logical to begin with the two center blocks.  My second block is the house patch, it is in the lower center position (third row, center block).

I made a couple of changes in the way I stitched this patch vs the directions.  When stitching the houses in the very center, I laid in a four legged eyelet stitch before putting in the 4 houses.  I also changed the shading on the basketweave that surrounds the center houses.  The directions state to use the medium and light values for five rows each.  My color selection  created the illusion that they were out of balance with a very narrow row of the medium.  I ripped those out and stitched six rows in medium and four rows in light, giving a more pleasing and balanced result.  If I were to stitch this again I would consider stitching seven rows in medium with three rows in light.

06 January 2011

Gleneagle Needlepoint - Mistake Patch

Gleneagle - Mistake Patch in progress


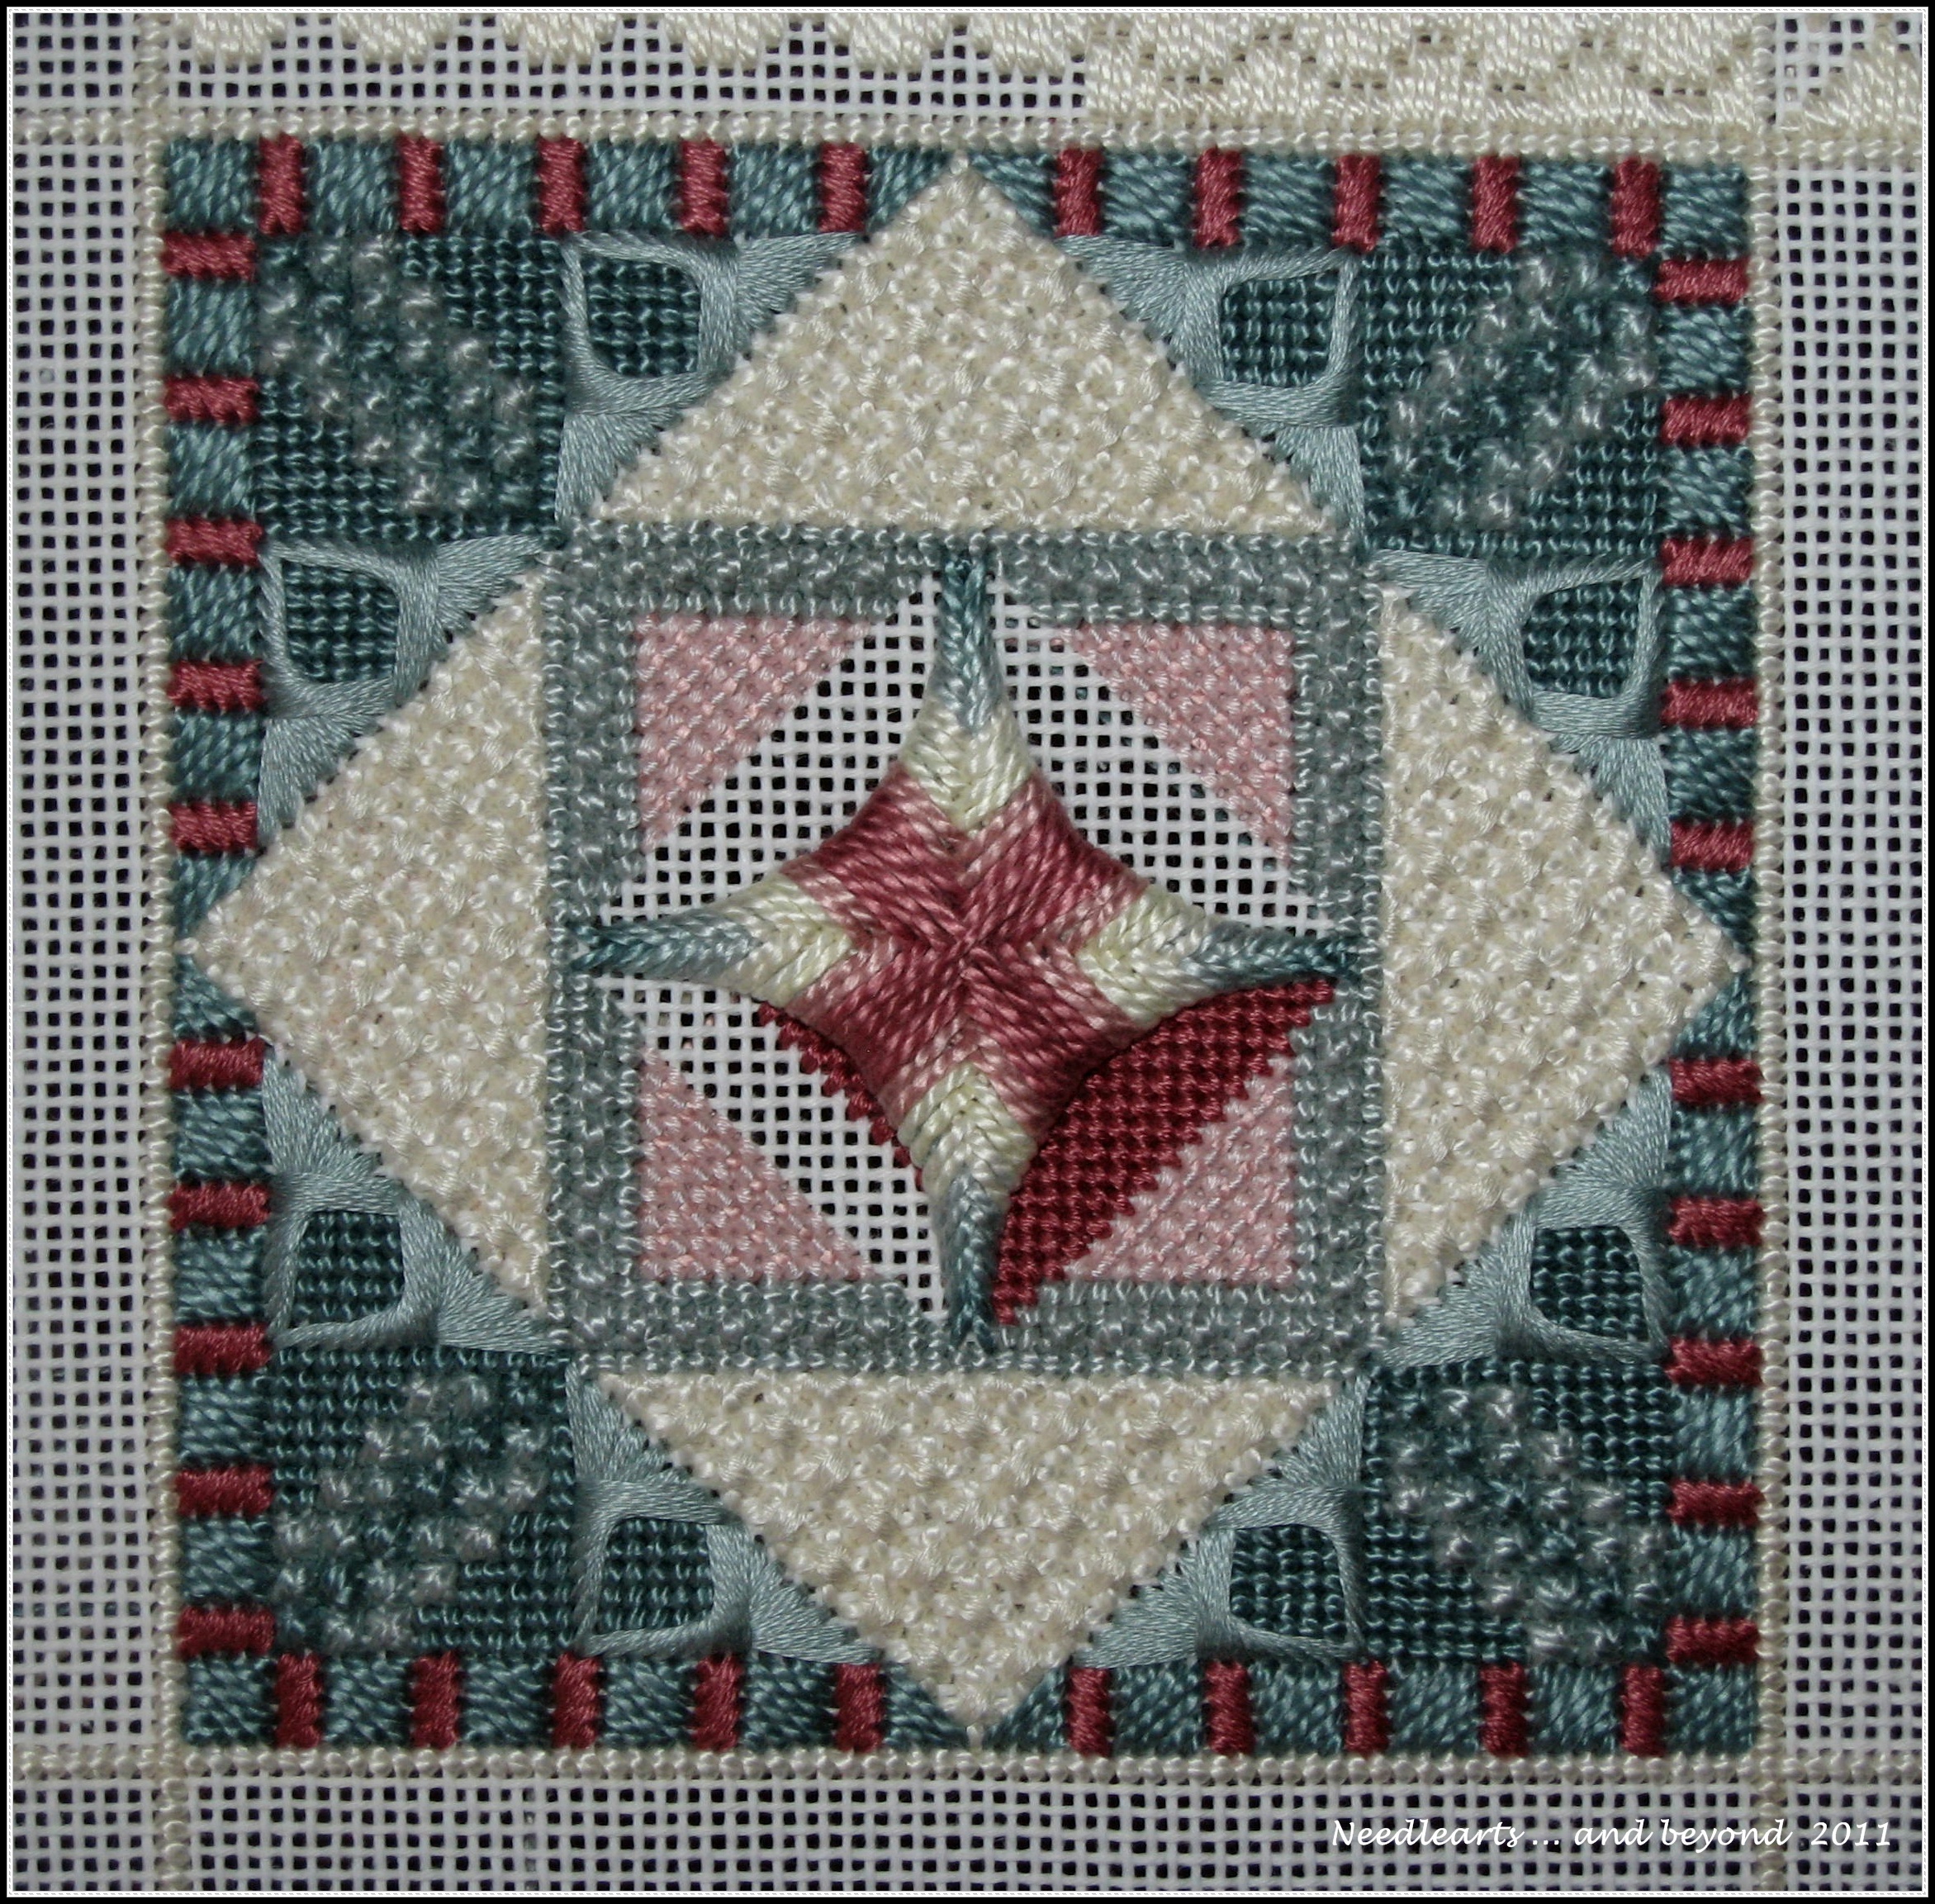
The Mistake Patch is such an appropriate name for this design. The Amadeus stitches that were in my last Gleneagle update were removed and restitched -- the final sequence of stitches for each side were in the wrong position.  It is amazing how much better they look when stitched correctly!!!

The center stitch is what the designer (Jean Hilton) has called the Mistake stitch.  This is the second version that I have stitched.  I decided to start the stitch one canvas thread closer into the smyrna border and I like the coverage better.

There is a bit of disruption to the Mistake stitch as I fill in the background and am wondering if it would have been easier to stitch the background first.  I do not plan to find out -- I will adjust the center after the basketweave is complete.


26 December 2010

Gleneagle Needlepoint

Mistake Patch from Gleneagle


Cover photo of Gleneagle


The time has come to work on something that has been on my "to-do" list for years - Gleneagle.

Gleneagle is an amazing Jean Hilton design from 1990.  It is large -- the entire project is 252 threads by 332 threads.  The designer stitched hers on 14 count canvas using a combination of perle cotton and floss... mine is also on 14 using dmc 223, 224 & 225 and 926, 927 & 928 as the main colors.  The border will be 712 and the accent will be 746.